How to Make a DIY Smokeless Fire Pit Step-by-Step
Transform your outdoor gatherings with our comprehensive guide on how to make a DIY smokeless fire pit step-by-step. Learn material selection, construction techniques, and maintenance tips to create a smoke-free fire feature that'll be the envy of your neighborhood.

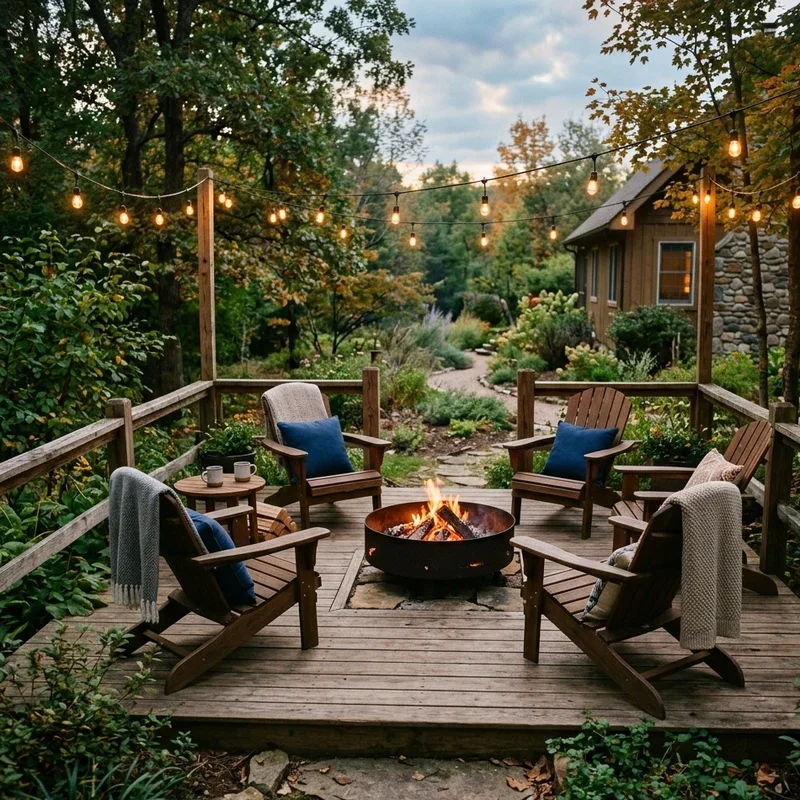
There's something almost magical about gathering around a crackling fire on a cool evening, sharing stories and roasting marshmallows with family and friends. But let's face it—nobody enjoys playing musical chairs to dodge billowing smoke that seems to follow you no matter where you sit! That's where a smokeless fire pit comes into play, and believe it or not, you can build one yourself without breaking the bank.
The science behind a smokeless fire pit isn't rocket science, though it is pretty clever. By creating a double-walled design with strategic air flow, these ingenious pits burn more efficiently, producing significantly less smoke than traditional fire pits. The result? You get all the warmth and ambiance without the stinging eyes and smoky-smelling clothes. Winner, winner, chicken dinner!
In this guide, I'll walk you through how to make a DIY smokeless fire pit step-by-step, from selecting the right materials to enjoying your first smoke-free bonfire. Whether you're a weekend warrior with basic DIY skills or a seasoned builder looking for your next project, you'll find this guide approachable, practical, and maybe even a little fun. So grab your work gloves, and let's build something awesome!
The Science Behind Smokeless Fire Pits
Before diving into construction, it helps to understand what makes a fire pit "smokeless" in the first place. Spoiler alert: they're not actually 100% smokeless, but when built correctly, they produce so little smoke you'll swear they are!
How Smokeless Fire Pits Work
Traditional fire pits create smoke primarily because of incomplete combustion. When wood doesn't burn completely, it releases particulates and gases that form the smoke we all love to hate. A smokeless fire pit tackles this problem through three key design elements:
Secondary Combustion - By introducing preheated air to the fire at the top of the burn chamber, any unburned gases get a second chance to ignite, dramatically reducing smoke.
Improved Airflow - Strategic air intake holes at the bottom allow oxygen to feed the fire from below, while the double-wall construction creates a convection effect that draws air upward.
Higher Burning Temperatures - The design traps and concentrates heat, resulting in a hotter fire that burns more completely.
The Double-Wall Secret
The magic happens between those two walls! As the fire heats the inner wall, it also heats the air in the gap between walls. This hot air rises (physics, baby!) and exits through holes at the top of the inner wall, right at the fire's edge. This superheated oxygen creates that secondary burn that zaps smoke particles before they can escape.
Pretty neat, huh? Now let's gather what we need to harness this science for ourselves!
Materials and Tools You'll Need
Before starting any DIY project, gathering all your supplies avoids those dreaded multiple trips to the hardware store. Here's everything you'll need to make your own smokeless fire pit:
Materials List
Stainless steel sheet metal (16-gauge recommended):
One 24" × 60" piece for the outer wall
One 20" × 50" piece for the inner wall
One 24" diameter circular piece for the base
Stainless steel perforated sheet metal (for the inner wall top)
High-temperature resistant paint (optional)
1/4" stainless steel bolts, nuts, and washers (approximately 20 sets)
Stainless steel wire mesh (for the base air holes)
Four 1" stainless steel angle brackets
Fire brick or lava rock (to line the bottom)
Tools List
Metal snips or angle grinder with cutting wheel
Drill with metal bits
Measuring tape and marker
Level
Safety equipment (goggles, gloves, ear protection)
Clamps
Metal file (to smooth rough edges)
Hammer
Center punch
Adjustable wrench
Metal roller (or a sturdy pipe to help create the circular shape)
Pro tip: If metalworking isn't your jam, you can adapt this project using pre-made fire rings or even repurposed metal containers of different sizes. The key is maintaining that crucial air gap between walls!
Site Preparation: Location Matters
Before cutting a single piece of metal, let's make sure you're building your fire pit in the right spot. A poorly placed smokeless fire pit is still a fire hazard, folks!
Choosing the Perfect Spot
Select a location at least 25 feet from any structures, overhanging trees, or flammable materials
Look for a flat, level surface (or be prepared to create one)
Consider prevailing winds in your area
Think about convenience—not too far from the house, but not so close that even minimal smoke becomes annoying
Check your local regulations and HOA rules (some areas require permits for fire features)
Preparing the Ground
Mark your chosen area with spray paint or stakes and string
Clear away any grass, plants, or debris within a 3-foot radius of your fire pit location
For extra safety, consider creating a non-combustible base with:
Paver stones
Gravel
Concrete slab
Fire-rated brick
Remember: Safety first, perfect ambiance second!
How to Make a DIY Smokeless Fire Pit Step-by-Step: Construction Phase
Now for the fun part—let's start building! I'll break this down into manageable steps even if you're not usually the handy type.
Step 1: Create Your Templates
On paper or cardboard, draw two circles—one 24" in diameter for the outer wall and one 20" in diameter for the inner wall
Cut these out to use as templates
Create a template for the air intake holes at the bottom (typically 1" diameter holes spaced 2" apart)
Design a template for the secondary combustion holes that will go at the top of the inner wall (typically 1/2" holes spaced 1" apart)
Step 2: Prepare the Metal Sheets
Trace your circular templates onto the respective metal sheets
Using your metal snips or angle grinder, carefully cut the metal sheets to your marked lines
File down any sharp edges for safety
Using your hole templates, mark the positions for:
Air intake holes on the outer wall (bottom)
Secondary combustion holes on the inner wall (top)
Drill these holes carefully, starting with a smaller pilot hole and working up to the final size
Step 3: Form the Walls
This can be the trickiest part for DIYers, but don't worry—there's a knack to it!
For each wall, gradually bend the metal sheet into a cylinder shape:
Use a metal roller if you have access to one
Or wrap the sheet around a sturdy pipe or similar cylindrical object
Work slowly, applying even pressure
Once shaped, overlap the ends by about 2"
Clap the overlapped ends together
Drill holes through both layers at the overlap
Secure with bolts, washers, and nuts
Repeat for both the inner and outer walls
Step 4: Prepare the Base
Take your circular base piece
Mark and drill several 1" ventilation holes in a grid pattern
Attach your wire mesh to the underside of these holes (this prevents debris from blocking airflow while allowing ash to fall through)
Attach four angle brackets to the inside of the outer wall, positioned about 3" up from the bottom edge—these will support the inner wall
Step 5: Assemble the Fire Pit
Place the outer wall on your prepared site
Secure the base to the bottom of the outer wall
Position the inner wall inside the outer wall, resting on the angle brackets
This creates your crucial air gap (approximately 2") between walls
Make sure everything is level and secure
Step 6: Add the Finishing Touches
Line the bottom of the inner chamber with fire brick or lava rock
This protects the metal base from extreme heat and helps distribute heat evenly
If desired, apply high-temperature resistant paint to the exterior
Create a simple lid from your remaining metal (optional but useful for protecting the pit when not in use)
Using Your New Smokeless Fire Pit
You've done it! Your DIY smokeless fire pit is ready for action. But wait—there's a trick to using it properly to maximize that smokeless effect.
Starting Your First Fire
Begin with a small fire to season your pit
Use dry, well-seasoned hardwood (moisture = smoke, regardless of your pit design)
Build a teepee or log cabin style fire in the center of the pit
Light from the bottom using natural fire starters
Allow the fire to build gradually—patience is key!
Maintaining Optimal Performance
Keep wood within the inner chamber, not touching the walls
Add new logs to the center rather than the edges
Allow proper airflow by not overcrowding with too much wood
Remember that even the best smokeless fire pit will produce some smoke during start-up and when adding new wood
Maintenance and Longevity
Like any outdoor feature, your DIY smokeless fire pit will need some TLC to keep it performing year after year.
Regular Cleaning
Allow the pit to cool completely before cleaning (at least 24 hours after use)
Remove ash buildup from the inner chamber
Check all air holes and clear any blockages
Inspect for any damage to the metal or fasteners
Seasonal Maintenance
Before winter: Apply a fresh coat of high-temperature paint if needed
Cover your fire pit during extended periods of non-use
Check for any rust or corrosion each season
Tighten any loose bolts or connections
Expected Lifespan
With proper care, your DIY smokeless fire pit should last 5-10 years, depending on:
Frequency of use
Exposure to elements
Quality of materials used
Maintenance routine
Not bad for a weekend project, right?
Common Issues and Troubleshooting
Even with perfect construction, you might encounter a few hiccups. Here's how to address common problems:
Still Getting Smoke?
Check that your wood is properly seasoned (less than 20% moisture content)
Ensure all air holes are clear of obstructions
Verify that the gap between walls isn't blocked
Try using smaller pieces of wood to increase burning efficiency
Make sure the fire isn't too large for the pit
Excessive Rust or Corrosion?
Clean affected areas with a wire brush
Apply high-temperature rust converter
Consider adding a protective covering when not in use
For severe cases, replace affected metal sections
Structural Issues?
Reinforce any weakening joints with additional brackets
Replace any warped metal sections
Check that the base remains level and stable
Customization Ideas
Now that you've mastered how to make a DIY smokeless fire pit step-by-step, why not make it uniquely yours?
Decorative Enhancements
Add decorative cutouts to the outer wall (stars, trees, etc.)
Install a copper or brass band around the top edge
Create a custom-designed spark screen
Incorporate stone or brick surrounds
Functional Upgrades
Add a cooking grate for grilling
Install a swinging arm for Dutch oven cooking
Create fold-down side tables
Design a built-in wood storage area nearby
Conclusion
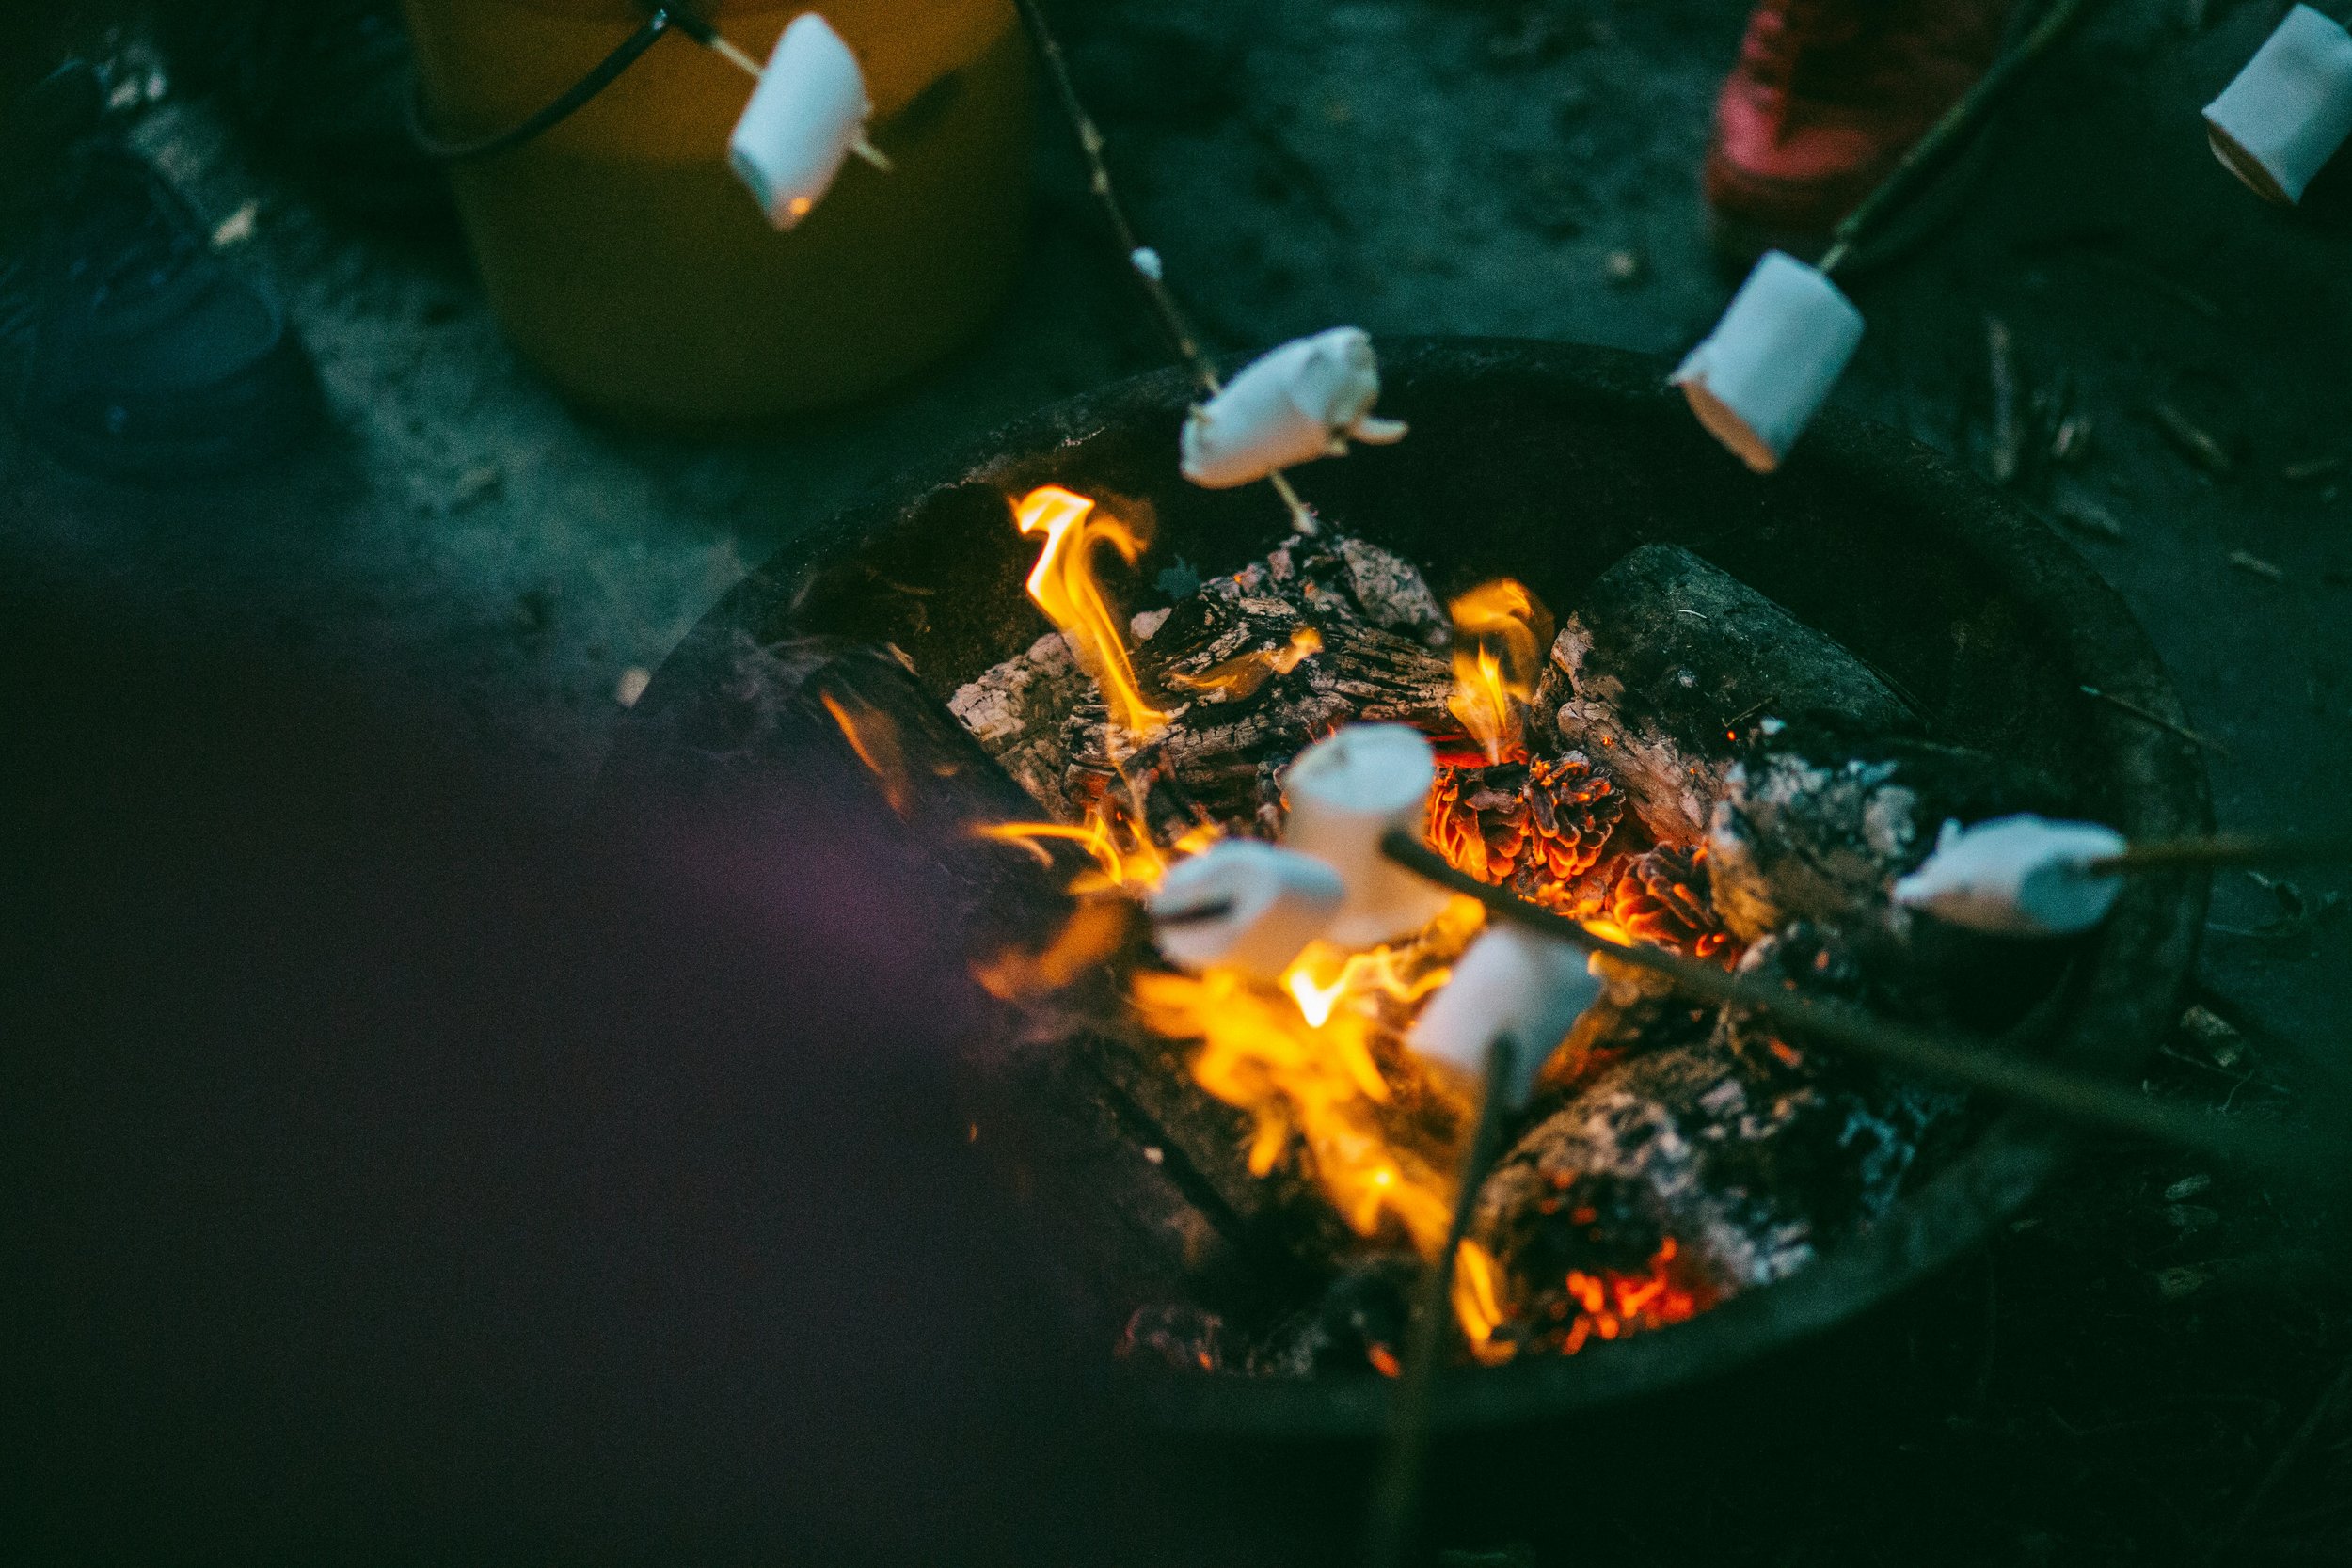
There you have it—a complete guide on how to make a DIY smokeless fire pit step-by-step! What started as a weekend project will quickly become the centerpiece of countless memorable evenings under the stars. The beauty of this DIY approach isn't just in the money you'll save compared to commercial options, but in the satisfaction of building something functional with your own hands. Remember, the key to success lies in maintaining that crucial airflow design, using properly seasoned wood, and performing regular maintenance. Now grab those marshmallows, call your friends, and enjoy your new smoke-free fire feature—you've earned it!
Read next: How Does a Smokeless Fire Pit Work? Explained
Frequently Asked Questions
Q1: Is a DIY smokeless fire pit really smokeless?
A: While not 100% smokeless, when built and operated correctly, these fire pits produce dramatically less smoke than traditional fire pits—often so little that it's virtually unnoticeable. You'll still see some smoke during startup and when adding new wood.
Q2: How much does it cost to build a DIY smokeless fire pit?
A: Depending on material quality and where you source them, expect to spend between $150-$300 for a basic smokeless fire pit. That's significantly less than commercial versions that can run $400-$1,200!
Q3: Do I need welding skills to build this?
A: Nope! This design uses bolts and brackets instead of welding, making it accessible to most DIYers with basic tools.
Q4: How hot does the outside of the fire pit get?
A: The outer wall will get hot, but not as hot as the inner wall. Still, always treat all metal surfaces as potential burn hazards when the fire pit is in use.
Q5: Can I use this fire pit on a wooden deck?
A: Not directly, no. If you want to use it on a deck, you must place it on a fire-resistant pad designed for fire features, and check that your deck can support the weight. Even then, check local codes first—many prohibit any open flames on wooden structures.
Stay up to date with our latest ideas!