How to Set Outdoor Light Timer Step by Step
Learn how to set outdoor light timer step by step with this easy guide. Save energy, boost security, and automate your home's exterior lighting today!

Ever come home to a pitch-black driveway and wished your outdoor lights were already on? Or maybe you've accidentally left your porch lights blazing all day, watching your electricity bill climb higher than a cat up a tree? Well, you're in luck! Learning how to set outdoor light timer step by step isn't rocket science, and once you've got it down, you'll wonder how you ever lived without this handy automation.
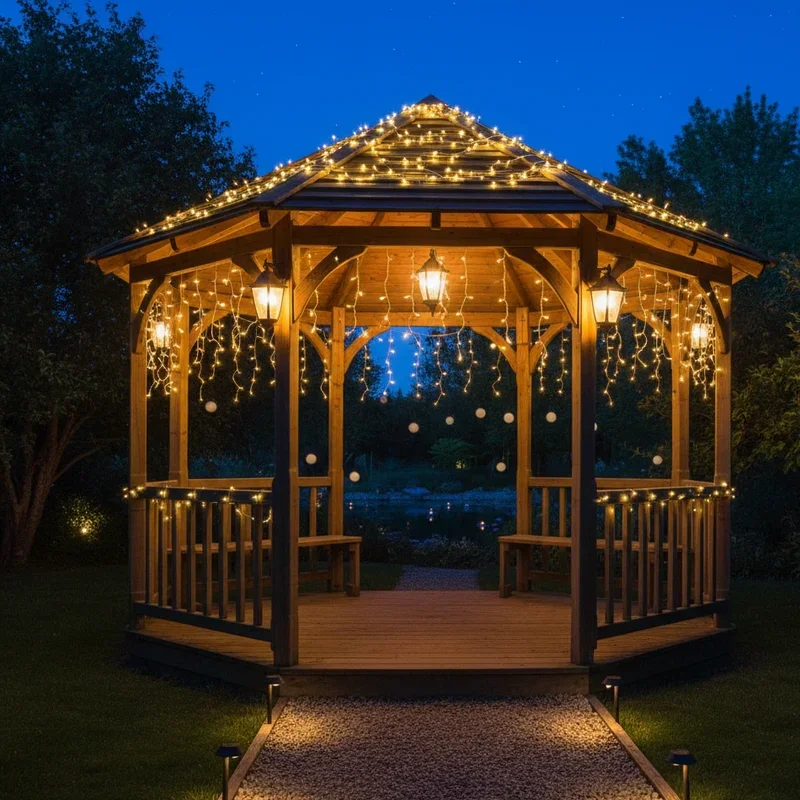
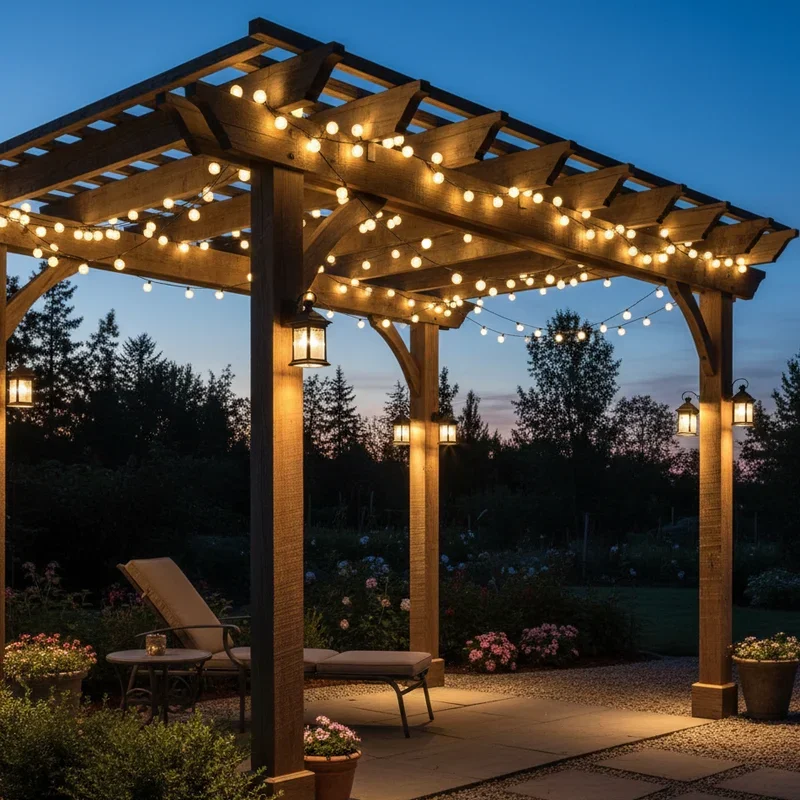
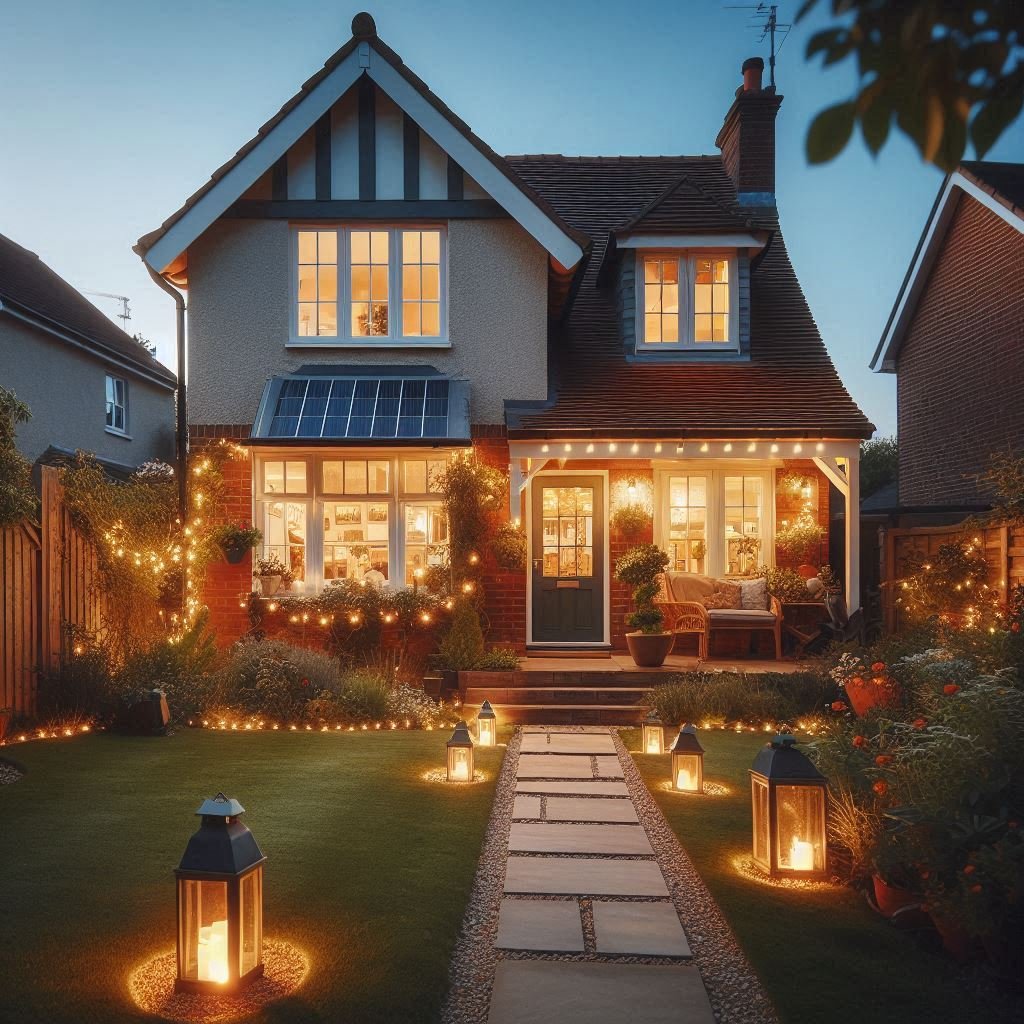
Picture this: your lights turn on automatically at dusk, welcoming you home with a warm glow, then switch off after you're tucked in bed. No more fumbling for switches in the dark, no more wasted electricity, and hey, potential burglars might think twice when they see lights turning on and off like someone's actually home! That's the magic of outdoor light timers, folks.
Whether you're a tech-savvy homeowner or someone who still struggles with setting the clock on your microwave, this guide's got your back. We'll walk through everything from choosing the right timer to troubleshooting those pesky problems that might pop up along the way. So grab a cup of coffee, roll up your sleeves, and let's dive into the wonderful world of outdoor lighting automation!
Understanding Different Types of Outdoor Light Timers
Mechanical Timers: Old School but Gold
Remember those clunky timers your grandparents used? Mechanical timers are still kickin' around, and honestly, they're pretty darn reliable! These babies work with pins or tabs that you push in or pull out to set your on/off times. No fancy screens, no complicated programming, just good old-fashioned mechanical precision.
The beauty of mechanical timers lies in their simplicity. You can literally set one up in about two minutes flat. However, they've got their quirks too. Power outages throw 'em off schedule, and you can't program different settings for weekdays versus weekends. But if you're looking for something straightforward that won't break the bank, mechanical timers might be your jam.
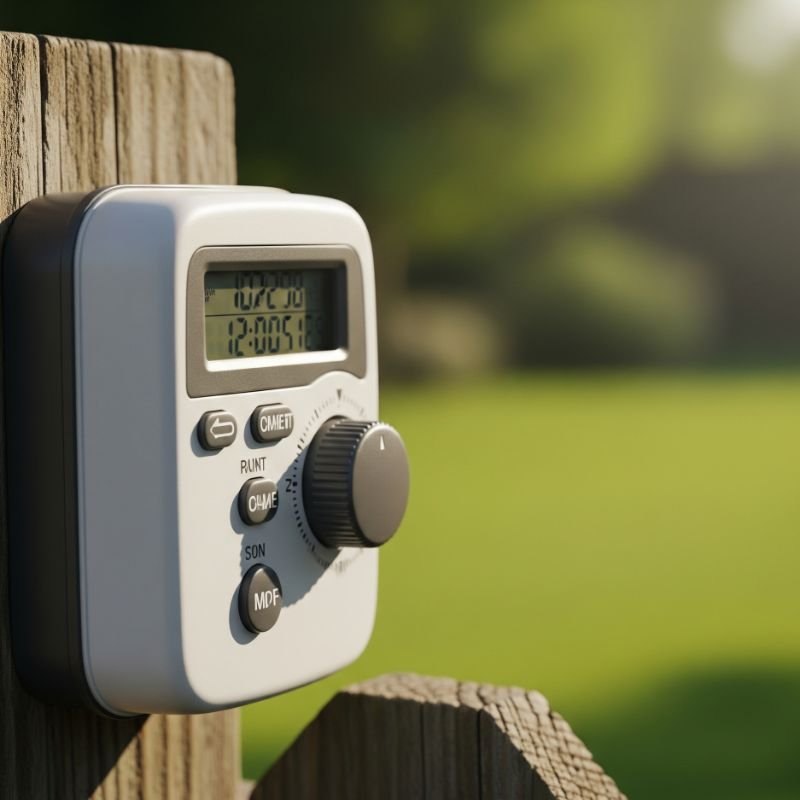
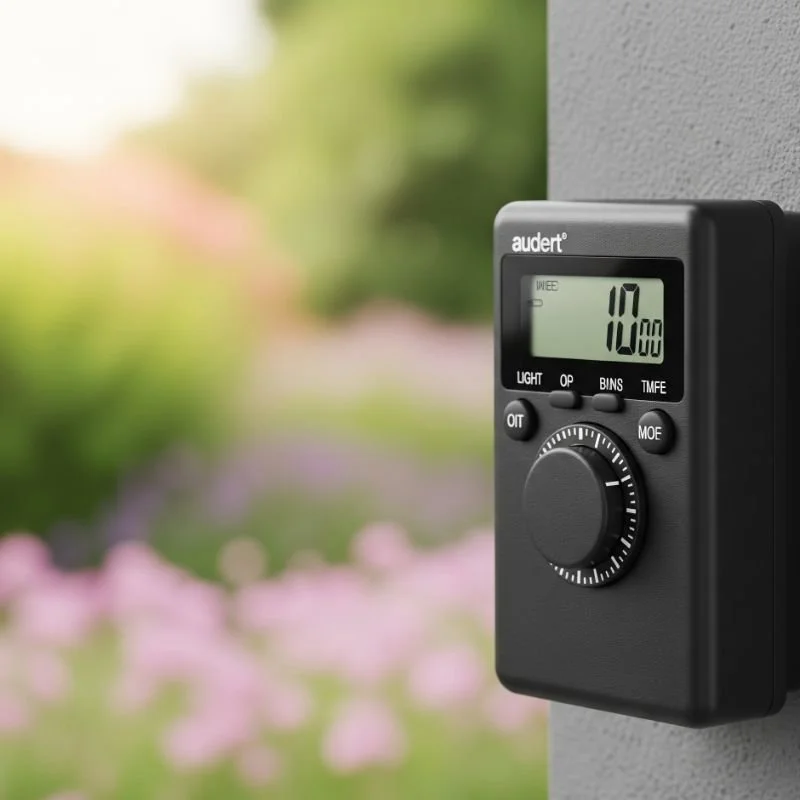
Digital Timers: Welcome to the 21st Century
Now we're cooking with gas! Digital timers are like the smartphones of the lighting world. These sophisticated devices offer multiple programming options, LCD displays, and features that'll make your head spin (in a good way). Want your lights to turn on at 6:47 PM on Tuesdays but 7:15 PM on Saturdays? Digital timers say "no problem!"
Most digital models come with:
Multiple on/off cycles per day
7-day programming capabilities
Random settings for vacation mode
Battery backup for power outages
Daylight saving time adjustments
Smart Timers: The Future is Now
Hold onto your hats, 'cause smart timers are changing the game entirely! These WiFi-enabled devices let you control your lights from anywhere in the world using your smartphone. Stuck in traffic? Open the app and turn on your porch lights. On vacation in Hawaii? Make it look like you're home by scheduling random light patterns.
Smart timers often integrate with home automation systems like Alexa, Google Home, or Apple HomeKit. Some even use astronomical calculations to adjust for changing sunset times throughout the year. Talk about living in the future!
Photocell Timers: Let There Be Light (Automatically)
Photocell timers, also known as dusk-to-dawn sensors, are pretty clever little devices. They use a light-sensitive cell to detect ambient light levels and automatically switch your lights on when it gets dark and off when the sun comes up. No programming needed!
These timers are perfect if you want a truly hands-off approach. However, they can get confused by streetlights, car headlights, or even a full moon on a clear night. Some models combine photocell technology with traditional timer functions for the best of both worlds.
Essential Tools and Materials You'll Need
Before jumping into the installation process, let's make sure you've got everything you need. Nothing's worse than getting halfway through a project and realizing you're missing a crucial tool!
Basic Tools Checklist:
Screwdrivers (both flathead and Phillips)
Wire strippers and cutters
Voltage tester (safety first!)
Electrical tape
Wire nuts
Needle-nose pliers
Flashlight or headlamp
Safety glasses
Materials You Might Need:
The timer itself (obviously!)
Weatherproof electrical box (for outdoor installations)
Mounting screws and anchors
Silicone sealant for weatherproofing
Extension cords (if needed)
Timer instructions (don't throw 'em away!)
How to Set Outdoor Light Timer Step by Step: The Complete Process
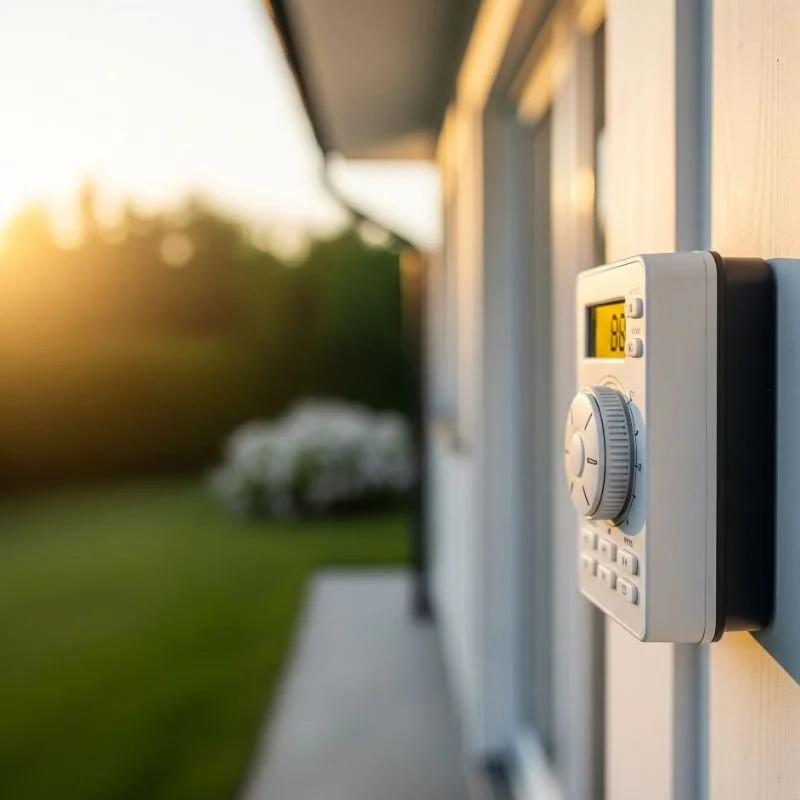
Step 1: Choose the Right Location
Location, location, location! Where you install your timer makes a huge difference. For plug-in timers, you'll need an outdoor outlet that's protected from rain and snow. Wall-mounted timers should be easily accessible but safe from the elements.
Consider these factors:
Distance from the lights you want to control
Protection from weather
Ease of access for programming
Proximity to power source
Visibility (so you can see the display)
Step 2: Turn Off the Power (Seriously, Do This!)
I can't stress this enough: TURN OFF THE POWER! Head to your circuit breaker and flip the switch for the circuit you'll be working on. Then, use a voltage tester to double-check that the power's really off. Electricity and humans don't mix well, so let's play it safe.
Pro tip: Put a piece of tape over the breaker switch and leave a note so nobody turns it back on while you're working. Trust me, getting zapped isn't fun!
Step 3: Install the Timer Hardware
Now comes the fun part! Installation varies depending on your timer type:
For Plug-in Timers:
Simply plug the timer into your outdoor outlet
Plug your light fixture into the timer
Make sure all connections are secure
Check that the outlet cover still closes properly
For Hardwired Timers:
Remove the existing switch (if applicable)
Connect the timer wires to your electrical wires:
Black to black (hot)
White to white (neutral)
Green or bare copper to ground
Carefully fold wires into the electrical box
Secure the timer to the box with mounting screws
Attach the faceplate
Step 4: Program Your Timer Settings
Here's where things get interesting! Programming varies by timer type, but I'll walk you through the general process:
Setting the Current Time: First things first, you gotta tell your timer what time it is. Most digital timers have a "Clock" or "Time" button. Press and hold it, then use the hour and minute buttons to set the current time. Don't forget to check if it's AM or PM!
Programming On/Off Times:
Press the "Program" or "Timer" button
Select the day(s) you want to program
Set your "On" time using the hour/minute buttons
Press "Program" again to set the "Off" time
Repeat for additional on/off cycles if needed
For Smart Timers:
Download the manufacturer's app
Create an account (yeah, everything needs an account these days)
Follow the in-app setup wizard
Connect to your home WiFi
Name your timer and start programming schedules
Step 5: Test Your Setup
Before calling it a day, you'll want to test everything. Turn the power back on at the breaker, then manually override your timer to turn the lights on and off. Make sure everything's working smoothly before relying on the automatic settings.
Run through a full 24-hour cycle if you've got time. Check that lights turn on and off when they're supposed to. It's better to catch problems now than to come home to darkness next week!
Advanced Programming Features and Tips
Creating Multiple Schedules
Once you've mastered the basics, it's time to get fancy! Many digital timers let you create different schedules for different days. Maybe you want lights on later during weekends when you're home, or earlier in winter when it gets dark at 4 PM.
Some timers offer:
Weekday/weekend programming
Individual day settings
Seasonal adjustments
Holiday schedules
Vacation randomization
Using Astronomical Timers
These brilliant devices calculate sunrise and sunset times based on your geographic location and the date. Just enter your zip code or coordinates, and the timer automatically adjusts throughout the year. No more reprogramming when the days get longer or shorter!
Integrating with Home Security
Your outdoor light timer isn't just about convenience; it's a security powerhouse! Random or "away" modes make it look like someone's home even when you're sipping margaritas on a beach somewhere. Some folks even connect their timers to motion sensors for an extra layer of protection.
Troubleshooting Common Timer Problems
Timer Won't Turn On
Don't panic! If your timer's giving you the silent treatment, check these things:
Is it getting power? Test the outlet or circuit
Are all connections secure?
Is the timer in "Auto" mode, not "Off"?
Did you accidentally program PM instead of AM?
Lights Flicker or Don't Stay On
Flickering lights usually mean a compatibility issue. Some timers don't play nice with LED or CFL bulbs. Check your timer's specifications and make sure it can handle your light type and wattage.
Timer Loses Programming
If your timer keeps forgetting its settings, the backup battery might be dead. Most digital timers have a small battery that maintains programming during power outages. Replace it annually to avoid frustration.
Weather-Related Issues
Moisture is the enemy of electrical components! If your timer's acting up after rain or snow:
Check for water intrusion
Ensure all weatherproof seals are intact
Consider adding a timer shelter or cover
Move to a more protected location if needed
Energy Savings and Environmental Benefits
Let's talk green for a minute! Using outdoor light timers isn't just convenient; it's downright eco-friendly. By ensuring lights only run when needed, you're reducing energy waste and shrinking your carbon footprint.
Consider these benefits:
Average household saves 5-10% on electricity bills
Reduced light pollution helps wildlife
Longer bulb life means less waste
Lower energy demand reduces strain on power grid
Potential rebates from utility companies
Smart Home Integration Possibilities
Voice Control Magic
"Hey Alexa, turn on the porch lights!" How cool is that? Many smart timers work seamlessly with voice assistants. You can create routines, adjust schedules, and control lights without lifting a finger.
IFTTT Integration
If This Then That (IFTTT) opens up endless possibilities. Set your lights to turn on when you're approaching home, flash when your doorbell rings, or dim when it starts raining. The combinations are limited only by your imagination!
Smartphone Control from Anywhere
Whether you're in bed or in Bermuda, smartphone apps give you complete control. Check if you left lights on, adjust schedules on the fly, or create lighting scenes for different occasions. It's like having a lighting command center in your pocket!
Safety Considerations When Installing Timers
Safety ain't sexy, but it's essential! Here are some non-negotiable rules:
Always turn off power at the breaker before working with electrical components
Use a voltage tester to confirm power is off
Never work in wet conditions or with wet hands
Follow local electrical codes and get permits if required
Hire a licensed electrician if you're unsure about anything
Use outdoor-rated components for exterior installations
Ensure proper grounding for all electrical connections
Maintenance Tips for Long-lasting Performance
Your timer doesn't need much TLC, but a little maintenance goes a long way:
Clean regularly: Dust and debris can interfere with buttons and displays
Check weatherproofing: Inspect seals and gaskets annually
Replace batteries: Change backup batteries before they die
Update firmware: Smart timers may need occasional updates
Test periodically: Run manual tests to ensure everything's working
Document settings: Keep a record of your programming for easy restoration
Conclusion
There you have it, folks! Learning how to set outdoor light timer step by step really isn't as daunting as it might seem. With the right timer and a bit of patience, you'll have your outdoor lights dancing to your tune in no time. From saving energy to boosting security, automated lighting makes life easier and your home smarter. So go ahead, take control of your outdoor lighting, and enjoy coming home to a beautifully lit property every single night!
Read next: 15 Stunning House Outdoor Lighting Ideas for Any Budget
Frequently Asked Questions
Q1: Can outdoor timers work with LED lights?
A: Most modern timers support LEDs, but always check compatibility first.
Q2: How much do outdoor light timers typically cost?
A: Basic mechanical timers start around $10, smart timers exceed $50.
Q3: Do I need an electrician to install a timer?
A: Plug-in timers no, hardwired timers maybe, depending on your skill level.
Q4: Can one timer control multiple light fixtures?
A: Yes, if total wattage doesn't exceed the timer's rated capacity.
Q5: Will my timer work during power outages?
A: Digital timers with battery backup maintain settings but won't operate lights.
Stay up to date with our latest ideas!