How to Turn On a Sprinkler System Without Hassle
Learn how to turn on a sprinkler system without hassle and maintain a flourishing yard! Dive into preparation, step-by-step instructions, FAQs, and more for a stress-free irrigation adventure.
Watering your lawn by hand is fine—until you miss a day or two and your grass decides to wave the white flag of surrender. After all, no one wants to see brown patches dotting what should be a sea of vibrant green. Enter the savior of landscapes everywhere: the sprinkler system. But some folks get anxious just thinking about the process of turning it on for the season—especially after a long winter. Don’t sweat it! Once you know How to Turn On a Sprinkler System Without Hassle, you’ll feel more like a lawn guru than a lost gardener.
In this guide, we’ll tackle everything you need to make sure that, when spring rolls around, you can flip the switch on your sprinkler system as effortlessly as snapping your fingers. From basic components to potential pitfalls, we’ll leave no stone unturned. Ready to get your grass in gear? Let’s roll up our sleeves and dig in!
How to Turn On a Sprinkler System Without Hassle: Laying the Foundation
First things first: How to Turn On a Sprinkler System Without Hassle starts with a solid understanding of what you’re dealing with. Sure, a sprinkler system might seem like a complicated web of pipes and valves buried under your lawn. And, truth be told, it kind of is. But once you grasp the fundamentals, everything becomes more manageable.
1. Know the Basic Components
Main Water Supply Valve – Think of this as the system’s “on-off switch.”
Backflow Preventer – This device stops water from flowing backward into your home’s drinking water, preventing contamination.
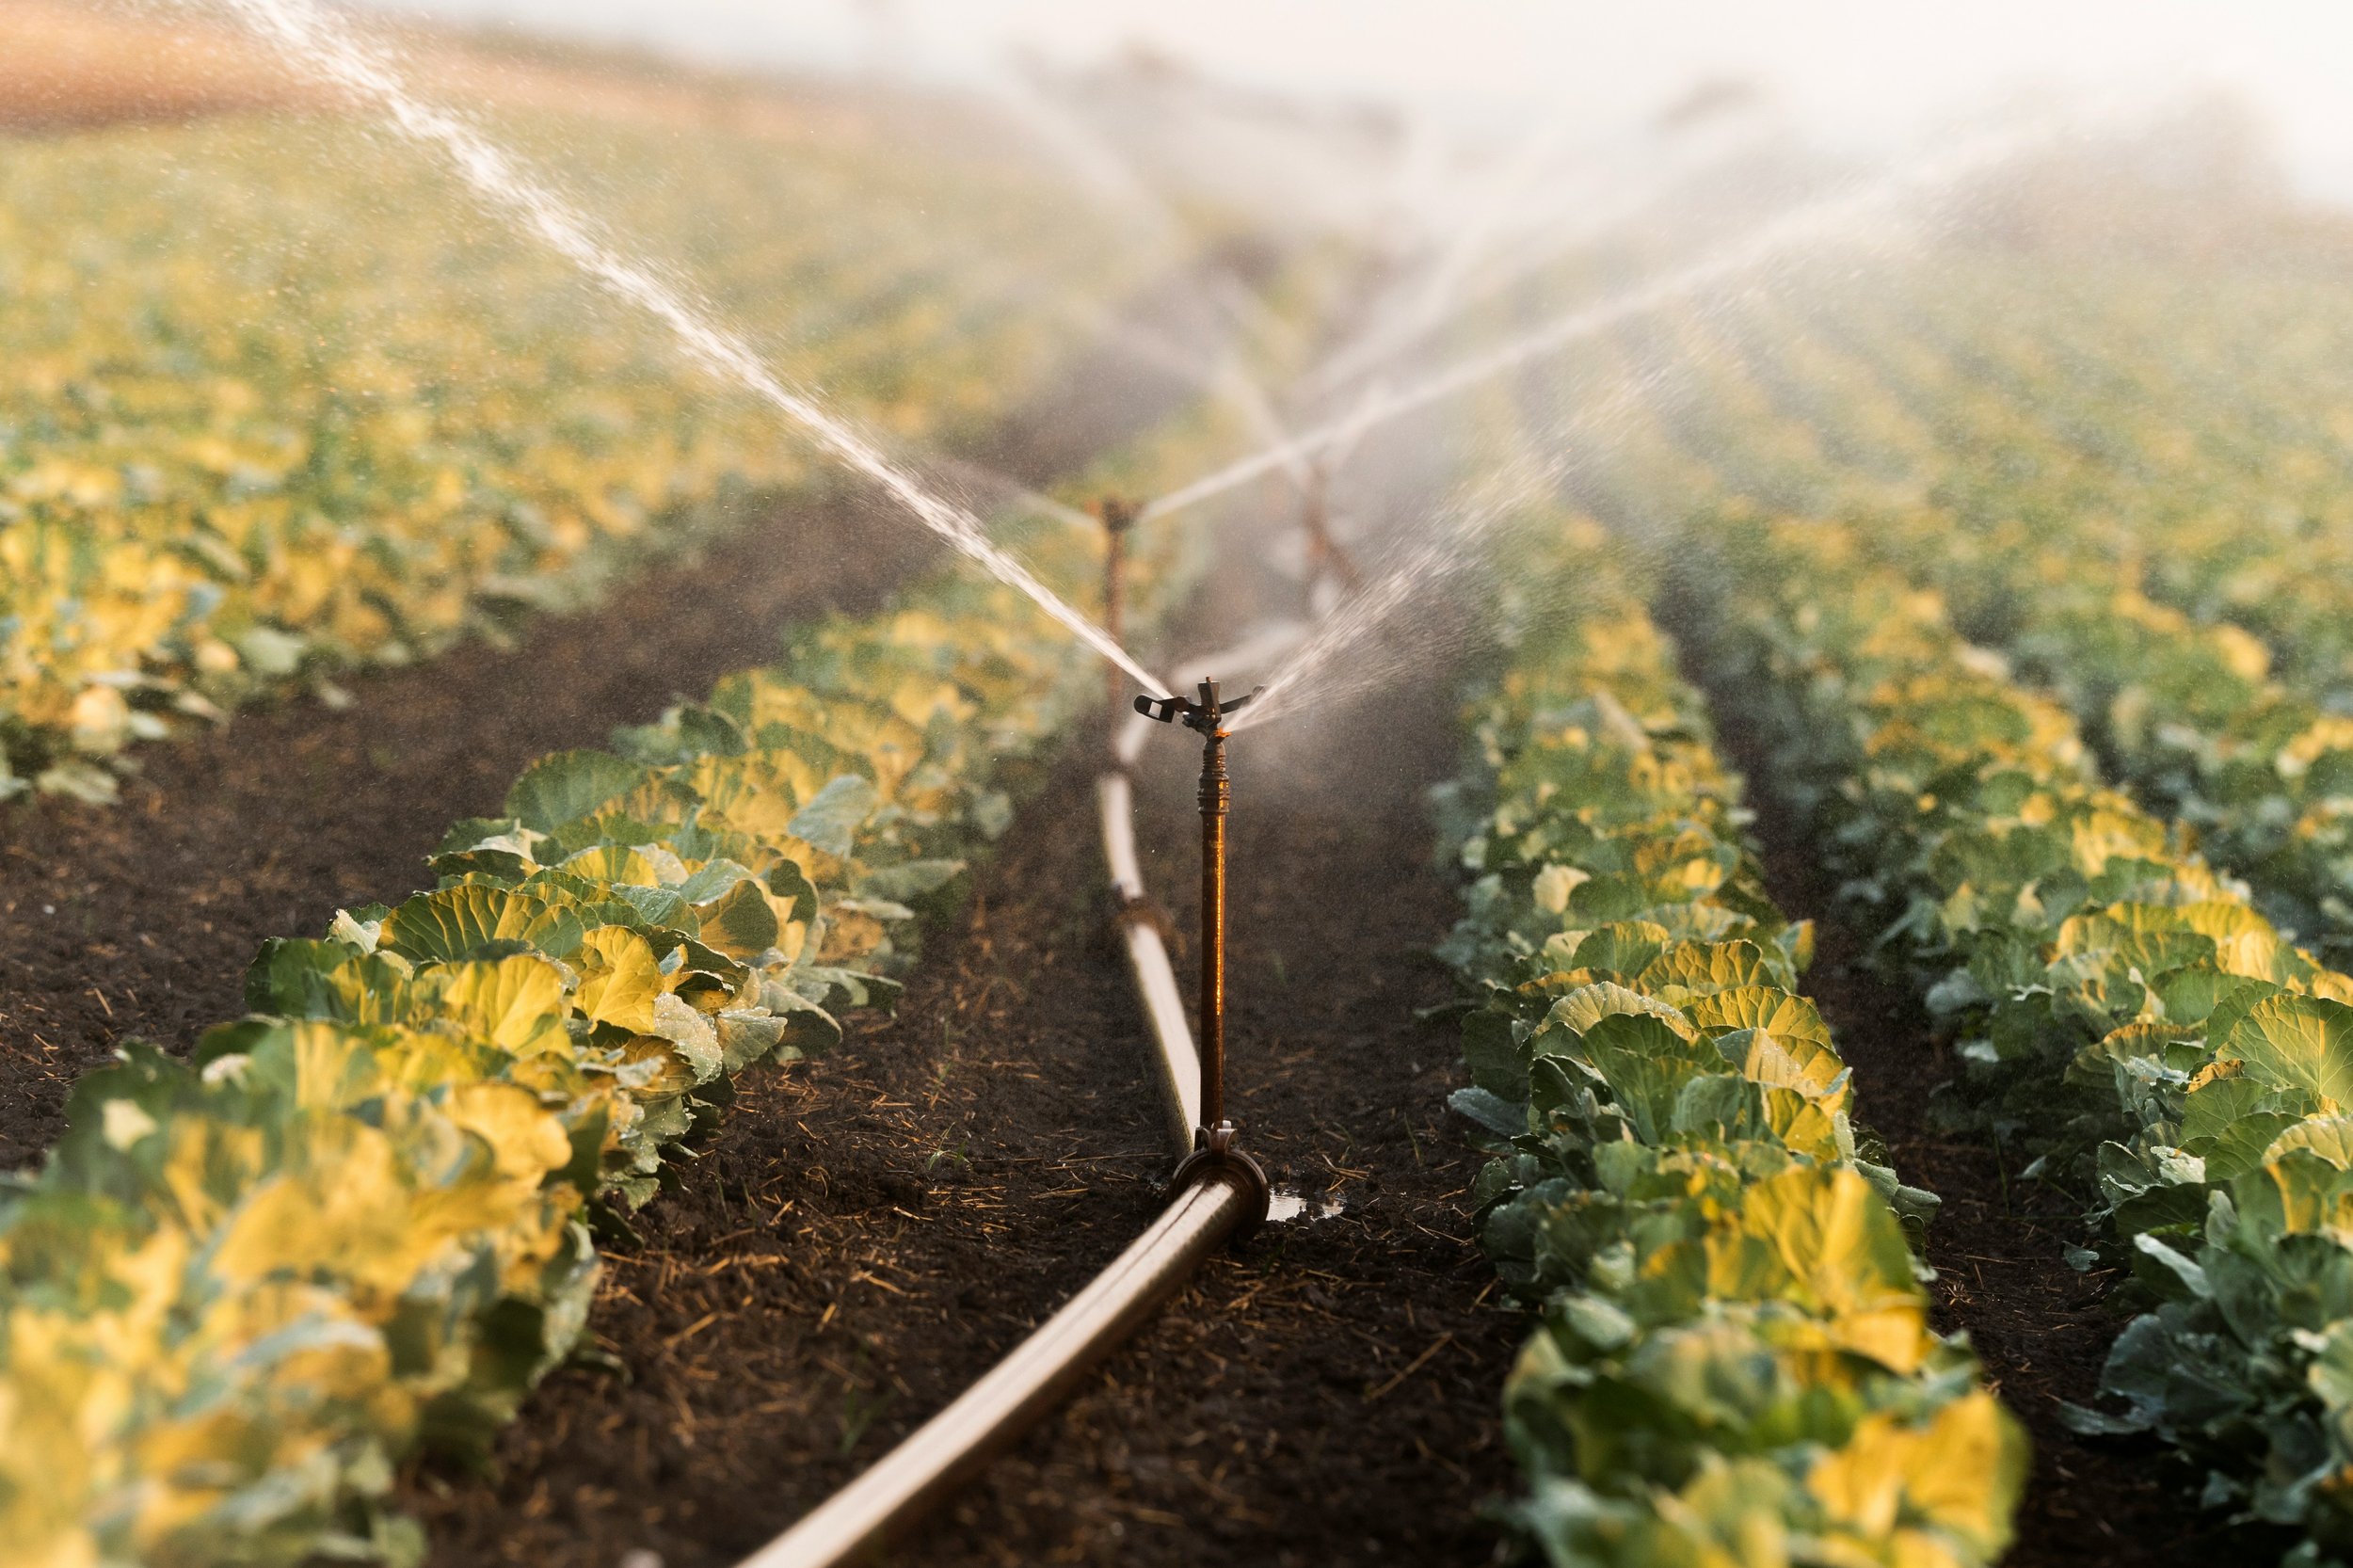
Zones (or Sections) – Most sprinkler systems are divided into zones, allowing you to water different parts of your yard independently.
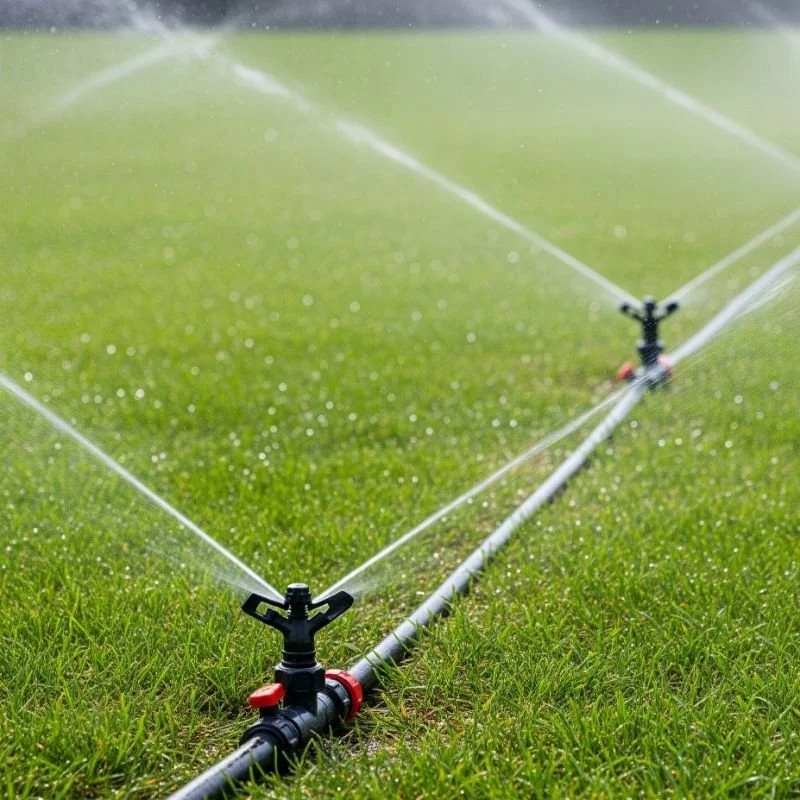
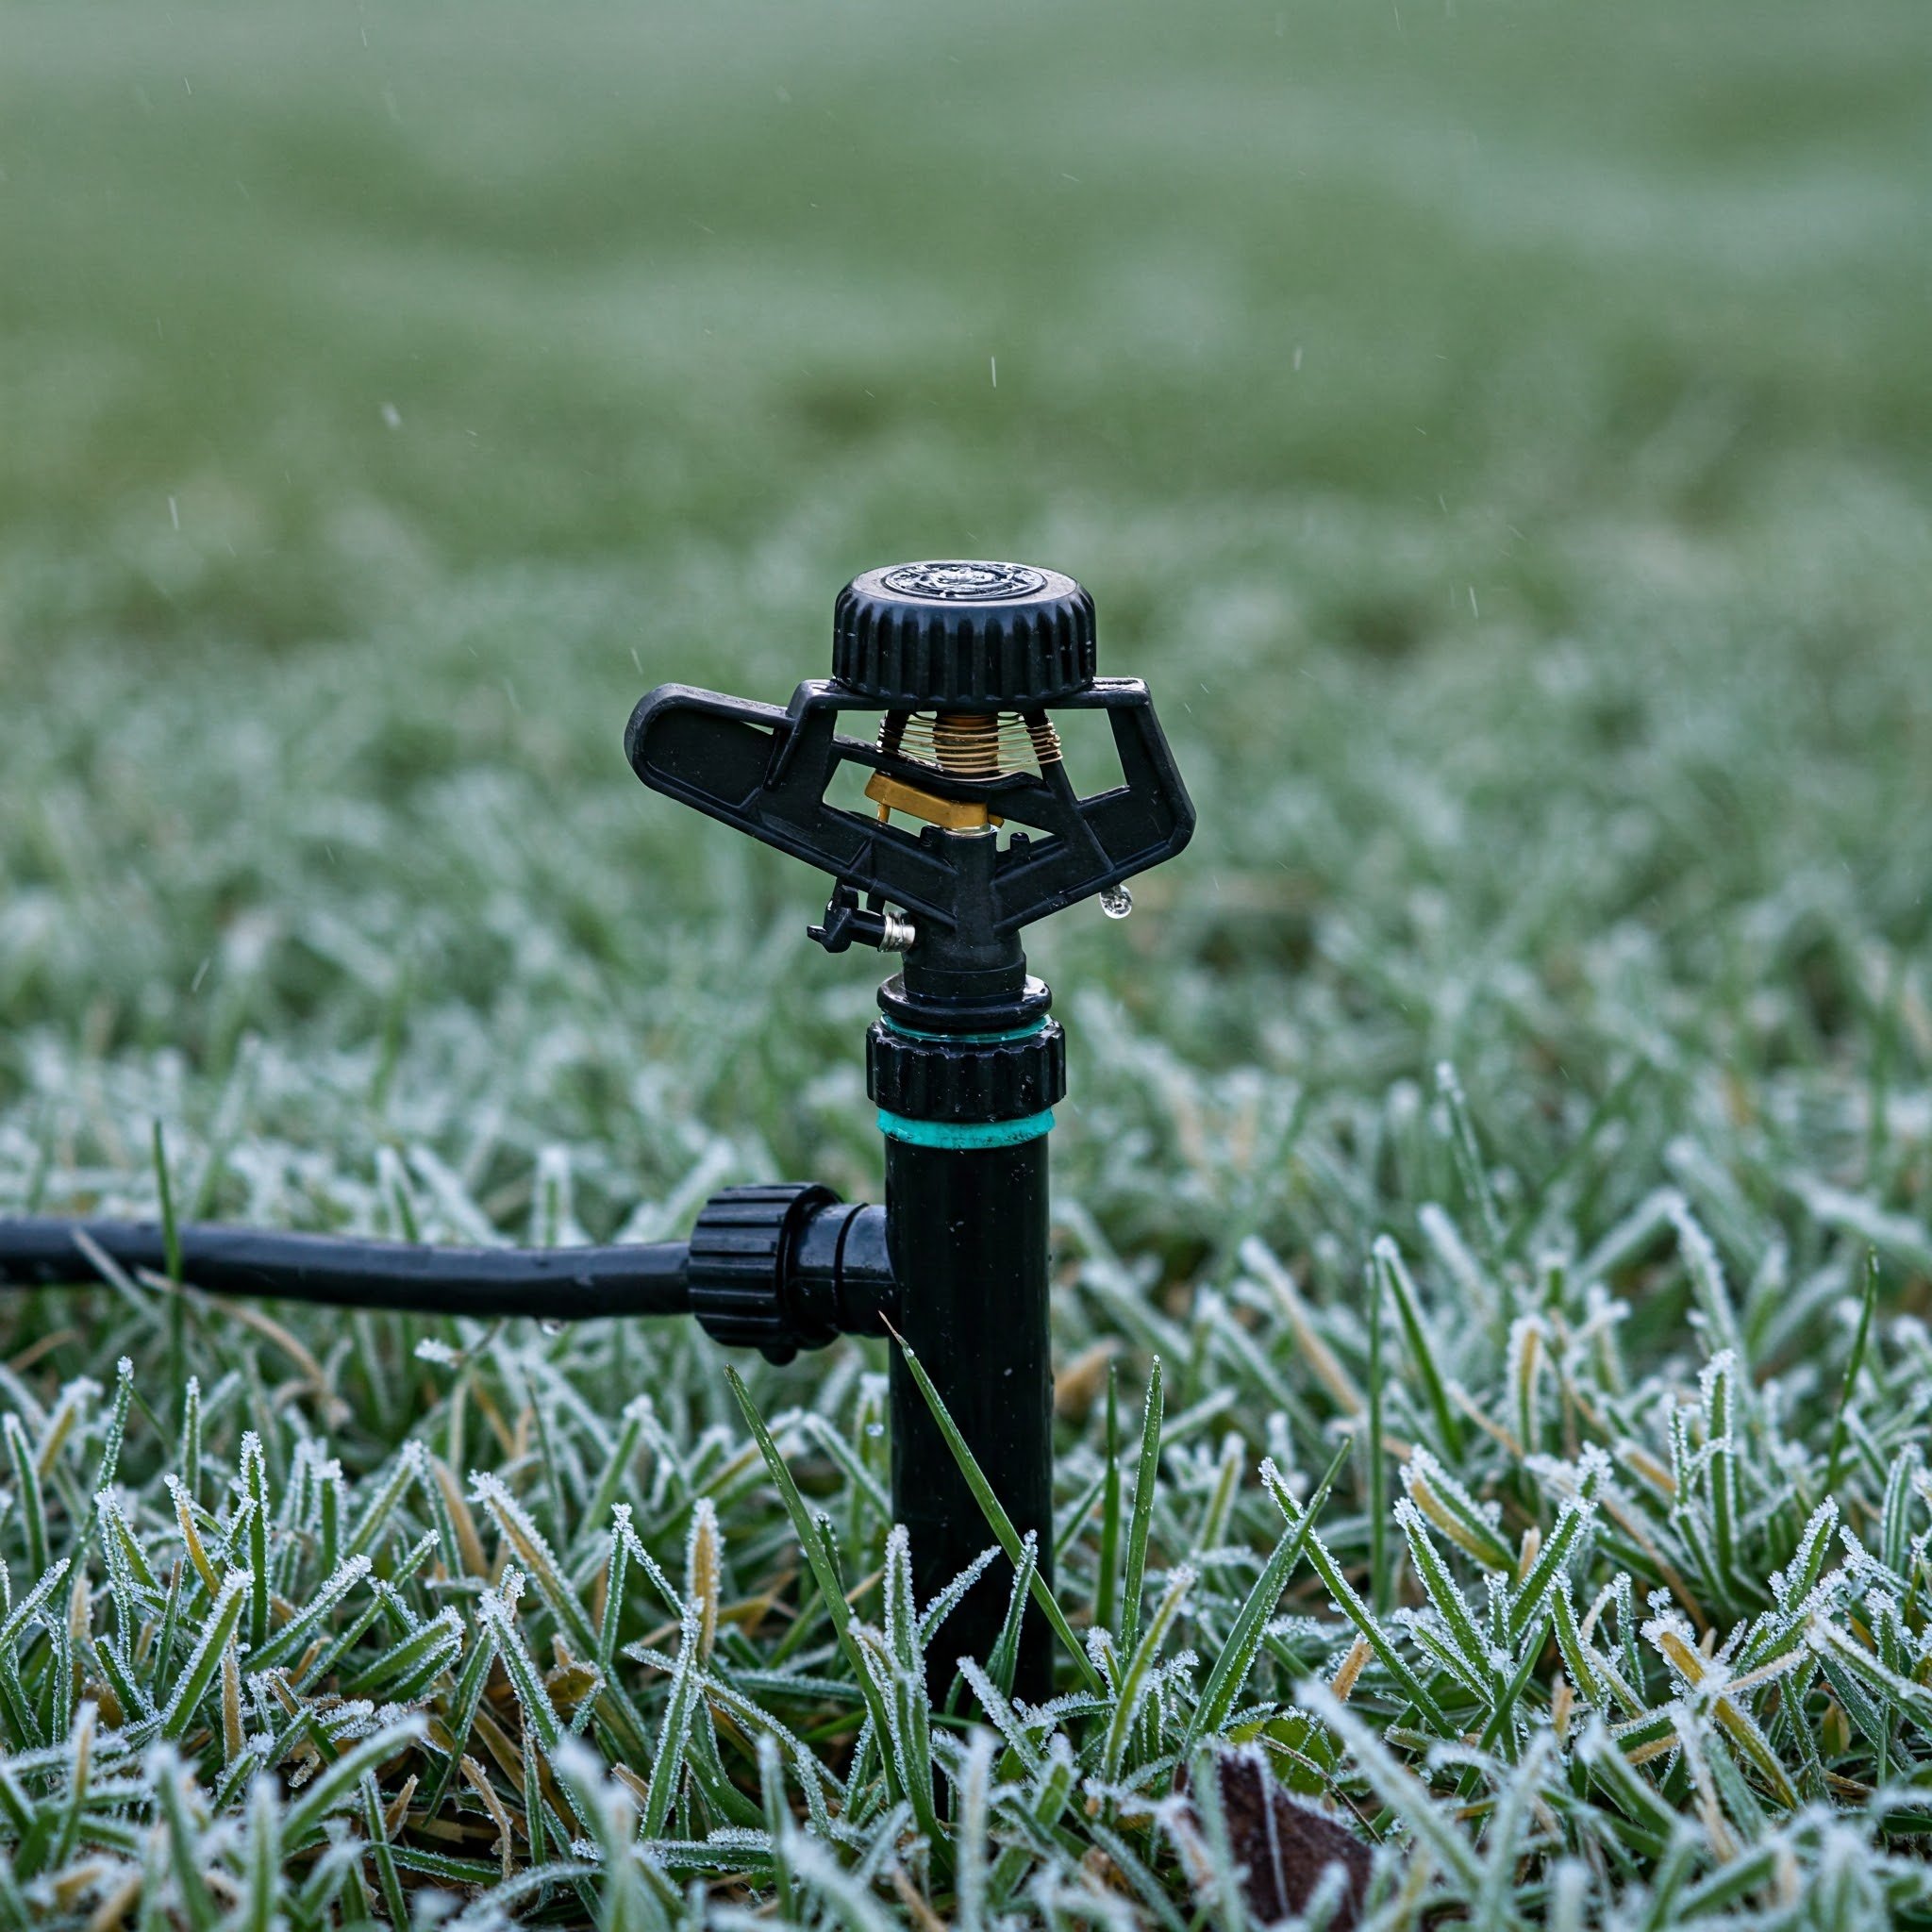
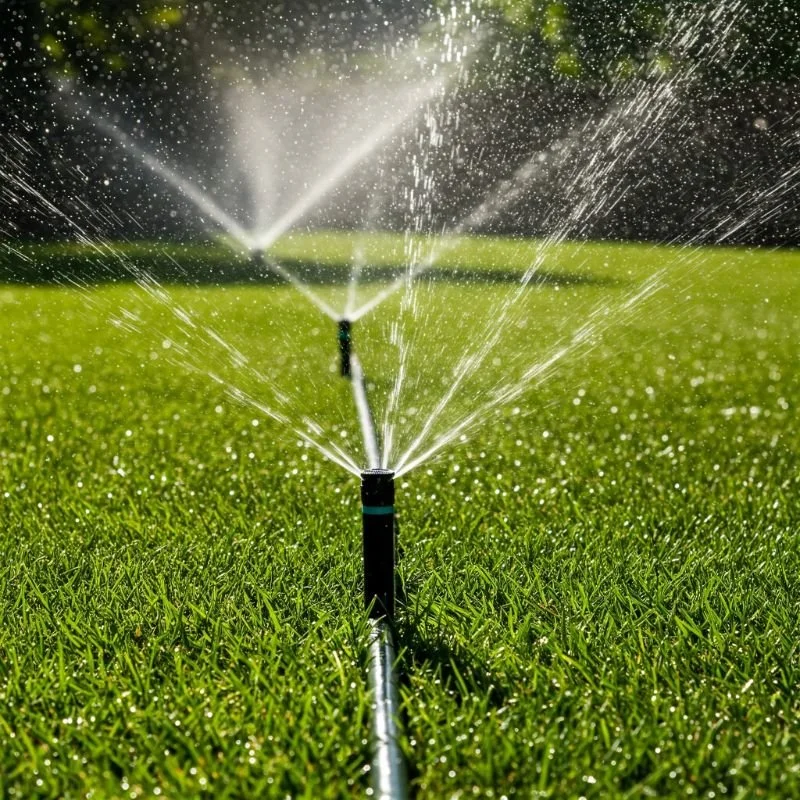
Sprinkler Heads – The actual nozzles that pop up from the ground and spray water. They can vary in style (rotors, sprays, bubblers).
Controller (or Timer) – This handy gadget automates watering schedules.
When you’re turning the system back on after a dormant season (like winter), each of these parts needs a little TLC to ensure they’re not clogged, damaged, or misaligned.
2. The Importance of Timing
Some folks flip the switch on their sprinklers the minute the first warm day makes an appearance. Not so fast! If the ground is still partially frozen, you could be in for a rude awakening: cracked pipes, leaks, and a headache that’ll have you hollering, “What have I done?” You’ll want to wait until the threat of a hard freeze is behind you. For most regions, that’s when daytime temperatures consistently stay above freezing, and nighttime temps don’t dip too low.
3. Safety First
Water and electricity sometimes make for a dicey combo. Although your controller runs on low voltage, it’s still wise to take a moment and think about safety:
Check that your controller’s power cords are in good shape (no frays or exposed wires).
Make sure your main water supply area is free of clutter and easily accessible in case you need to shut things down quickly.
A dash of precaution now can save you from headaches later.
Gearing Up: The Tools You Might Need
It’s not rocket science, but turning on a sprinkler system without hassle does require a few tools and supplies. If you’re rummaging through your garage trying to figure out what might be useful, here’s a quick list to keep you on track:
Adjustable Wrench – For loosening or tightening any fittings or valves.
Screwdrivers – You never know when you’ll need a flathead or Phillips to adjust sprinkler heads or open access panels.
Sprinkler Head Adjustment Key – Many sprinkler models have their own special key for fine-tuning spray patterns or directions.
Teflon Tape – If you spot any small leaks at threaded joints, a few wraps of Teflon tape can seal the deal.
Replacement Sprinkler Heads – If you suspect any heads might be damaged or clogged, having extras on hand can save a trip to the hardware store mid-project.
Patience – Seriously! Rushing the process is a surefire way to cause damage or miss something important.
Gather all these before you get rolling, so you won’t have to drop everything halfway through to run to the store. Nothing kills momentum like having to search for that one tool you were sure you had but can’t seem to find.
Step-by-Step: How to Turn On a Sprinkler System Without Hassle
You’ve checked the forecast. You’ve armed yourself with the right tools. You’ve decided it’s go time. Follow this roadmap to make the process straightforward—even enjoyable.
1. Inspect the System Thoroughly
Begin at the Backflow Preventer: Look for any cracks or damage. If there’s an insulation cover, remove it carefully. If your backflow preventer is above ground, it’s especially vulnerable to freezing temps, so pay close attention to any signs of leakage.
Peek at the Sprinkler Heads: Remove any dirt, debris, or mulch that might have accumulated around them. Make a quick note of any heads that look tilted, broken, or clogged.
2. Turn the Water On—Slowly
Remember, in the land of sprinklers, “slow and steady” wins the race. When you open the main water valve too quickly, you risk a water hammer—a sudden surge of pressure that can jolt and damage your pipes and sprinkler components. Instead:
Locate the Main Valve: Often near your water meter or where the sprinkler system branches off from your main water line.
Open the Valve a Crack: If it’s a ball valve, move the lever just a slight angle. If it’s a gate valve (the type you twist), give it about a quarter-turn.
Wait and Listen: Let water fill the pipes gradually. You might hear some hissing or sputtering as air escapes through the sprinkler heads.
Continue Opening Slowly: After a minute or so, open it a bit more. The entire process might take a few minutes, but patience pays off.
Once your main valve is fully open, watch the pressure. Does anything sound off? If you hear loud banging or the pipes are shaking like they’re auditioning for a horror movie, close the valve slightly and let the system stabilize.
3. Check Each Zone Individually
Next, switch on each zone manually from your controller (or sometimes by opening a valve at the backflow preventer—depends on your setup). Look for:
Sprinkler heads that won’t pop up
Uneven or weak spray patterns
Geysers or visible leaks at sprinkler heads
If you find a head that’s kaput, it might need cleaning or replacing. Don’t be shy about unscrewing a clogged nozzle and rinsing it under running water. A small piece of grit can wreak havoc on spray patterns.
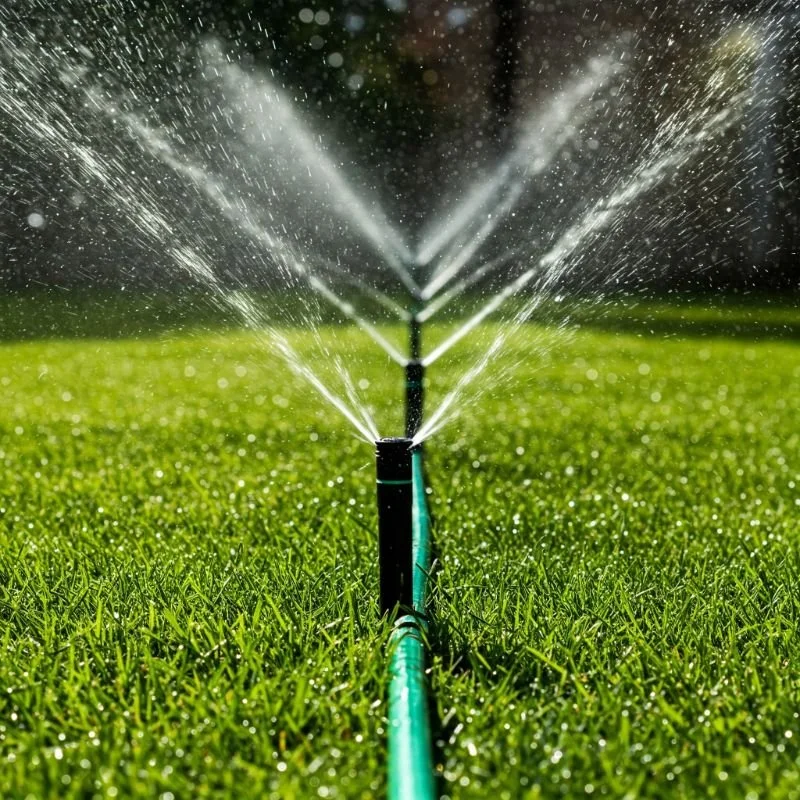
4. Adjust Spray Patterns and Coverage
Even if your sprinkler heads are all working, they might not be aimed exactly where you want them after months of inactivity. Some heads could be spraying the sidewalk, or maybe your prize rose bush is only getting a gentle mist while the rest of the bed is drenched. Use the manufacturer’s recommended adjustment key or a small flathead screwdriver to tweak:
Spray arc (the range in degrees—e.g., 90°, 180°, 360°)
Spray distance
Direction
Experiment until you’re satisfied. A well-calibrated zone means less water wastage and a healthier, more evenly watered lawn.
5. Program the Controller
The icing on the cake: setting up your watering schedule. With modern controllers, you can program:
Start Times – Perhaps you prefer watering early in the morning to minimize evaporation.
Run Times per Zone – Some zones need a 5-minute soak, others might require 10 minutes.
Days of the Week – Water restrictions might mean you can only water on certain days.
Pro Tip: Many controllers have multiple programs (A, B, C). This allows you to run different schedules for different zones. For example, maybe your lawn zone (turf) needs more frequent watering than your flowerbeds. Experiment, observe, and adjust as necessary.
Common Challenges (and How to Conquer Them)
Even the best-laid plans can go awry. Here are a few hurdles you might encounter and quick fixes to get you back on track.
1. Leaks Galore
Possible Cause: Cracked pipes or fittings from harsh winter conditions.
Solution: Once you pinpoint the source of the leak, replace the damaged section of pipe or fitting. If you’re unsure, call a professional—but small leaks can often be managed with a bit of DIY know-how.
2. Low Water Pressure
Possible Cause: The main valve might not be fully open, or there could be a partial clog in the line.
Solution: Ensure your main valve is completely open and flush the system by running it briefly without nozzles on the heads (if your heads allow for it). You might also contact your water provider to check if there’s a broader pressure issue.
3. Uneven Watering
Possible Cause: Heads are misaligned or blocked by shrubs, lawn debris, or even new growth.
Solution: Adjust head angles, prune back foliage, or consider installing risers to lift the head higher if your landscaping has changed.
4. Controller Woes
Possible Cause: Power outages or dead backup batteries can cause your controller to forget its settings.
Solution: Replace batteries, reset the date and time, and reprogram your schedules. If the display is still off, the controller itself might be on the fritz and may need replacing.
Tips for a Healthy Lawn
Great, your sprinkler system is up and running. But there’s more to lawn care than just flipping the water on. Check out these tips to keep that grass green and happy all season long:
Water Early: Aim for mornings, between 5 AM and 9 AM, so moisture can soak in before the heat of the day.
Deep, Infrequent Watering: Watering deeply encourages roots to grow downward, making grass more drought-tolerant. Frequent, shallow watering keeps roots near the surface.
Mow High: Longer grass blades can shade the soil, reducing evaporation and discouraging weeds.
Aerate Annually: Aerating helps break up compacted soil, allowing water and nutrients to penetrate more effectively.
Fertilize Wisely: Too much fertilizer can burn your lawn, while too little can leave it starved. Follow product guidelines or consult a lawn care expert.
Following these pointers can help ensure that all the effort you’ve put into learning How to Turn On a Sprinkler System Without Hassle actually pays off in a lush, envy-inducing yard.
Maintenance Routines to Keep Things Running Smoothly
So, you’ve mastered How to Turn On a Sprinkler System Without Hassle, and everything looks peachy. Don’t stop there! A well-maintained sprinkler system is less likely to surprise you with leaks, clogs, or other unwanted drama.
Monthly Checkups: Walk your yard and observe each zone in action at least once a month. Look for heads that may have shifted or become clogged.
Seasonal Adjustments: In hot, dry spells, consider increasing watering times slightly. When it’s rainy, dial them back. If your controller is “smart,” it might do some adjusting automatically.
Sprinkler Head Cleaning: If you notice inconsistent spray patterns, remove the nozzles and rinse them off. A soft brush can help dislodge stubborn gunk.
Valve Inspection: Valves control water flow to each zone. If one zone isn’t functioning, the culprit might be a faulty valve. Checking and cleaning valve filters (if applicable) can fix slow-flow issues.
Winterizing: As we mentioned, do this diligently in the fall. Proper shutdown paves the way for a hassle-free spring startup.
How to Turn On a Sprinkler System Without Hassle: Staying One Step Ahead
Let’s face it: lawns have a knack for throwing curveballs at us. Perhaps a new neighbor’s fence is blocking sun, or you decide to redesign your flowerbeds, inadvertently burying a sprinkler head. The best approach? Embrace a mindset of constant tinkering and observation. That doesn’t mean you have to obsess over every blade of grass. Rather, keep your eyes peeled for subtle changes in water distribution or lawn health. Catching small issues early often prevents them from ballooning into pricey repairs.
A final word: turning on your system is just one piece of the puzzle. To truly keep your lawn in tip-top shape, you’ll need to pair good irrigation practices with savvy lawn management, like proper fertilization and mowing schedules. But once you’ve got the basics of How to Turn On a Sprinkler System Without Hassle under your belt, you’re well-positioned to handle whatever the seasons throw at you.
Conclusion
When springtime knocks on your door, you don’t have to quake in your boots at the thought of resurrecting your sprinkler system. Armed with the right knowledge, the right tools, and a dash of patience, you’ll soon see that it’s not such a big deal after all. Learn How to Turn On a Sprinkler System Without Hassle, and your lawn will thank you with lush, emerald blades that make neighbors do a double-take as they walk by.
Whether it’s a small suburban patch of green or sprawling acreage, a properly functioning sprinkler system takes the guesswork (and a good chunk of the labor) out of lawn care. By following the steps we’ve laid out—from gradual valve opening to methodically checking each zone—you can avoid common pitfalls like water hammer, leaks, or misaligned heads. Keep in mind that good maintenance habits, routine inspections, and timely repairs are part of the bargain, too.
So go ahead, step outside with confidence. It’s time to turn on that sprinkler system and usher in a new season of lawn perfection. A little bit of preparation goes a long way, and once you see those heads pop up and spray water in perfect arcs, you’ll wonder why turning them on ever felt intimidating in the first place. Happy watering, and may your grass always be greener on your side of the fence!
Frequently Asked Questions
1. How often should I run my sprinklers once they’re turned on?
Great question? It depends on your climate, soil type, and type of grass. Generally, watering your lawn two to three times a week—deeply, for around 20 to 30 minutes—produces strong, deep roots. But if you’re in a scorching climate, you might need to ramp that up a bit.
2. Do I really need a backflow preventer?
You bet! A backflow preventer is crucial for preventing any chemicals, fertilizers, or bacteria from lawn water sneaking back into your home’s drinking supply. In many places, they’re legally required for safety reasons.
3. My sprinkler heads aren’t popping up—what’s the deal?
If your heads stay buried in the ground, debris or soil might be blocking them. Try removing the nozzle and cleaning it, or gently pull them up by hand (some heads get stuck). Also, check water pressure—if it’s too low, the heads won’t fully extend.
4. Do I need to hire a professional to turn on my system each spring?
Not necessarily. Most homeowners can handle the job themselves if they proceed carefully. However, if you detect significant leaks or damage, or if the system is exceptionally complex, a professional irrigation specialist can save you time (and money in the long run).
5. How do I avoid winter damage next season?
Winterizing your sprinkler system is key. This typically involves draining or blowing out the lines to remove water, shutting off the main valve, and insulating the backflow preventer. Proper winterization drastically reduces the chance of cracked pipes come spring
Stay up to date with our latest ideas!