How to Build a Fence Gate and Ensure Long-Lasting Strength
Learn how to build a fence gate and ensure long-lasting strength with our step-by-step guide. Get pro tips for sturdy, reliable gates!
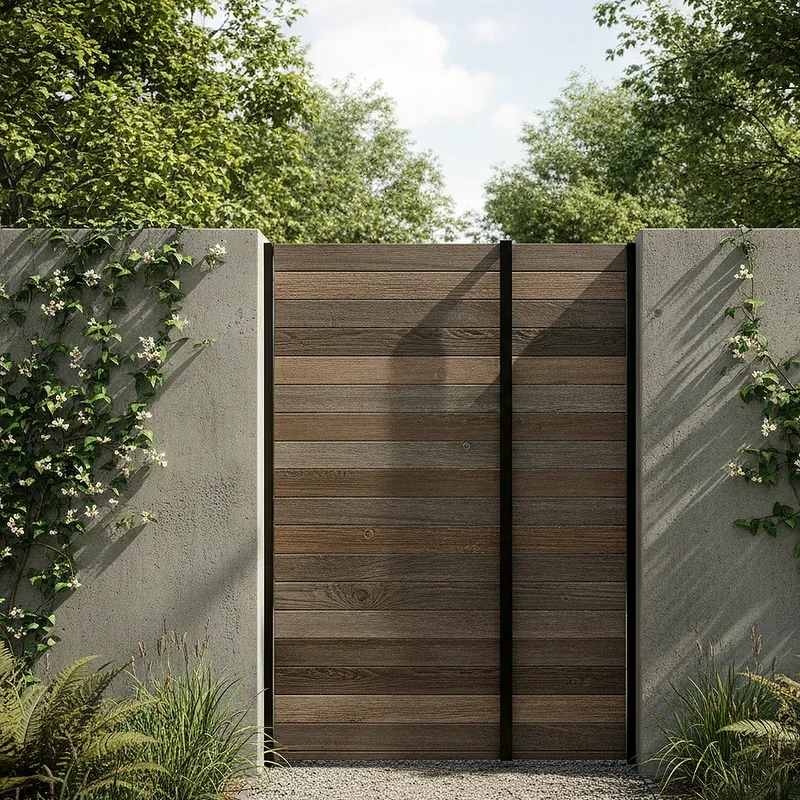
Well, here's the thing about fence gates: they're like the front door to your outdoor kingdom, aren't they? Building one that'll stand the test of time isn't rocket science, but boy, it sure helps to know what you're doing! Whether you're tired of that saggy old gate that won't close properly or you're starting fresh with a brand new fence, understanding how to build a fence gate and ensure long-lasting strength is gonna save you headaches down the road.
You know what they say, "Good fences make good neighbors," but I'd argue that good gates make even better ones! After all, what's the point of having a beautiful fence if your gate looks like it's been through a tornado? Speaking from experience, there's nothing quite as satisfying as building something with your own two hands that actually works properly. So, let's roll up our sleeves and dive into this project together!
Planning Your Gate: The Foundation of How to Build a Fence Gate and Ensure Long-Lasting Strength
Measuring Twice, Cutting Once
Oh man, if I had a dollar for every time someone messed up their measurements! Getting your dimensions right from the get-go is absolutely crucial. Here's what you'll need to consider:
Width of the gate opening (add about 1 inch total for swing clearance)
Height that matches your fence line
Ground clearance (typically 2-3 inches)
Post spacing and placement
Direction of swing (inward or outward)
Honestly, taking an extra five minutes to double-check these measurements will save you from wanting to throw your hammer across the yard later!
Choosing the Right Materials
Now, picking materials isn't just about what looks pretty. You've gotta think about durability, weather resistance, and of course, your budget. Cedar and redwood are fantastic choices if you can swing it financially. They're naturally rot-resistant and look gorgeous to boot! Pine's more budget-friendly, but hey, with proper treatment, it'll serve you well too.
Don't forget about the hardware! Galvanized or stainless steel hinges and latches are worth their weight in gold. Trust me, nothing's worse than having a perfectly good gate with rusty hardware that squeaks like a haunted house door.
Essential Tools and Materials You'll Need
The Tool Arsenal
Before jumping in headfirst, let's make sure you've got everything handy:
Circular saw or miter saw
Drill with bits
Level (this one's non-negotiable!)
Tape measure
Pencil for marking
Square for checking angles
Clamps for holding pieces
Safety gear (glasses and gloves)
Material Shopping List
Here's what you'll typically need for a standard gate:
Fence boards or pickets
2x4 lumber for the frame
Heavy-duty gate hinges (3 for gates over 5 feet)
Gate latch hardware
Carriage bolts or deck screws
Wood preservative or stain
Concrete for posts (if needed)
Building the Frame: The Backbone of Your Project
Creating a Rock-Solid Rectangle
Alright, here's where the rubber meets the road! Building your frame is like creating the skeleton of your gate. You'll want to cut your 2x4s to create a rectangle that fits your opening perfectly. Remember that measurement we talked about earlier? Yeah, now's when it really matters!
Start by laying out your pieces on a flat surface. I usually use my driveway or garage floor. Connect the corners using either half-lap joints or simple butt joints reinforced with metal brackets. Whichever method you choose, make absolutely sure everything's square. A wonky frame means a wonky gate, and nobody wants that!
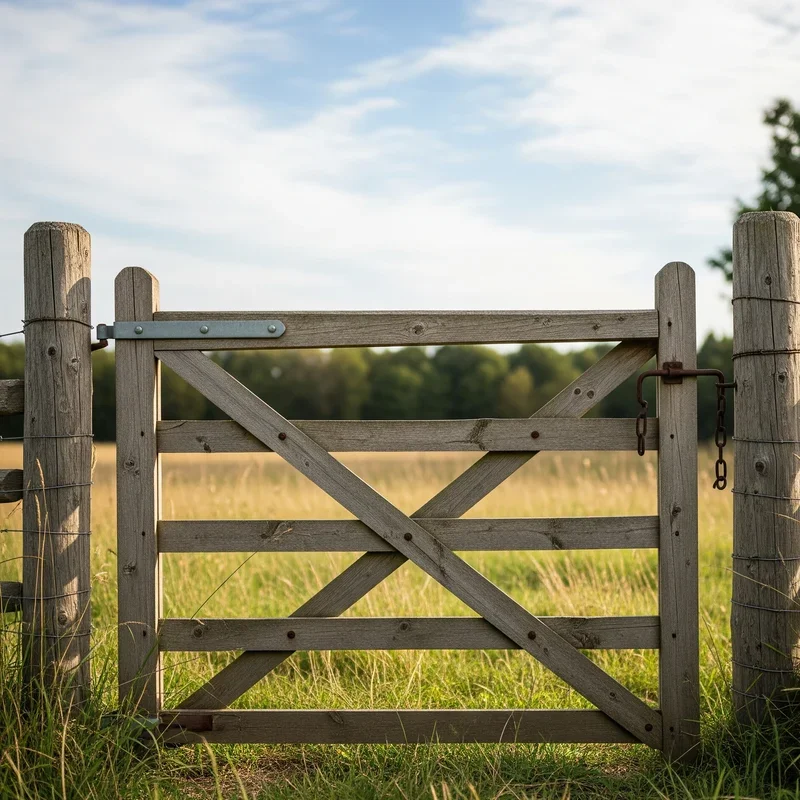
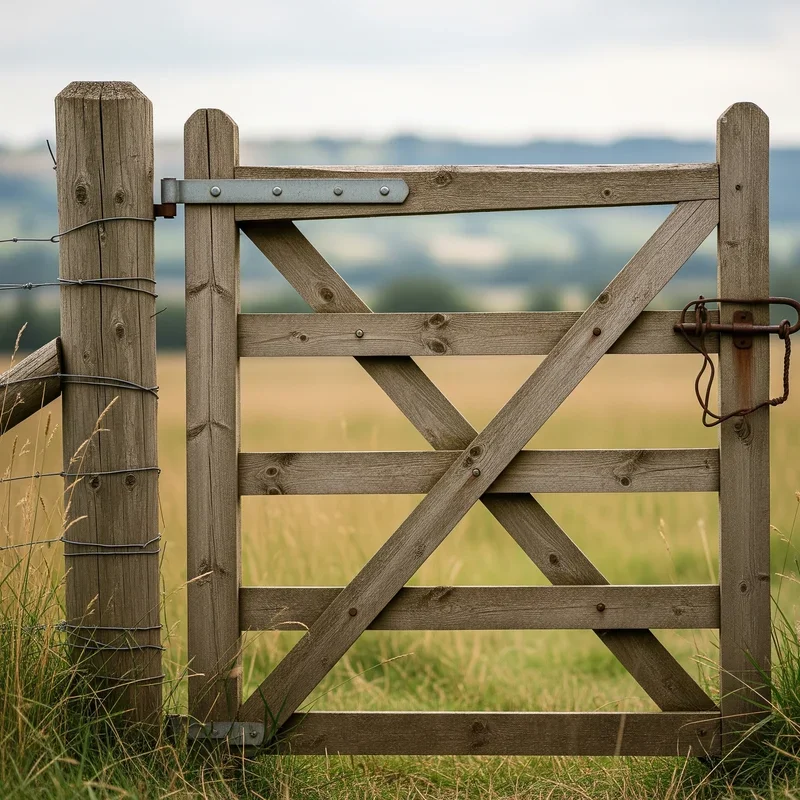
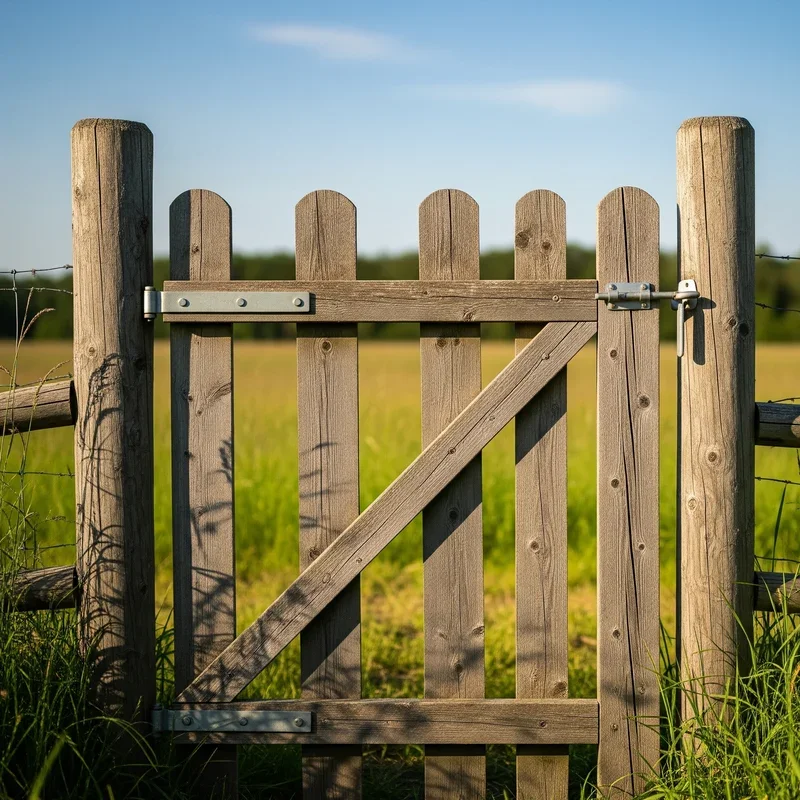
Adding the Diagonal Brace
Here's a pro tip that'll make all the difference: always, and I mean always, add a diagonal brace! This little addition is what prevents your gate from sagging over time. The brace should run from the bottom corner on the hinge side to the top corner on the latch side. It's basically creating a giant "Z" pattern that distributes weight evenly.
Cutting this brace at the right angle can be tricky. What I do is lay it across the frame, mark where it needs to be cut, and then make my cuts. Works like a charm every time!
Attaching the Face Boards
Spacing and Alignment Tricks
Now for the fun part! Attaching your face boards is where your gate starts looking like, well, an actual gate. If you're matching an existing fence, you'll want to mirror that spacing. Otherwise, I recommend leaving about a half-inch gap between boards for wood expansion.
Here's a neat trick: use a spare piece of wood as a spacer. Just move it along as you attach each board. It keeps everything uniform without having to measure every single gap. Work smarter, not harder, right?
Securing Everything Properly
When attaching boards, don't just slap 'em on there willy-nilly. Pre-drill your holes to prevent splitting, especially near the edges. Use at least two screws per board at both top and bottom. And please, for the love of all that's holy, make sure your screws are the right length! Too short and they won't hold; too long and you'll have pointy bits sticking out the back.
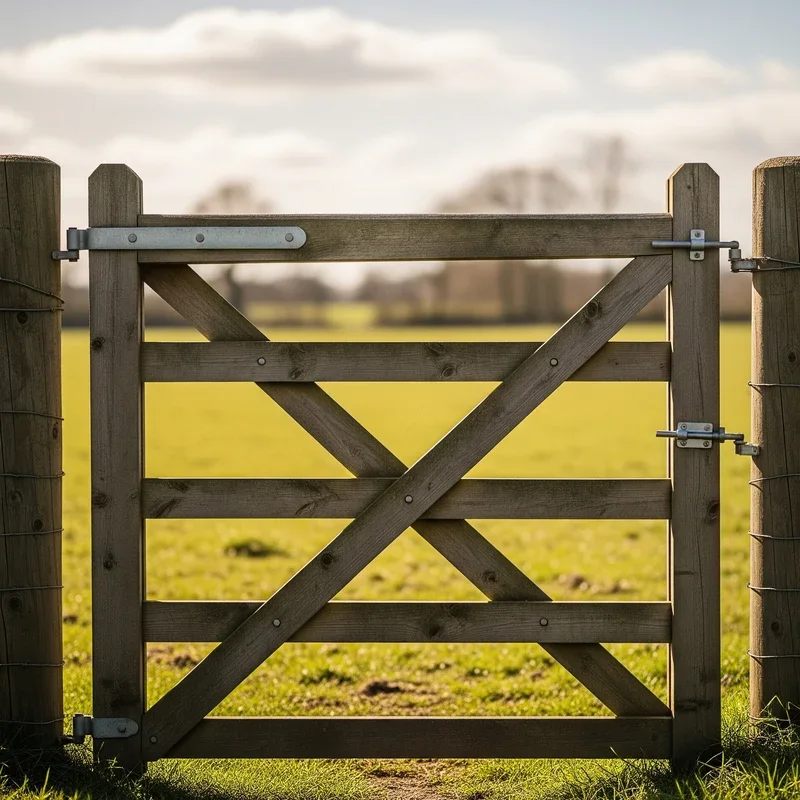
Installing Heavy-Duty Hardware
Choosing and Mounting Hinges
The hinges are basically the unsung heroes of your gate. They're doing all the heavy lifting, literally! For a standard gate, you'll want at least two hinges, but I always recommend three for anything over 5 feet wide or particularly heavy.
Mount your hinges on the gate first, then transfer them to the post. This method gives you way more control over the placement. Make sure they're perfectly aligned vertically, or your gate will bind when it swings. Nobody likes a gate that fights you every time you try to open it!
Installing the Latch System
Your latch needs to be both functional and accessible. Think about who'll be using this gate. Got kids? Maybe mount it a bit lower. Worried about security? Consider a lockable latch. The key is making sure it aligns perfectly when the gate's closed. I usually install the latch last, after everything else is mounted and tested.
How to Build a Fence Gate and Ensure Long-Lasting Strength Through Proper Treatment
Weather Protection Strategies
Living through a few seasons will really test your gate's mettle! That's why proper treatment is absolutely essential. Start with a good quality wood preservative, especially on any cut ends where the wood's most vulnerable. Then follow up with either paint or stain, depending on your aesthetic preference.
Don't forget about the bottom of your gate! That's where moisture loves to hang out and cause problems. I like to apply an extra coat of sealant there, just to be safe.
Regular Maintenance Tips
Keeping your gate in tip-top shape doesn't require much effort, honestly. Just give it a once-over every spring and fall:
Check for loose screws or bolts
Oil the hinges to prevent squeaking
Look for signs of rot or damage
Touch up any worn paint or stain
Adjust the latch if needed
A little TLC goes a long way toward ensuring your gate lasts for years to come!
Common Mistakes to Avoid
The Sagging Gate Syndrome
We've all seen 'em: gates that look like they're melting into the ground. This usually happens when folks skip the diagonal brace or use hardware that's too light for the job. Don't be that person! Invest in quality components from the start.
Poor Post Installation
Your gate's only as strong as the posts holding it up. If you're setting new posts, make sure they're deep enough (at least 1/3 of the above-ground height should be underground) and properly secured with concrete. Rushing this step is just asking for trouble later on.
Advanced Tips for Extra Durability
Reinforcement Techniques
Want to really beef up your gate? Consider adding a cable and turnbuckle system. It's like giving your gate a chiropractic adjustment whenever it needs one! Install an eye bolt at opposite corners and run a cable between them with a turnbuckle in the middle. Tighten as needed to keep everything straight and true.
Smart Design Choices
Sometimes the best strength comes from smart design. For instance, keeping your gate width under 4 feet when possible reduces stress on the hinges. Or using vertical boards instead of horizontal ones, which tend to hold up better against sagging. These little decisions add up to big differences in longevity!
Troubleshooting Common Issues
When Gates Won't Close Properly
Ugh, is there anything more frustrating? Usually, this comes down to one of three things: the posts have shifted, the hinges are loose, or the gate itself has warped. Start by checking if everything's still level and square. Sometimes a simple adjustment of the hinges does the trick!
Dealing with Seasonal Changes
Wood expands and contracts with temperature and humidity changes. That perfectly fitted gate in summer might be too tight come winter! Leave a bit of extra clearance when building, and be prepared to make minor adjustments seasonally. It's just part of the deal when working with wood, folks!
Conclusion
Building a fence gate that'll stand strong for years isn't just about following instructions; it's about understanding why each step matters and taking pride in your craftsmanship. With the right materials, proper techniques, and a bit of patience, you've got everything you need to create a gate that's both functional and attractive. Remember, this investment of time and effort now means you won't be dealing with a saggy, stubborn gate later!
Read next: How to Build a Gate for Privacy and Security
Frequently Asked Questions
Q1: What wood is best for a long-lasting fence gate?
A: Cedar or redwood offer the best natural rot resistance and durability overall.
Q2: How wide can I make my fence gate safely?
A: Single gates work best under 4 feet; wider needs double gates.
Q3: Should fence gates swing inward or outward?
A: Typically outward for safety, but consider your specific space and local codes.
Q4: How deep should gate posts be set?
A: At least one-third of the above-ground height, minimum 24 inches deep.
Q5: When should I replace gate hinges?
A: Replace when you notice rust, squeaking that won't stop, or visible wear.
Stay up to date with our latest ideas!