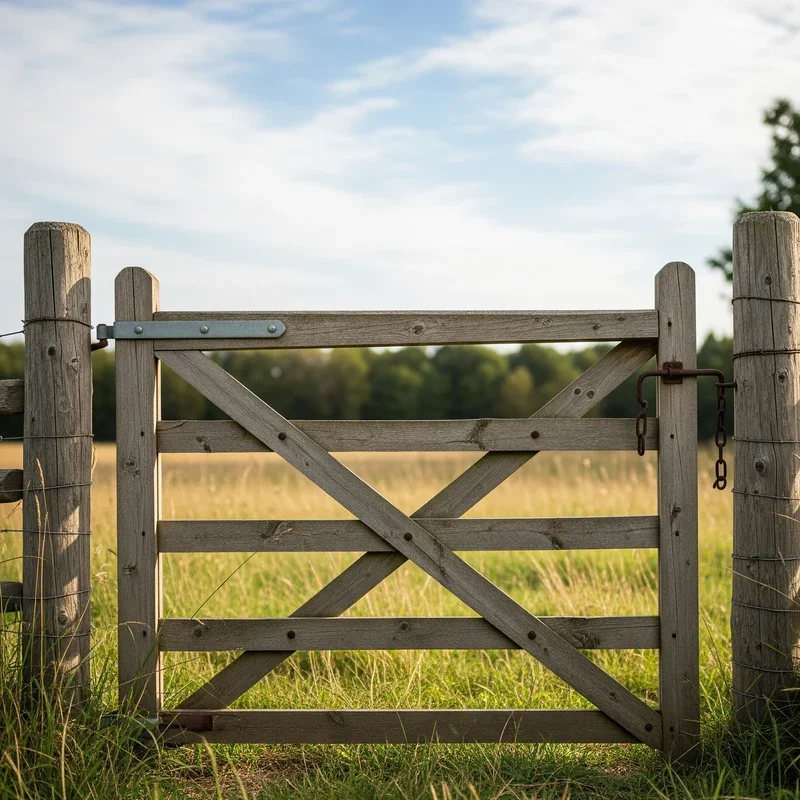
How to Make a Fence Gate: Simple Step-by-Step Guide
Learn how to make a fence gate with our simple step-by-step guide. Build a sturdy, beautiful gate that lasts for years!

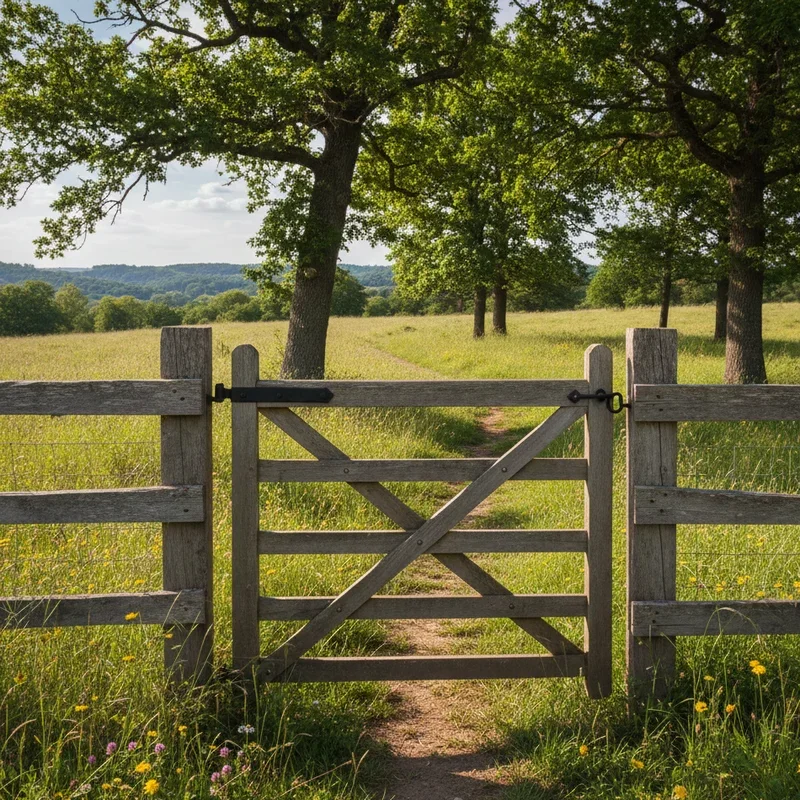
So, you've got a gorgeous fence wrapping around your property, but there's just one problem. You need a way to get in and out without hopping over it like some kind of Olympic athlete! Well, you're in luck because building your own fence gate isn't nearly as intimidating as it might seem. Honestly, with the right materials and a free weekend, you'll have a functional gate that'll make your neighbors green with envy.
Here's the thing about fence gates. They're not just practical necessities. They're also the first impression visitors get of your property. A wobbly, sagging gate screams neglect, while a well-crafted one says you've got your act together. And let's be real, there's something deeply satisfying about pointing to your gate and saying, "Yeah, I built that myself."
In this how to make a fence gate: simple step-by-step guide, we'll walk you through everything from gathering your supplies to hanging your finished masterpiece. Whether you're a seasoned DIYer or someone who's just figuring out which end of the hammer to hold, this guide has got your back. Let's roll up our sleeves and get to work!
Why Building Your Own Fence Gate Makes Sense
Before we dive into the nitty-gritty details, let's talk about why you should even bother making your own gate instead of buying a pre-made one from the hardware store.
First off, custom gates fit perfectly. Pre-made gates come in standard sizes, and unless your fence opening happens to match those dimensions exactly, you're going to have gaps or you'll need to modify your fence posts. That's a headache nobody wants to deal with.
Second, you get to choose your materials. Want a gate that matches your existing fence down to the last detail? No problem. Prefer something a bit fancier with decorative elements? Go for it! When you build it yourself, you're the boss.
Third, and this one's a biggie, you'll save some serious cash. Pre-made gates, especially the decent-looking ones, can cost a pretty penny. But when you source your own lumber and hardware, you're often looking at half the price or even less.
Finally, there's the pride factor. Every time you walk through that gate, you'll get a little boost knowing you created it with your own two hands. That feeling? It's priceless.
Tools and Materials You'll Need
Alright, before you start sawing and hammering away, let's make sure you've got everything you need. Nothing's worse than getting halfway through a project and realizing you're missing a crucial component.
Essential Tools
You don't need a fancy workshop to pull this off. Here's what should be in your arsenal:
A tape measure is absolutely essential because eyeballing measurements is a recipe for disaster. You'll also need a carpenter's square to ensure your corners are actually square. A circular saw or miter saw will handle your cuts, though a hand saw works if you're feeling old-school. Grab a power drill with both drilling and driving bits. A level is non-negotiable unless you want a crooked gate. Clamps will hold everything together while you work. And don't forget safety glasses and work gloves because keeping all your fingers attached is kind of important.
Materials List
For a standard wooden gate, here's your shopping list:
You'll need two-by-four lumber for the frame. The exact amount depends on your gate size, but grab a few extra pieces just in case. One-by-six or one-by-four boards work great for the gate face, and again, quantity depends on your design. Pick up a gate kit that includes hinges and a latch, or buy these separately if you prefer. Wood screws in various sizes will hold everything together. A diagonal brace board keeps your gate from sagging over time. Wood glue adds extra strength to your joints. And exterior wood stain or paint protects your creation from the elements.
How to Make a Fence Gate: Simple Step-by-Step Guide to Measuring and Planning
Here's where the real work begins, and trust me, this planning phase will save you tons of frustration down the road.
Step 1: Measure Your Opening
Grab your tape measure and get the exact width between your fence posts. Measure at the top, middle, and bottom because posts aren't always perfectly parallel. Use the smallest measurement as your guide.
Now, here's a pro tip that'll save you grief later. Subtract about three-quarters of an inch from that measurement. This gap allows room for your hinges on one side and ensures the gate swings freely without rubbing against the posts. Nobody wants a gate that sticks!
For height, measure your existing fence and decide if you want the gate to match exactly or sit slightly lower. Most folks prefer their gate to be about an inch or two shorter than the fence, which prevents dragging on uneven ground.
Step 2: Sketch Your Design
You don't need to be an artist here. A simple drawing showing dimensions and where each piece goes will keep you on track. Decide whether you want a basic frame-and-board design, a fancier pattern, or something with decorative elements.
The most common and sturdy design uses a Z-frame on the back. This means two horizontal rails connected by a diagonal brace. That diagonal piece is the secret sauce that prevents sagging, so don't skip it!
Cutting and Assembling Your Gate Frame
Now we're getting to the fun part. Time to make some sawdust!
Step 3: Cut Your Frame Pieces
Using your measurements, cut two horizontal rails from your two-by-four lumber. These should be about two inches shorter than your total gate width to account for the vertical side pieces.
Next, cut two vertical stiles that match your desired gate height. These pieces frame the sides of your gate and give you something solid to attach your hinges to.
Finally, cut your diagonal brace. Here's a little trick for getting the angle right. Lay out your horizontal rails and vertical stiles on a flat surface, forming a rectangle. Place your brace board across the frame from one corner to the opposite corner, mark where it intersects the frame pieces, and cut along those marks.
Step 4: Assemble the Frame
Lay everything out on a flat surface. Your garage floor or driveway works perfectly for this. Use your carpenter's square to ensure every corner forms a perfect ninety-degree angle.
Apply wood glue to the joints, then clamp everything together. Pre-drill holes to prevent the wood from splitting, then drive your screws through the stiles into the ends of the rails. Two screws per joint provides plenty of strength.
Now attach your diagonal brace. Remember, it should run from the bottom of the hinge side to the top of the latch side. This orientation ensures that the gate's weight pushes down into the brace rather than pulling away from it. Getting this backwards is a common mistake, and it'll cause your gate to sag faster than you can say "whoops."
Attaching the Gate Boards
With your frame built, it's time to give your gate a face.
Step 5: Position Your Boards
Lay your frame on a flat surface with the back facing up. This means the Z-brace should be visible. Now arrange your face boards across the frame to see how they'll look.
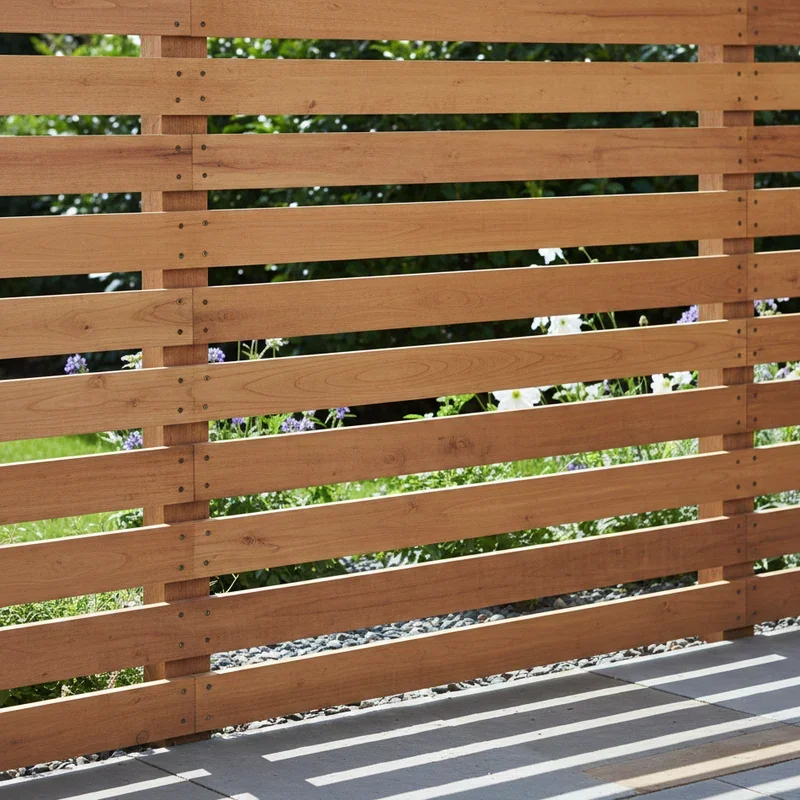
If you're matching an existing fence, copy its board spacing. Otherwise, you can butt the boards together for a solid look or leave small gaps for a more traditional picket style. Some folks like to vary board heights for a decorative top edge. It's your gate, so have fun with it!
Step 6: Secure the Boards
Once you're happy with the arrangement, it's time to make it permanent. Start from one end and work your way across. Pre-drill holes through each board into the frame rails, then drive your screws home.
Use two screws per board at each horizontal rail location. This prevents the boards from twisting or warping over time. If you're using glue as well, apply it before screwing for extra holding power.
Double-check that your boards stay aligned as you go. It's easy to drift off course, and fixing it later is a pain in the neck.
Installing Hardware and Hanging Your Gate
You're in the home stretch now! Let's get this gate where it belongs.
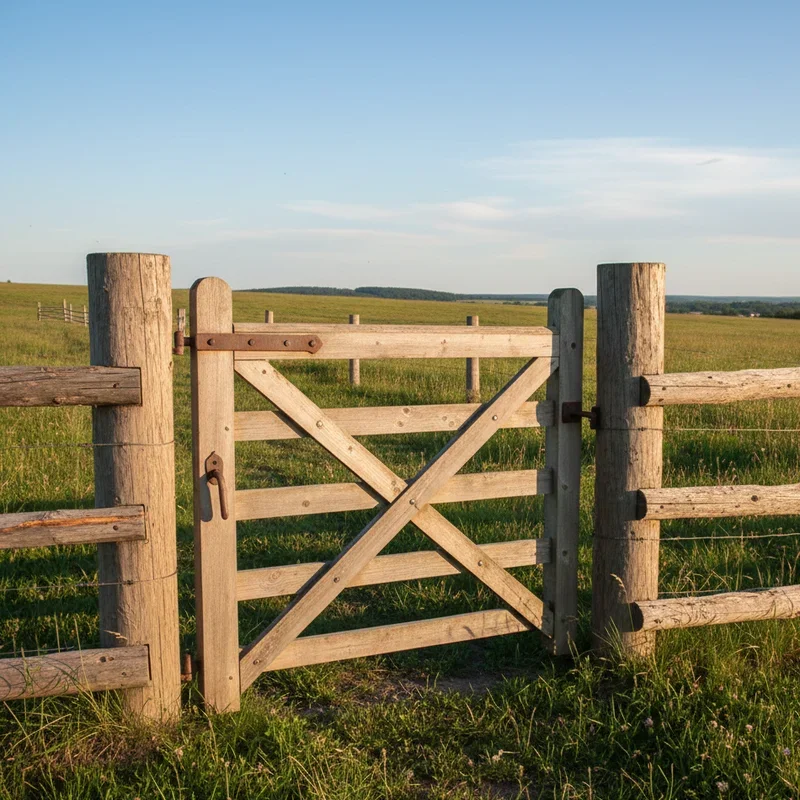
Step 7: Attach the Hinges
Position your hinges on the gate first. Most gates use two hinges, but larger or heavier gates might need three for extra support. Place them about six inches from the top and bottom edges, or follow the manufacturer's recommendations.
Mark the screw holes, pre-drill, and attach the hinges to the gate. Make sure the hinge pins face upward so the gate can't be lifted off by unwanted visitors.
Step 8: Hang the Gate
This part goes smoother with a helper, but you can manage alone if you've got some creativity. Use shims or scrap wood blocks to prop the gate at the right height in the opening. Leave about a half-inch gap at the bottom for ground clearance.
Once positioned, mark where the hinges meet the fence post. Remove the gate, pre-drill holes in the post, then hold the gate back up and drive the screws through the hinges into the post.
Swing the gate a few times to make sure it moves freely. If it rubs or sticks anywhere, you might need to adjust the hinge positions slightly.
Step 9: Install the Latch
With the gate hanging pretty, it's time to add your latch hardware. Position the latch components according to the manufacturer's instructions, mark your holes, pre-drill, and secure everything in place.
Test the latch several times to ensure smooth operation. There's nothing more annoying than a latch that doesn't catch properly!
Finishing Touches for a Professional Look
Your gate is functional, but a few extra steps will make it look like professional work.
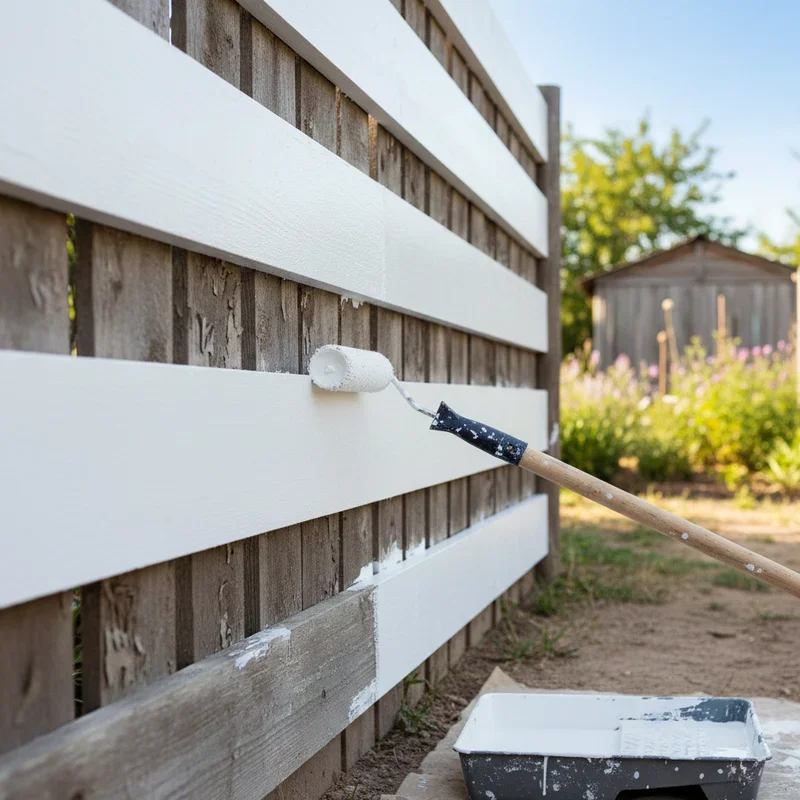
Apply a Finish
Bare wood looks nice initially, but it won't last without protection. Apply exterior wood stain or paint to shield your gate from rain, sun, and temperature swings. If you want the natural wood grain to show, a clear exterior sealant works great too.
Apply at least two coats, letting each dry completely before adding the next. Pay extra attention to the end grain of your boards since this is where moisture sneaks in most easily.
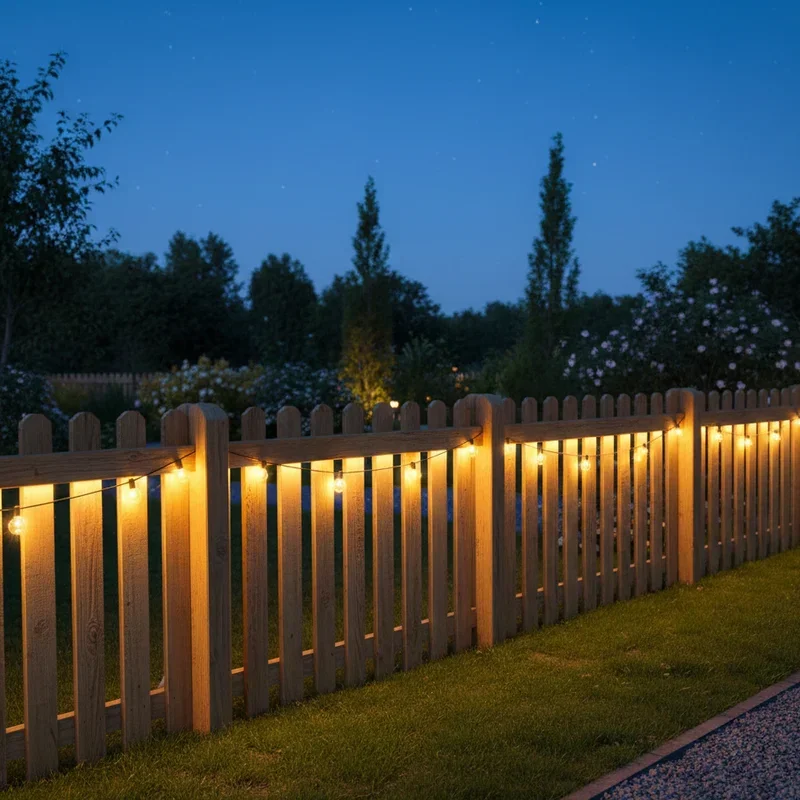
Add Decorative Elements
Want to fancy things up a bit? Consider adding post caps to your gate posts, decorative hinges instead of basic ones, or a unique latch design. Some folks attach house numbers or a small planter box to their gates. The possibilities are endless!
Common Mistakes to Avoid
Even with this how to make a fence gate: simple step-by-step guide in hand, there are a few pitfalls worth mentioning.
Getting the diagonal brace direction wrong is probably the most common error. Remember, it goes from the bottom hinge side to the top latch side. Period.
Skipping the pre-drilling step might seem like a time-saver, but split wood will haunt you. Take the extra thirty seconds per hole.
Using interior-grade hardware is asking for trouble. Exterior-grade or galvanized hardware resists rust and lasts much longer.
Forgetting about ground clearance leads to gates that scrape or stick, especially when the ground freezes and heaves in winter.
Conclusion
Building a fence gate really isn't rocket science, and now you've got all the knowledge needed to tackle this project with confidence. From measuring and planning to hanging and finishing, each step builds on the last to create something both beautiful and functional. Remember, taking your time during the planning and measuring phases prevents headaches later on. With your new gate in place, you'll enjoy easy access to your yard for years to come. Plus, you'll have bragging rights every time someone compliments your handiwork!
Read next: 15 Fence Ideas to Boost Privacy and Curb Appeal
Frequently Asked Questions
1. What type of wood works best for outdoor fence gates?
Cedar and pressure-treated pine resist rot and insects, making them ideal choices.
2. How wide should a standard fence gate be?
Most residential gates measure between three and four feet for comfortable passage.
3. Can I build a fence gate without power tools?
Yes, hand tools work fine, though the process takes considerably more time.
4. How do I prevent my wooden gate from sagging over time?
Install the diagonal brace correctly and use quality hardware for lasting support.
5. Should I paint or stain my new fence gate?
Either works well, but stain highlights natural wood grain while paint offers more colors.
Stay up to date with our latest ideas!