How to Build a Gate for Privacy and Security
Learn how to build a gate for privacy and security with this step-by-step guide. Get expert tips, tools needed, and FAQs answered here!

Well, here's the thing about gates: they're not just chunks of wood or metal swinging on hinges! When you're thinking about how to build a gate for privacy and security, you're basically creating the first line of defense for your personal kingdom. Whether you've got nosy neighbors peeking over or you're just tired of random folks wandering onto your property, building your own gate can be a game-changer.
Let me tell you, there's something incredibly satisfying about crafting a gate with your own two hands. Not only does it save you a pretty penny compared to hiring contractors, but you'll also get exactly what you want. Plus, every time you swing that gate open, you'll feel a little surge of pride knowing you built it yourself!
Why Learning How to Build a Gate for Privacy and Security Matters
The Privacy Factor
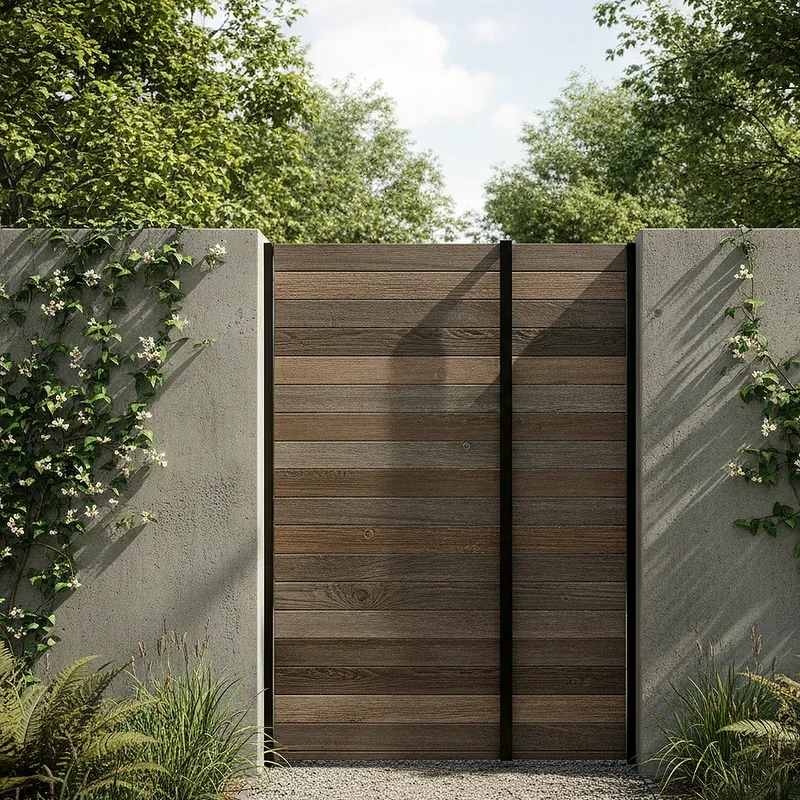
Living in today's world, privacy's become worth its weight in gold, hasn't it? Your backyard should be your sanctuary, a place where you can lounge in your pajamas without worrying about prying eyes. A well-built gate acts like a bouncer at an exclusive club, keeping unwanted visitors at bay while welcoming your chosen guests.
Security Benefits That'll Help You Sleep Better
Here's what a solid gate brings to the table security-wise:
Deters potential intruders who prefer easy targets
Keeps pets safely contained in your yard
Prevents kids from wandering into the street
Creates a psychological barrier that says "private property"
Adds an extra layer of protection when combined with locks

Planning Your Gate Project: Where the Magic Begins
Measuring Like You Mean It
Boy, oh boy, nothing ruins a DIY project faster than wrong measurements! Walking out to your fence opening with a tape measure in hand, you'll want to measure the width at least three times. Seriously, measure it at the top, middle, and bottom because sometimes these openings aren't perfectly square.
Choosing Your Materials Wisely
When it comes to materials, you've got options galore:
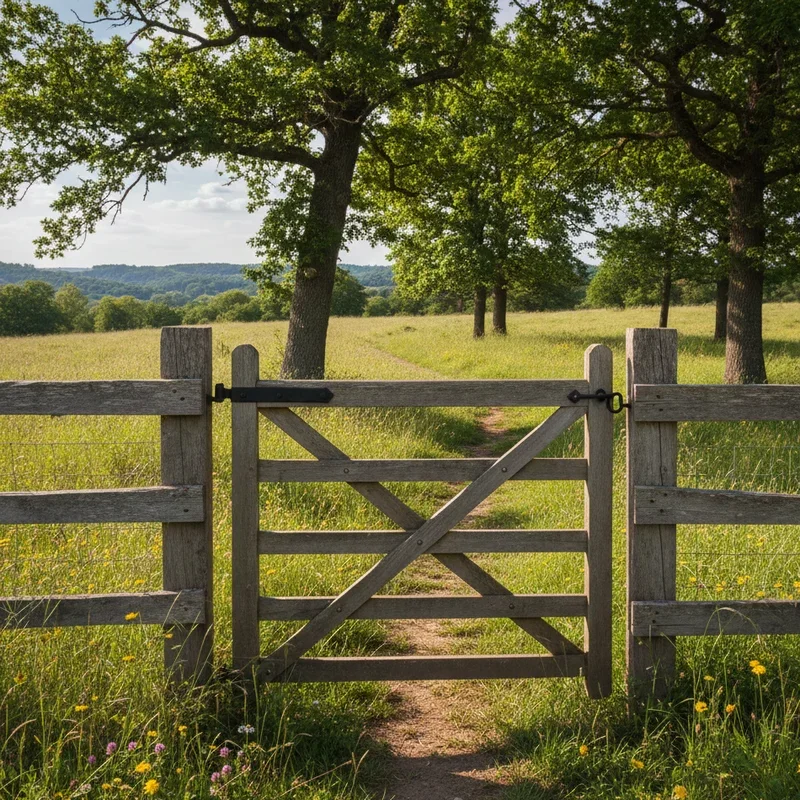
Wood: Classic choice that's relatively affordable and easy to work with
Metal: Durable and secure, though it requires welding skills
Vinyl: Low maintenance but can look a bit plastic-y
Composite: The new kid on the block, combining durability with good looks
Design Considerations That Make or Break Your Gate
Standing there, sketching your design, consider these crucial factors:
Height for optimal privacy (typically 6 feet minimum)
Width that allows easy passage but isn't unwieldy
Swing direction based on your space constraints
Style that matches your existing fence
Hardware placement for smooth operation
Tools and Materials You'll Need
Essential Tools Checklist
Gathering your tools beforehand saves countless trips to the garage:
Circular saw or miter saw
Drill with various bits
Level (this one's non-negotiable!)
Tape measure
Pencil for marking
Square for accurate angles
Screwdriver set
Sandpaper or electric sander
Safety gear (goggles, gloves, ear protection)
Materials Shopping List
Here's what you'll typically need from the hardware store:
Lumber or metal pieces for frame and slats
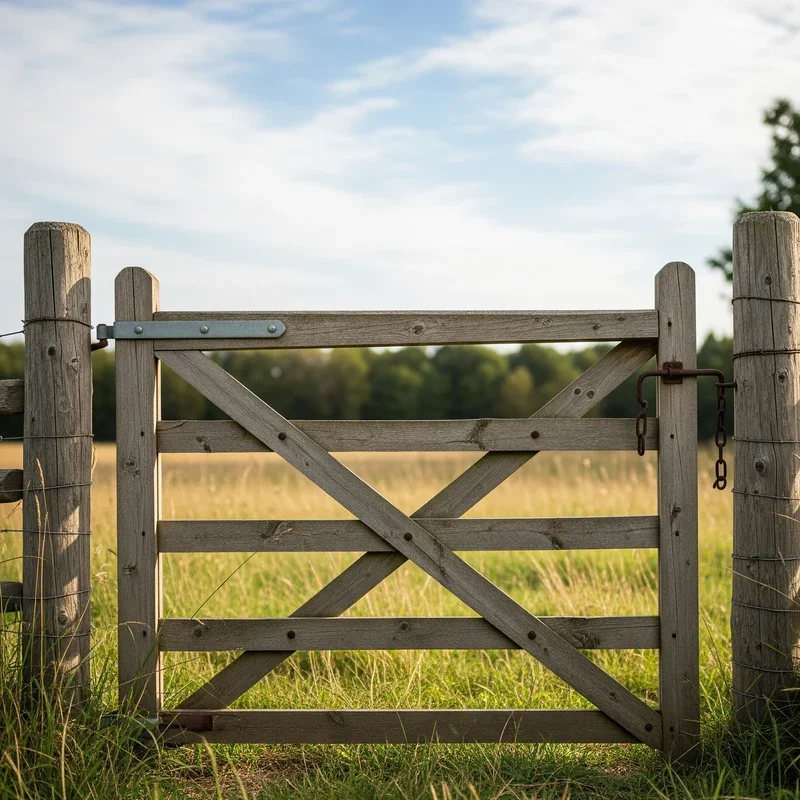
Heavy-duty hinges (don't cheap out here!)
Gate latch or lock mechanism
Screws and bolts (grab extras)
Wood preservative or paint
Concrete for posts if needed
Post caps for a finished look

Step-by-Step Guide: How to Build a Gate for Privacy and Security
Step 1: Building the Frame
Starting with the frame, you're essentially creating the skeleton of your gate. Cut your vertical stiles and horizontal rails to size, making sure everything's square. Dry-fit everything first because, trust me, it's easier to fix mistakes before you've screwed everything together!
Using wood glue and screws, attach the rails to the stiles. A diagonal brace running from the bottom hinge side to the top latch side prevents sagging over time. It's like giving your gate a backbone!
Step 2: Adding Privacy Slats or Panels
Now comes the fun part where your gate starts looking like, well, an actual gate! If you're going for full privacy, install your slats vertically with no gaps between them. Space them evenly using a small piece of wood as a spacer if you want some airflow.
Working from one side to the other, attach each slat with at least two screws top and bottom. Keep checking with your level because crooked slats stick out like a sore thumb!
Step 3: Installing Heavy-Duty Hardware
The hinges you choose can make or break your gate's functionality. For a standard wooden gate, strap hinges work wonderfully and add a rustic charm. Position them about a quarter of the gate's height from the top and bottom for optimal weight distribution.
Step 4: Mounting Your Masterpiece
This step's where having a buddy really helps! Supporting the gate at the right height, mark where your hinges will attach to the post. Pre-drill pilot holes to prevent splitting, then secure the hinges firmly. Test the swing immediately and make adjustments while everything's still accessible.
Step 5: Adding Security Features
A gate without a proper latch is like a car without brakes; it just doesn't work right! Install your chosen latch mechanism at a comfortable height, usually around 48 inches from the ground. For extra security, consider adding:
A keyed lock for nighttime security
A slide bolt for inside fastening
A self-closing mechanism for convenience
A magnetic catch to prevent wind damage
Finishing Touches That Make All the Difference
Weatherproofing Your Investment
Mother Nature can be tough on outdoor structures! Applying a quality wood sealer or weather-resistant paint isn't just about looks; it's about longevity. Sand any rough spots smooth, then apply your chosen finish in thin, even coats. Two or three coats usually do the trick.
Decorative Elements Worth Considering
Who says security gates can't be stylish? Adding decorative hardware, like fancy strap hinges or ornamental handles, gives your gate personality. Some folks even add small windows or decorative cutouts at the top for visual interest without sacrificing privacy.
Common Mistakes to Avoid
The Rookie Errors That'll Have You Kicking Yourself
Even experienced DIYers sometimes fall into these traps:
Forgetting about ground clearance: Your gate needs space to swing over uneven ground
Using indoor hardware outdoors: Rust city, population: your hinges
Making the gate too heavy: Your posts and hinges have limits
Ignoring local building codes: Some areas have specific requirements
Skipping the diagonal brace: Hello, sagging gate!

Maintenance Tips for Long-Lasting Security
Regular Check-Ups Keep Problems at Bay
Just like your car needs oil changes, your gate needs periodic attention:
Lubricate hinges every few months with WD-40 or similar
Tighten loose screws before they become a bigger issue
Check for wood rot or rust annually
Reapply finish every few years depending on weather exposure
Adjust latch alignment if the gate starts sticking
Conclusion
Building a gate for privacy and security isn't rocket science, but it does require patience, planning, and a bit of elbow grease. With the right tools, materials, and this guide in your back pocket, you're well-equipped to create a gate that'll serve you faithfully for years. Remember, every expert was once a beginner, so don't get discouraged if your first attempt isn't perfect!
Read next: 15 Wooden Gate Ideas to Boost Curb Appeal Instantly
Frequently Asked Questions
Q1: What's the best wood type for building a privacy gate?
A: Cedar or pressure-treated pine offer excellent durability and weather resistance.
Q2: How much does building a gate typically cost?
A: DIY gates usually cost between $150-$500 depending on materials chosen.
Q3: Can I build a gate without previous woodworking experience?
A: Absolutely! Start simple and follow instructions carefully for best results.
Q4: How long does it take to build a basic gate?
A: Most DIYers complete a gate in one weekend with proper planning.
Q5: Should I use screws or nails for gate construction?
A: Screws provide stronger, longer-lasting connections than nails for gates.
Stay up to date with our latest ideas!