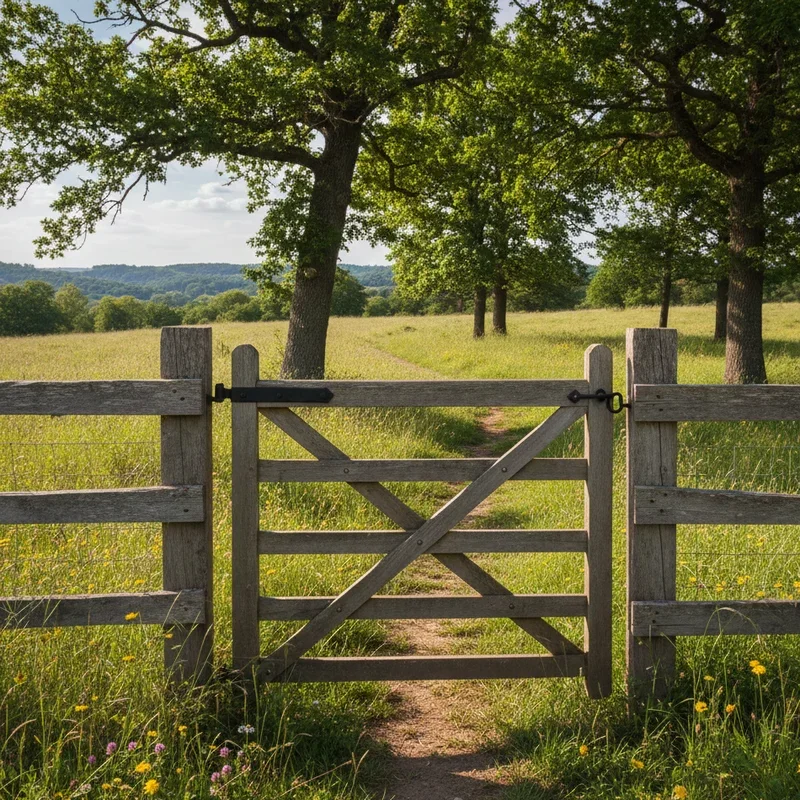
How to Fix a Leaning Fence Post Step by Step
Learn how to fix a leaning fence post step by step with easy DIY methods. Save money and restore your fence's stability today!

Well, there's nothing quite like walking into your backyard and spotting that telltale tilt in your fence line. Yup, you've got yourself a leaning fence post, and honestly, it's driving you nuts! Before you throw in the towel and call the pros, here's some good news: fixing a wobbly fence post isn't rocket science. In fact, with a bit of elbow grease and the right know-how, you can tackle this project yourself over a weekend.
Having dealt with my fair share of wonky fence posts over the years, I've learned that catching the problem early makes all the difference. Whether it's Mother Nature's handiwork or just good old Father Time taking its toll, a leaning post can quickly turn into a domino effect if you don't nip it in the bud. So grab your work gloves, folks, 'cause we're about to dive into everything you need to know about getting that fence standing tall again.
Why Do Fence Posts Start Leaning Anyway?
Before jumping into repairs, let's chat about why fence posts decide to go sideways on us. Understanding the root cause helps you pick the right fix and, more importantly, prevents future headaches.
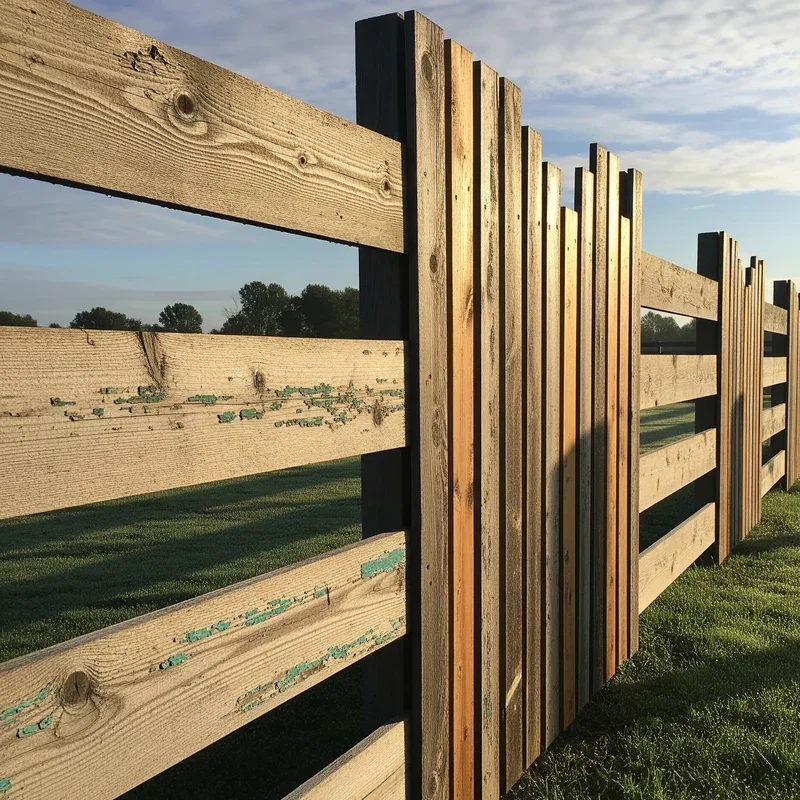
The Usual Suspects Behind Tilting Posts
First off, water's often the main culprit. When soil gets saturated, especially clay soil, it loses its grip on the post. Throw in some freeze-thaw cycles, and you've got yourself a recipe for disaster. The ground expands and contracts like nobody's business, pushing and pulling your post every which way.
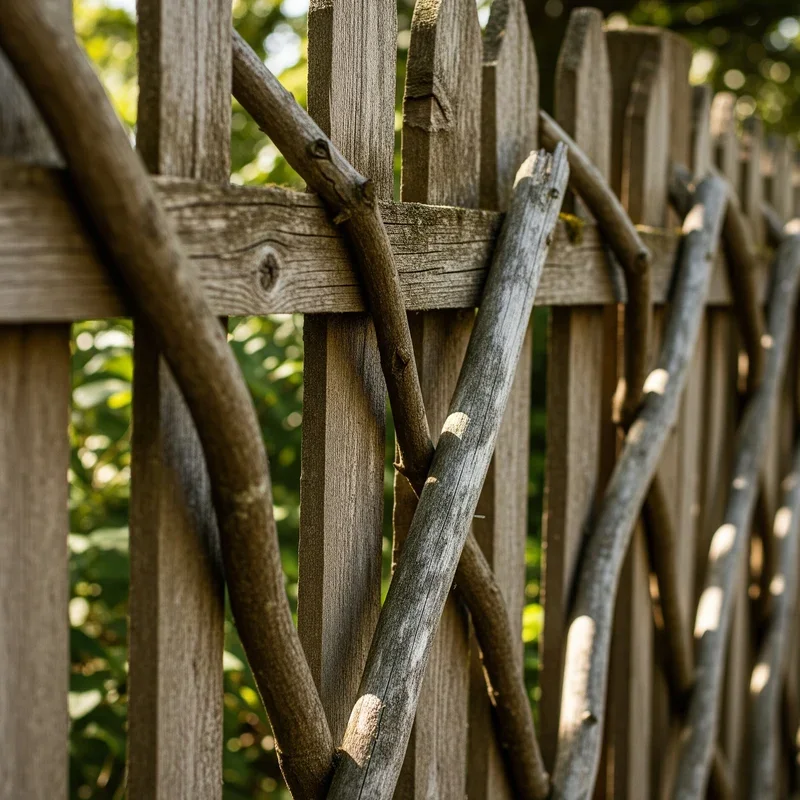
Then there's rot. Wooden posts sitting in moist soil? That's basically an all-you-can-eat buffet for decay. Once rot sets in at the base, your post loses its structural integrity faster than you can say "timber!" Metal posts aren't immune either; rust can eat away at them just as effectively.
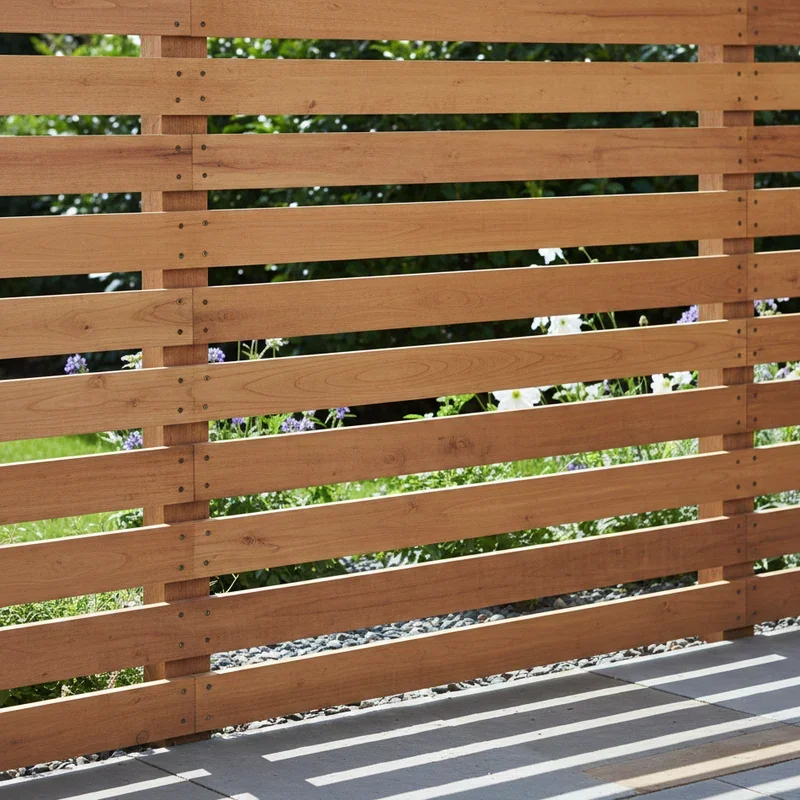
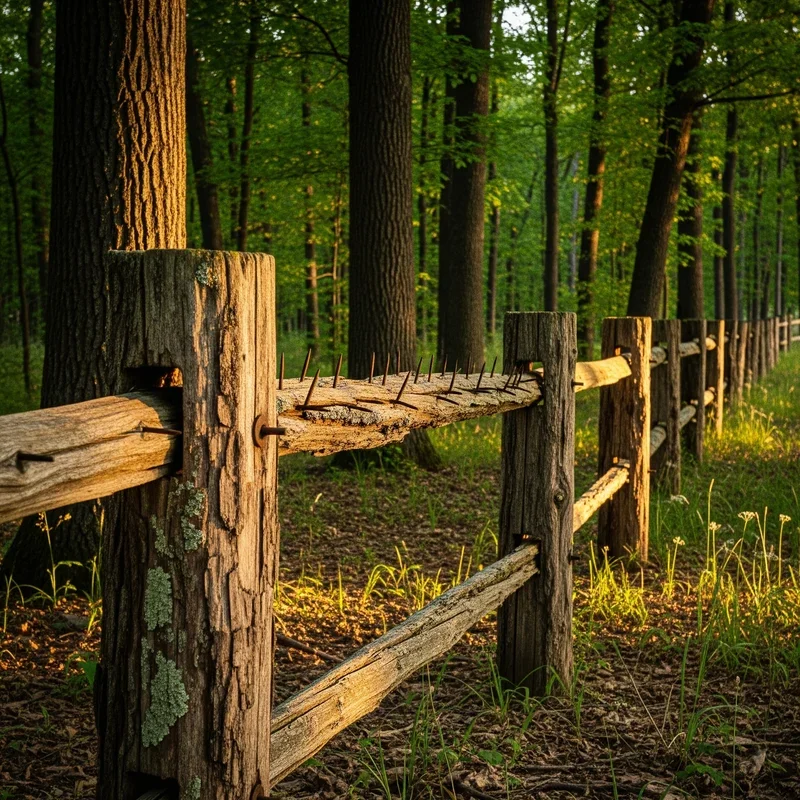
Don't forget about improper installation. If the original installer cut corners (we've all been there), using too shallow a hole or skimping on concrete, well, you're basically working with a ticking time bomb. A post needs to be buried at least one-third of its above-ground height, preferably with concrete for stability.
Assessing the Damage: What You're Really Dealing With
Alright, so you've noticed the lean. Now what? Before rolling up your sleeves, you've gotta figure out exactly what you're working with.
Quick Inspection Checklist
Walking around your fence, give each post a good shake. Does it wiggle like a loose tooth? That's telling you something. Check the base of the post where it meets the ground. Any signs of rot, cracks, or damage? How about the surrounding soil? Is it soggy, eroded, or pulling away from the post?
Here's what to look for:
Visible rot or decay on wooden posts
Rust or corrosion on metal posts
Cracks in concrete footings
Gaps between post and ground
Damage to fence panels or rails
Multiple posts leaning in the same direction
If you're dealing with extensive rot or the post's completely shot, replacement might be your only option. But hey, don't panic just yet! Most leaning posts can be saved with some TLC.
Tools and Materials You'll Need
Nothing's worse than getting halfway through a project and realizing you're missing something crucial. Trust me, I've made that trip to the hardware store more times than I'd like to admit. Here's your shopping list to get everything squared away from the get-go.
Essential Tools for the Job
Shovel or post hole digger
Level (at least 2 feet long)
Hammer or sledgehammer
Drill with bits
Wheelbarrow or bucket
Garden hose with water source
Work gloves and safety glasses
Measuring tape
String line and stakes
Materials Based on Your Chosen Method
Depending on which fix you're going with, you'll need:
Quick-setting concrete mix
Gravel for drainage
2x4 lumber for bracing
Wood screws (3-inch minimum)
Metal brackets or steel stakes
Wood preservative or sealant
Replacement post (if necessary)
How to Fix a Leaning Fence Post Step by Step: Method One - The Brace and Reset
This method's perfect when your post's still in decent shape but needs a little convincing to stand straight again.
Step 1: Clear the Work Area
Start by removing any obstacles around the post. Trimming back plants, moving garden decorations, you know the drill. You'll need about three feet of clear space on all sides.
Step 2: Dig Around the Base
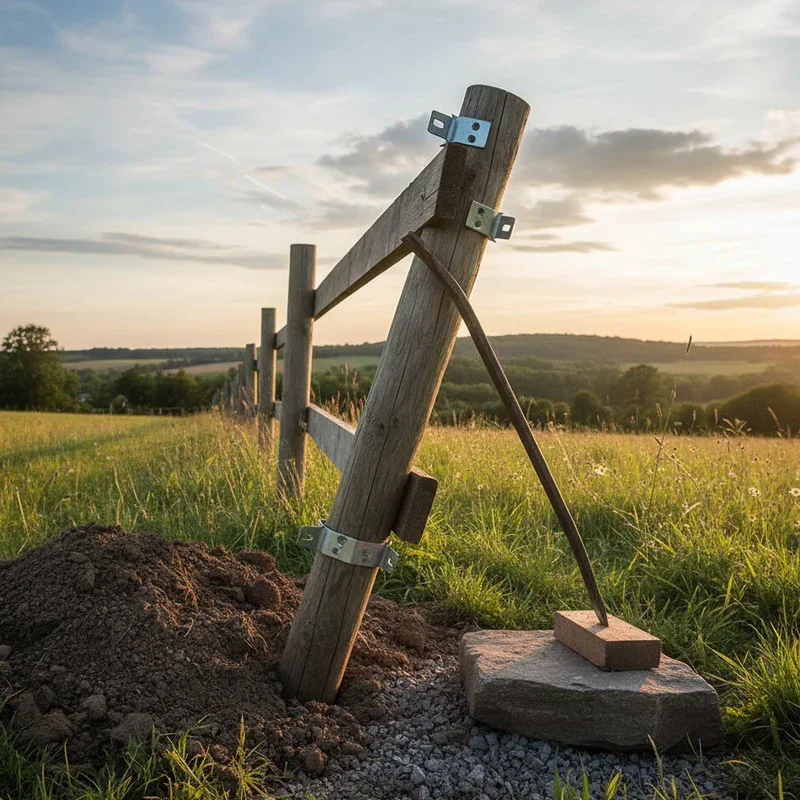
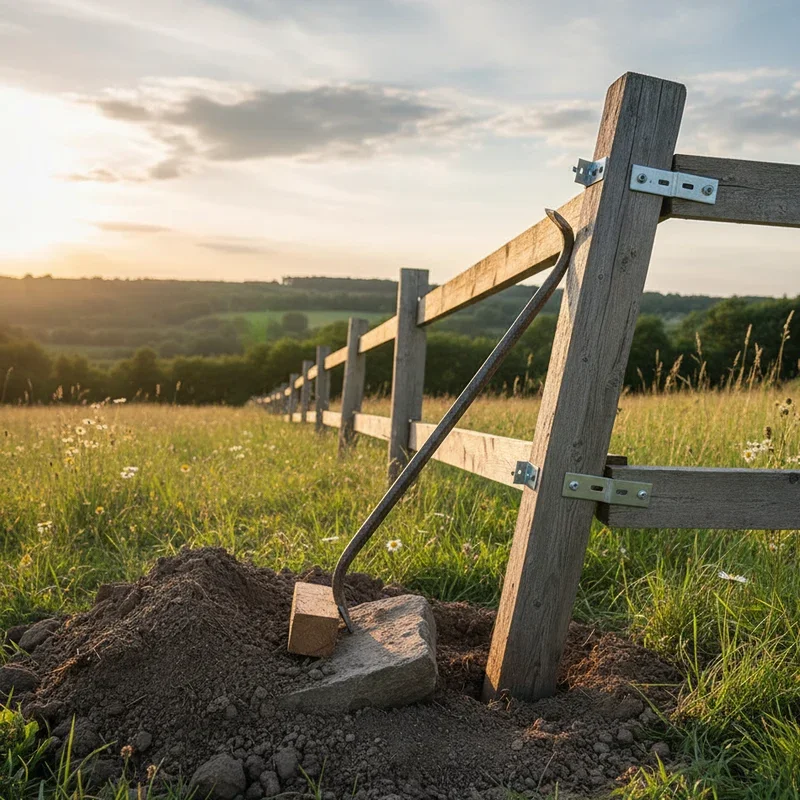
Using your shovel, carefully excavate around the leaning post. Go down about 12 to 18 inches, creating a hole roughly 10 inches in diameter. As you dig, you might discover why the post's leaning. Rotten wood? Inadequate concrete? Mystery solved!
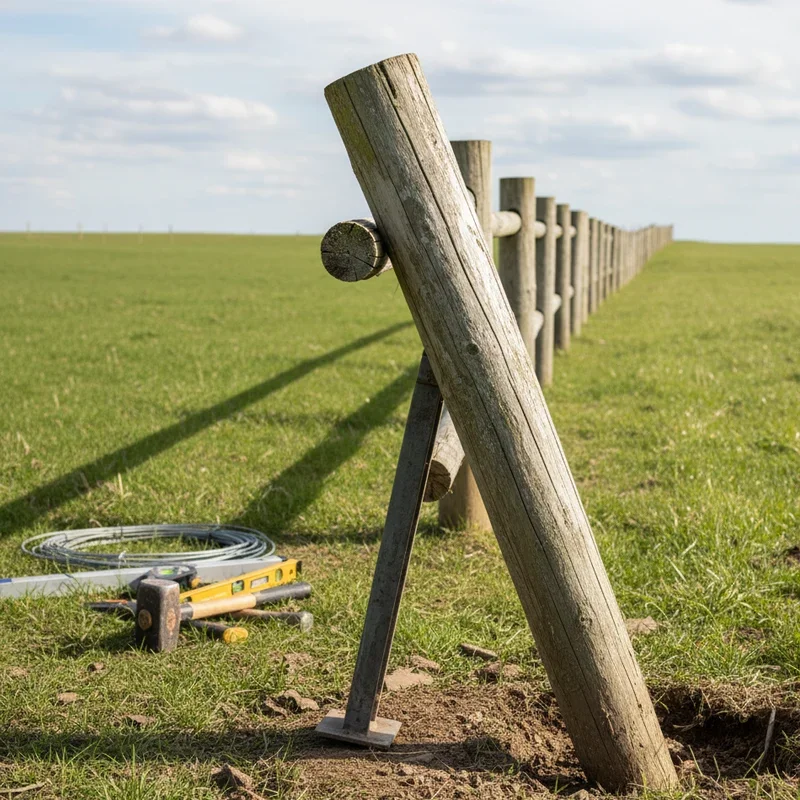
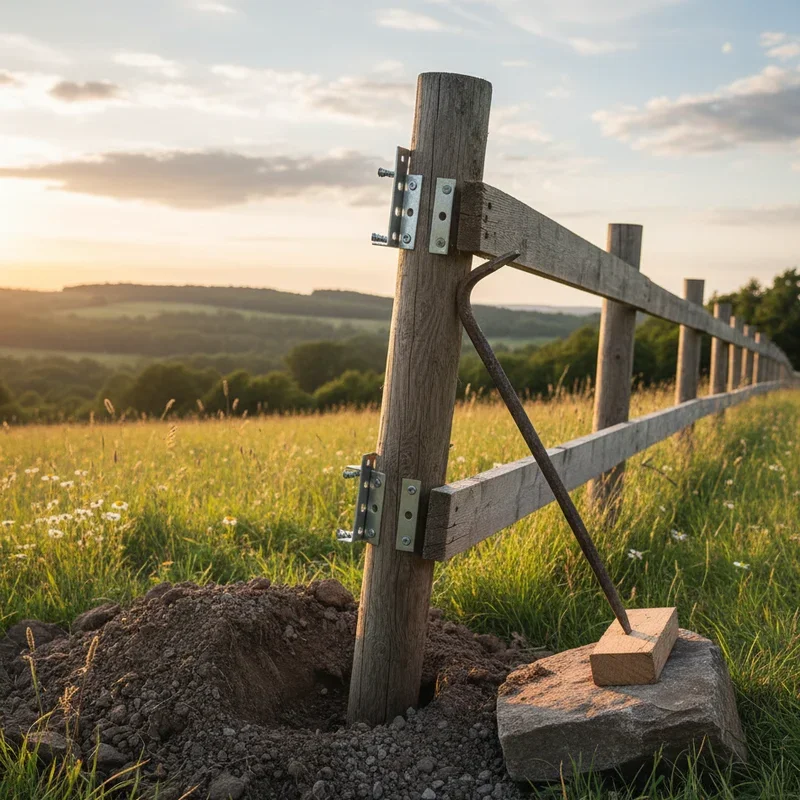
Step 3: Straighten That Post
Here's where a buddy comes in handy. While one person holds the post plumb (checking with the level), the other secures temporary braces. Cut your 2x4s to about 4 feet long and angle them from the post to stakes driven into the ground. Screw them into the post at about the 3-foot mark.
Step 4: Pour New Concrete
With the post held straight, it's time to add reinforcement. Mix your quick-setting concrete according to package directions. Pour it into the hole around the post, filling to just below ground level. Use a trowel or stick to poke the concrete, eliminating air pockets.
Step 5: Let It Cure
Patience is a virtue, folks! Leave those braces in place for at least 24 to 48 hours while the concrete sets. Quick-setting concrete usually hardens in 20 to 40 minutes, but it needs time to reach full strength.
How to Fix a Leaning Fence Post Step by Step: Method Two - The Steel Stake Solution
Sometimes you need to bring in the heavy artillery. Steel stakes offer a quick fix without the mess of concrete.
Step 1: Choose Your Stakes
Head to your local hardware store and grab some steel fence post stakes. These bad boys are usually about 2 to 4 feet long with fins or anchors that grip the soil.
Step 2: Position the Stakes
Place one or two stakes against the leaning side of your post. The idea's to create a counterforce that'll keep your post upright. If you're using two, angle them in a V-shape for maximum support.
Step 3: Drive Them Deep
Using your sledgehammer, pound those stakes into the ground. You want them going down at least 18 to 24 inches. The deeper they go, the better the support. Make sure they're tight against the post.
Step 4: Secure to Post
Once the stakes are in position, use metal brackets or heavy-duty screws to attach them to your fence post. This creates a unified support system that'll keep everything standing tall.
Method Three: The Complete Reset Approach
When all else fails, sometimes you've gotta go back to square one. This method's more involved but gives you the best long-term results.
Step 1: Remove Fence Panels
Carefully unscrew or remove the fence panels attached to your problem post. Set them aside somewhere safe where they won't get damaged.
Step 2: Extract the Post
This is where things get interesting. If there's existing concrete, you'll need to break it up with a sledgehammer or rent a jackhammer for bigger jobs. Once the concrete's out of the way, wiggle that post free.
Step 3: Evaluate and Prepare
Check the hole depth. Remember, it should be at least one-third the above-ground height of your post plus 6 inches. For a 6-foot above-ground post, you're looking at a 30-inch hole minimum. Widen it to about 10 to 12 inches across.
Step 4: Add Drainage Layer
Toss in about 4 inches of gravel at the bottom. This helps with drainage and prevents water from pooling around your post base. It's a small step that makes a huge difference down the road.
Step 5: Reset the Post
Place your post (new or repaired) in the center of the hole. Get it plumb using your level, then have someone hold it steady. Pour your concrete mix around the post, leaving about 3 inches from the top for soil cover.
Step 6: Crown the Concrete
Here's a pro tip: slope the concrete away from the post like a little mountain. This encourages water to run off instead of pooling around your post.
Preventive Measures to Keep Posts Standing Tall
An ounce of prevention's worth a pound of cure, right? Once you've fixed your leaning post, let's make sure it stays that way.
Regular Maintenance Tips
Check your fence posts every spring and fall. Give them a shake test and look for early warning signs. Catching problems early means easier fixes later.
Keep vegetation trimmed back from your fence line. Plants trap moisture against wood and their roots can destabilize posts over time. Plus, it makes inspection easier when you can actually see what you're looking at!
Moisture Management Strategies
Ensure proper grading around your fence so water flows away from posts. If you've got sprinklers, adjust them so they're not constantly soaking your fence base. Standing water's basically kryptonite for fence posts.
Consider applying wood preservative to wooden posts annually, especially at ground level where moisture damage occurs most. For metal posts, touch up any rust spots with rust-inhibiting paint.
Reinforcement Options
Installing concrete collars around posts adds extra stability. Even if posts were initially set in dirt, adding concrete later can significantly extend their life.
Metal post brackets or anchor systems can be retrofitted to existing fences for additional support. They're especially useful in areas with challenging soil conditions.
Troubleshooting Common Issues
Let's face it, not every repair goes according to plan. Here are solutions for those "oh crud" moments we all encounter.
When Posts Keep Leaning
If your post returns to its tilting ways after repair, you're probably dealing with ongoing soil issues. Consider installing French drains to manage water or consulting with a landscaper about soil stabilization.
Dealing with Frozen Ground
Winter repairs? That's tough sledding, literally. If you absolutely must fix a post in frozen ground, try using hot water to soften the soil or rent a ground heater. Sometimes though, a temporary brace until spring's your best bet.
Multiple Posts Problems
When several posts are leaning, you might have bigger issues like soil erosion or inadequate original installation. This might be the time to bite the bullet and consider professional help or a fence replacement.
Conclusion
Fixing a leaning fence post doesn't have to be a nightmare that keeps you up at night. With the right approach and a bit of determination, you can restore your fence's stability and save yourself a pretty penny in the process. Whether you choose the brace and reset method, go with steel stakes, or opt for a complete reset, the key's taking action before that slight lean becomes a total collapse. Remember, your fence is only as strong as its weakest post, so stay on top of maintenance and you'll enjoy a sturdy, attractive fence for years to come!
Read next: 15 Backyard Fence Ideas for a Beautiful Outdoor Space
Frequently Asked Questions
Q1. How long does it take to fix a leaning fence post?
Most repairs take 2-4 hours plus 24-48 hours concrete curing time needed.
Q2. Can I fix a leaning post without removing the fence panels?
Yes, bracing and steel stake methods work without removing attached panels completely.
Q3. What's the best concrete for fence post repairs?
Quick-setting concrete works best, reaching initial set in under an hour typically.
Q4. How deep should fence posts be buried?
Posts need one-third their above-ground height plus 6 inches buried minimum.
Q5. When should I replace instead of repair a post?
Replace when rot or damage extends more than 25% into the post.
Stay up to date with our latest ideas!