How to Lay a Flagstone Patio Step by Step
Discover how to lay a flagstone patio step by step with this hands-on guide covering tools, prep, placement, and finishing touches.
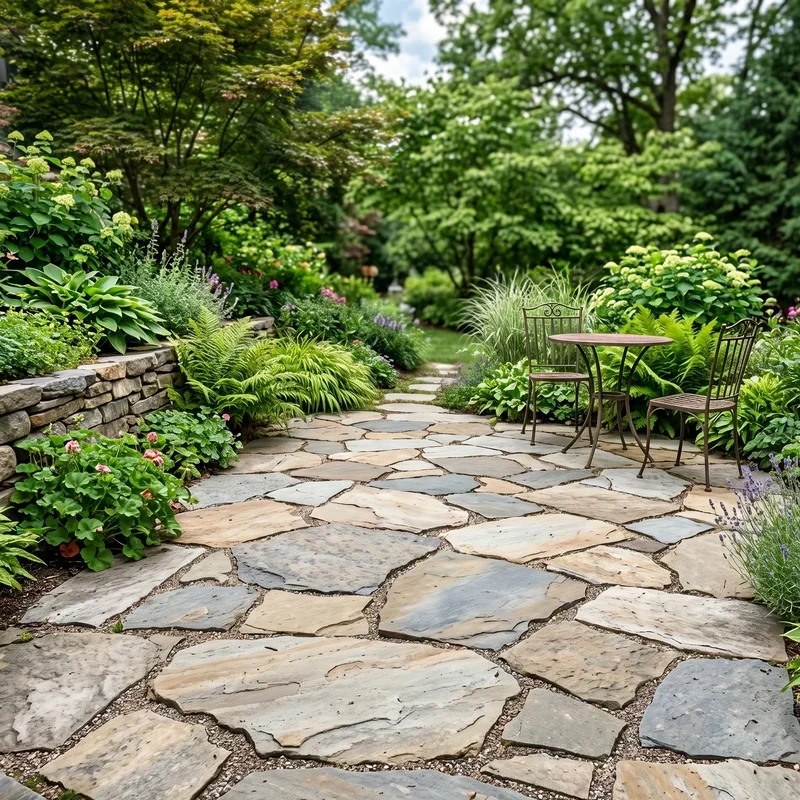
Ever stared at your backyard and thought, "Man, this place needs a serious glow-up"? You're definitely not alone. A flagstone patio is hands down one of the best ways to transform a boring stretch of grass into a cozy hangout spot. Here's the kicker though, you don't need to hire a fancy contractor to pull it off. With a bit of elbow grease, a weekend or two, and this guide by your side, you'll be sipping lemonade on your own handcrafted stone patio before you know it.
What Makes Flagstone Such a Crowd Favorite
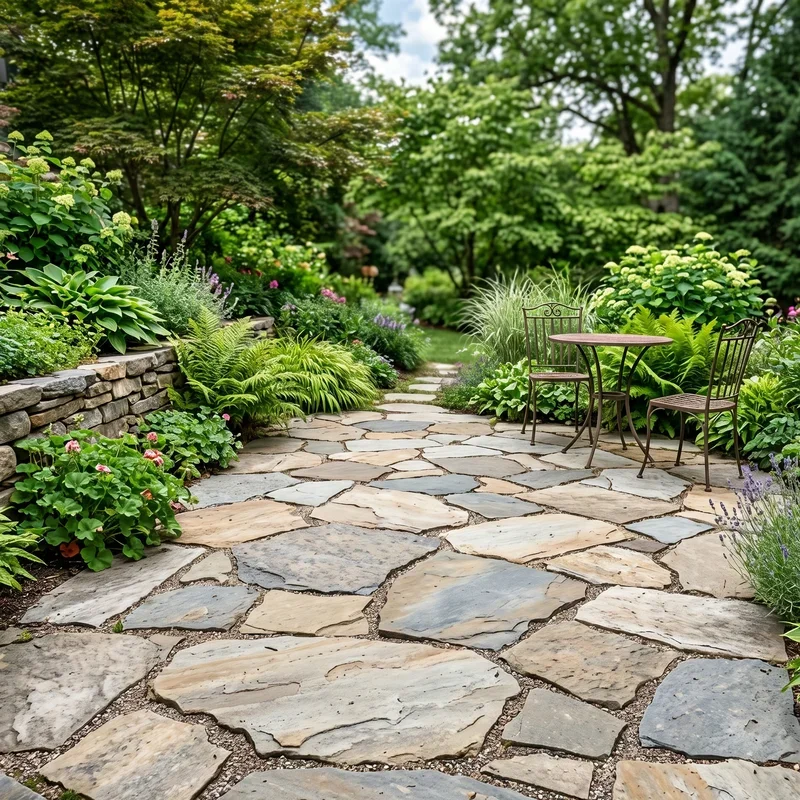
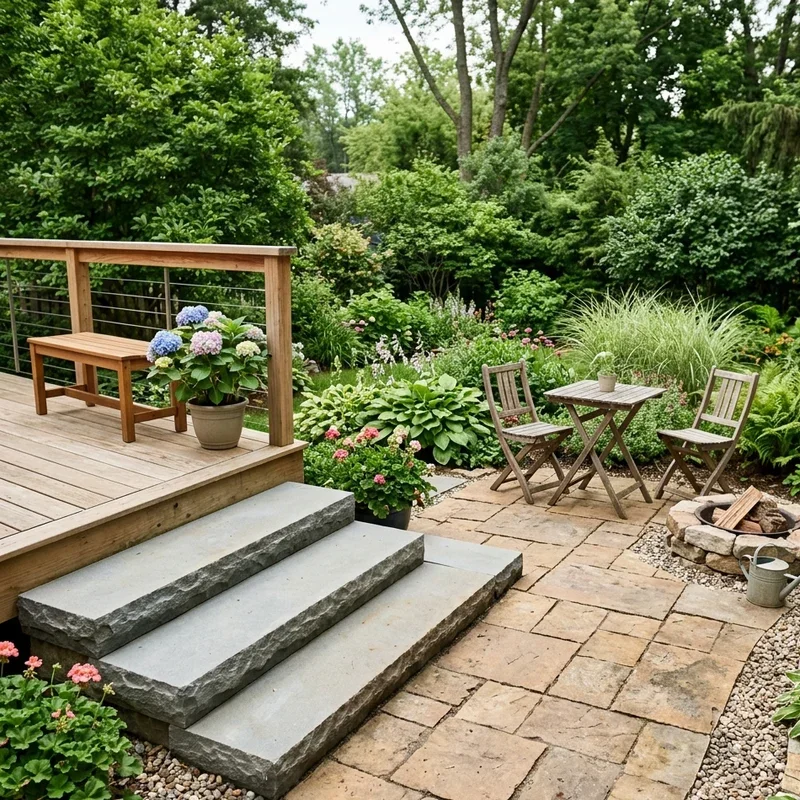
Flagstone has this timeless, earthy beauty that synthetic pavers simply can't fake. Every single piece comes with its own quirky shape, veining, and color palette, ranging from warm rusty reds to cool slate grays. It's kind of like mother nature handpicked each stone just for your backyard.
Besides looking stunning, flagstone is tough as nails. It shrugs off harsh winters, scorching summers, and heavy foot traffic without breaking a sweat. Plus, it plays nice with pretty much any landscaping style, whether you're going for rustic cottage, modern minimalist, or somewhere in between.
Rounding Up Everything You'll Need
Before you break ground, let's talk supplies. Heading to the store multiple times mid-project is a total buzzkill, so grab everything in one haul.
Here's your shopping list:
Flagstone (measure your square footage, then add 15% for cuts and waste)
Crushed stone or paver base gravel
Coarse masonry sand or polymeric sand
Heavy-duty landscape fabric
Wooden stakes and mason's string
Marking spray paint
Shovel, pickaxe, and garden rake
Hand tamper or rented plate compactor
Four-foot level
Rubber mallet
Angle grinder with diamond blade or masonry chisel
Push broom
Wheelbarrow
Work gloves, safety goggles, and knee pads
Swing by a local stone supplier rather than a big-box store if possible. You'll usually find better quality, more variety, and friendlier staff who can help you pick winners.
Step 1: Mapping Out Your Dream Patio
Alright, let's kick things off with some serious daydreaming. Stroll around your yard at different times of day, noting where the sun hits, where shade lingers, and how close everything is to your back door. A patio tucked under a tree feels magical in July but might drop leaves like crazy in October, so weigh the tradeoffs.
Once you've picked the perfect spot, sketch it out roughly on paper. Then grab your stakes, string, and marking paint to outline the shape directly on the ground. Walk around the perimeter, pretend to carry a tray of drinks, and make sure the size feels natural. Too small and it'll be cramped, too big and it'll swallow your yard whole.
Before any digging happens, call 811 to flag underground utilities. Seriously, don't skip this. Hitting a water line will ruin your weekend faster than anything.
Step 2: Digging the Foundation
Here's where your arms start earning their keep. Using your outline as a guide, excavate the entire area to a depth of about 7 inches. That gives you room for 4 inches of base, 1 inch of sand, and 2-inch-thick flagstones roughly flush with the surrounding ground.
As you dig, build in a slight slope away from your home, roughly one quarter inch per foot. This tiny tilt keeps rainwater flowing away from your foundation rather than pooling up. Check the grade frequently with a long level resting on a straight board. It's tedious, yeah, but crucial.
Pile the soil on a tarp nearby so cleanup's a breeze later. If you're removing lots of turf, consider renting a sod cutter to save your back.
Step 3: Rolling Out Landscape Fabric
Once the pit is excavated, line the entire bottom with landscape fabric. Think of it as armor against weeds that would otherwise push up through your joints and ruin the look. Overlap adjacent pieces by about 8 inches and let the fabric curl up the sides of your excavation.
Use landscape staples or a few stones to pin the fabric down temporarily. Skimping on quality fabric is tempting, but the cheap stuff tears easily and breaks down within a couple of seasons. Spring for the heavy-duty woven kind and you'll thank yourself later.
Step 4: Building a Rock-Solid Gravel Base
Now let's lay down the muscle of your patio. Dump crushed gravel into the pit, spreading it in layers no thicker than 2 inches each. Rake it evenly, then compact it thoroughly using a hand tamper or, better yet, a rented plate compactor.
Why all the compaction fuss? Because a loose base is the number one reason DIY patios fail. Stones sink, joints widen, and puddles form. Nobody wants that. Repeat the layering and tamping process until you've built up about 4 inches of seriously compacted base. Keep that gentle slope intact the whole time.
Spritz the gravel lightly with water before compacting for even better results. The moisture helps particles lock together tighter.
Step 5: Screeding the Sand Layer
With your base rock-hard and ready, pour coarse sand over it, aiming for about 1 inch of depth. This cushiony layer acts like a shock absorber and gives you wiggle room to level each flagstone perfectly.
To smooth it out, grab two pieces of metal pipe or wood, lay them parallel across the sand as guides, then drag a 2x4 across the top. This is screeding, and it leaves you with a dead-flat surface. Don't compact this sand! You want it fluffy enough to nudge stones around.
Step 6: How to Lay a Flagstone Patio Step by Step the Smart Way
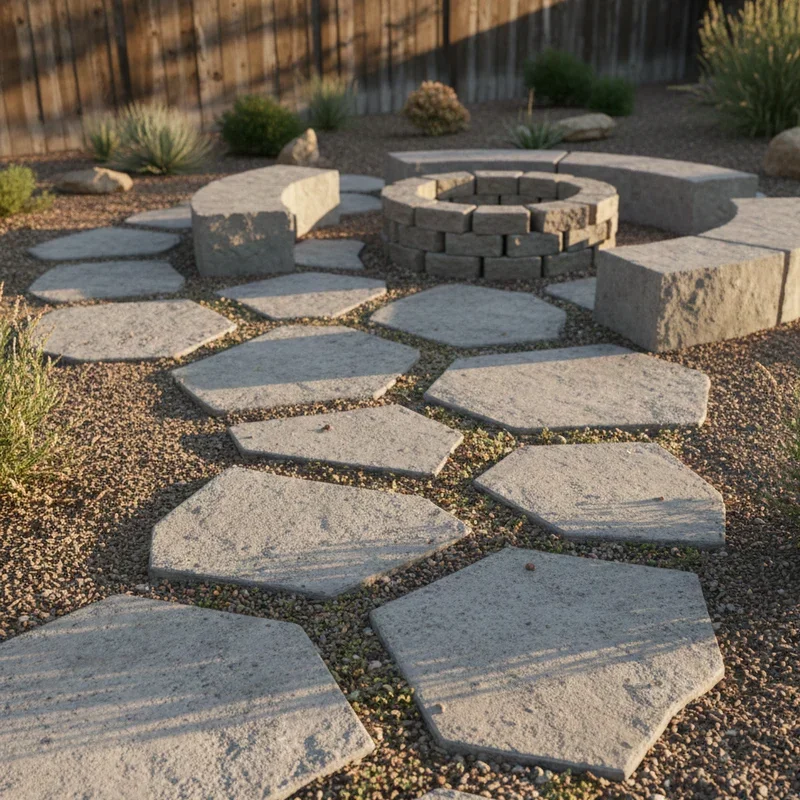
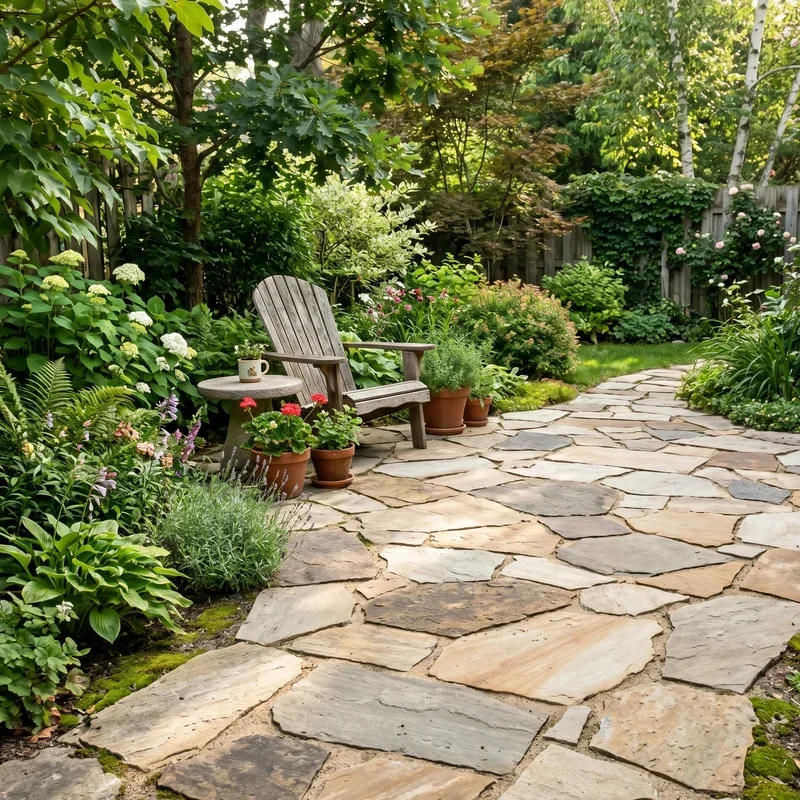
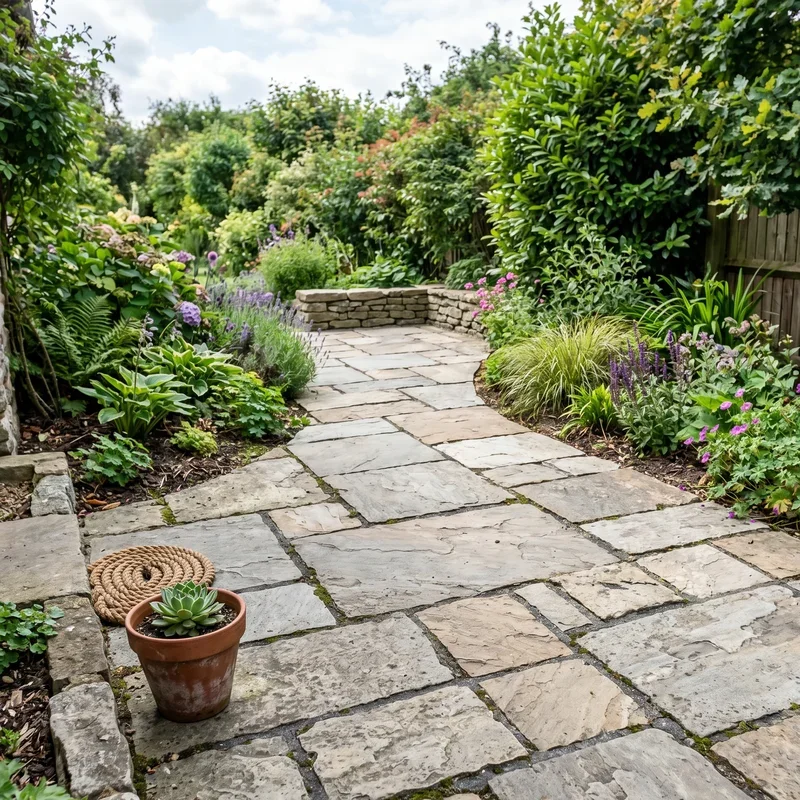
Now comes the fun part, where your patio finally takes shape. Begin at one corner or along a straight edge, then work outward. Pick up each flagstone and study its silhouette. Rotate it, flip it, try it in different spots until you find where it fits snugly next to its neighbors.
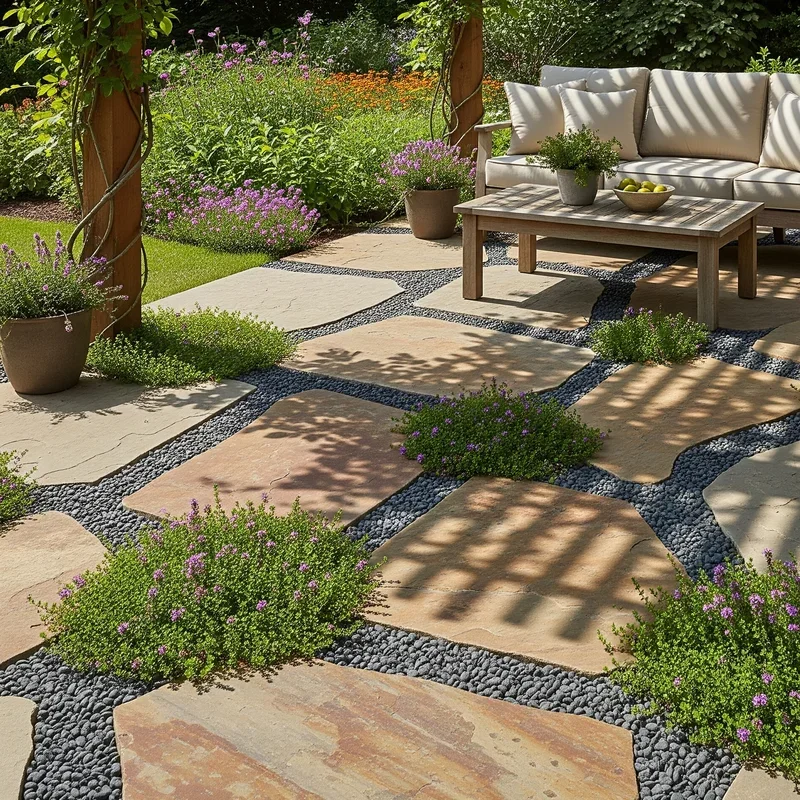
Aim for gaps between half an inch and 2 inches wide, depending on your vibe. Tighter joints read as polished and formal, while chunkier gaps feel breezy and casual. Tap each stone down with a rubber mallet, then rest your level across it to check for flatness. If one corner dips, lift the stone, toss in a handful of sand, and reset it.
Thick stones will need deeper pockets scooped from the sand, while thinner ones may need extra sand packed underneath. The how to lay a flagstone patio step by step process is kind of like solving a jigsaw puzzle while sculpting, so don't rush. Step back often to eyeball the overall pattern and catch any awkward clusters of small stones or weirdly parallel seams.
Step 7: Cutting Stones to Fit Those Tricky Spots
Every patio reaches a point where no natural-shaped stone will fit. Time to break out the cutting tools. For small chips or curves, use a masonry chisel and a three-pound hammer. Score your line by tapping along it repeatedly, then deliver one firmer strike to snap the stone.
For precision cuts or big chunks, an angle grinder with a diamond blade is your best friend. Mark the cut line clearly with chalk or a crayon, secure the stone, and guide the blade slowly along the line. Wear safety glasses, a dust mask, and ear protection because, holy cow, the dust and noise are no joke.
Always cut outside if you can, and mist the stone lightly to keep dust down.
Step 8: How to Lay a Flagstone Patio Step by Step and Fill the Joints
You're nearly there! With every stone settled in place, it's time to fill the gaps. Two popular options dominate here: regular masonry sand or polymeric sand. Regular sand costs less but washes out with heavy rain and needs topping off periodically. Polymeric sand hardens when wet and locks stones together firmly, while also shutting down weed growth.
Pour your chosen sand across the patio and sweep it diagonally into the joints with a stiff push broom. Keep sweeping from multiple directions until every crack is packed full. For polymeric sand, follow the package instructions carefully, which usually involves blowing off excess sand, then misting with water in stages to activate the binders.
If you botch the wetting process, polymeric sand can haze over your stones, so read the directions twice and work in shade when possible.
Step 9: Finishing Touches and Curing
After the joints are packed, give the entire patio one last light tamping to seat everything firmly. Sweep away any leftover sand or grit with a soft broom, then take a well-deserved break.
If you went with polymeric sand, keep foot traffic off the patio for at least 24 hours so it can fully cure. Regular sand? You're good to walk on it right away, though avoid dragging heavy furniture until everything settles for a day or two.
Keeping Your Flagstone Patio Gorgeous for Years
A patio isn't exactly a "set it and forget it" project, but maintenance is pretty light. Here's how to keep yours looking sharp:
Sweep debris off regularly to prevent staining from leaves and organic matter
Rinse with a garden hose every few weeks during peak use seasons
Spot-clean spills quickly using mild soap and water
Re-sand joints every two to three years as needed
Apply a stone sealer annually or biannually for extra protection
Pull any stubborn weeds that sneak through before they take hold
Give it a little TLC and your patio will look fresh for decades.
Mistakes That'll Come Back to Bite You
A few rookie errors can derail even the best planning. Skimping on base depth tops the list, because anything less than 4 inches of compacted gravel leads to sinking and shifting. Another classic goof is forgetting the drainage slope, which turns your patio into a swimming pool after every storm.
Choosing stones that are too thin (under 1.5 inches) invites cracking under furniture or foot traffic. And laying flagstone directly on soil, without base and fabric? That's asking for weeds, heaving, and regret within a single season.
What It'll Actually Cost You
Let's talk money. Flagstone prices vary wildly based on type and region, ranging from roughly $3 to $12 per square foot. For a 150 square foot patio, expect to spend between $700 and $2,000 on materials total, including gravel, sand, and fabric.
Renting a plate compactor runs about $60 to $90 per day, which is totally worth it. Hiring out the whole job can easily crack $4,000 to $6,000, so DIYing saves a boatload while giving you serious bragging rights.
Conclusion
Building your own flagstone patio is one of those projects that pays you back tenfold in beauty, value, and satisfaction. Sure, it takes planning, sweat, and a few scraped knuckles along the way, but the end result is pure magic. You'll have a custom outdoor space that fits your yard and your personality perfectly, ready for countless cookouts, morning coffees, and lazy sunset hangouts. Grab your tools, rally a buddy for moral support, and turn that backyard dream into solid stone reality this season.
Read next: 15 Simple Concrete Patio Ideas to Upgrade Your Yard
Frequently Asked Questions
1.What's the ideal thickness for patio flagstones?
A: Choose flagstones at least 1.5 to 2 inches thick for lasting durability under regular foot traffic.
2.Can flagstone be laid over existing concrete?
A: Yes, you can mortar flagstone onto clean, solid concrete slabs for a quick upgrade.
3.How much does a DIY flagstone patio cost?
A: Expect $700 to $2,000 for materials on an average 150 square foot backyard patio.
4.Do flagstone patios get slippery when wet?
A: Smooth-surfaced flagstone can get slick, so pick textured varieties for better grip outdoors.
5.How long will a properly installed flagstone patio last?
A: With decent maintenance, a well-built flagstone patio easily lasts 25 years or longer.
Stay up to date with our latest ideas!