How to Paint a Fence: Step-by-Step Guide for Beginners
Learn how to paint a fence like a pro with our beginner-friendly guide. Get tips on prep, tools, and techniques for stunning results.

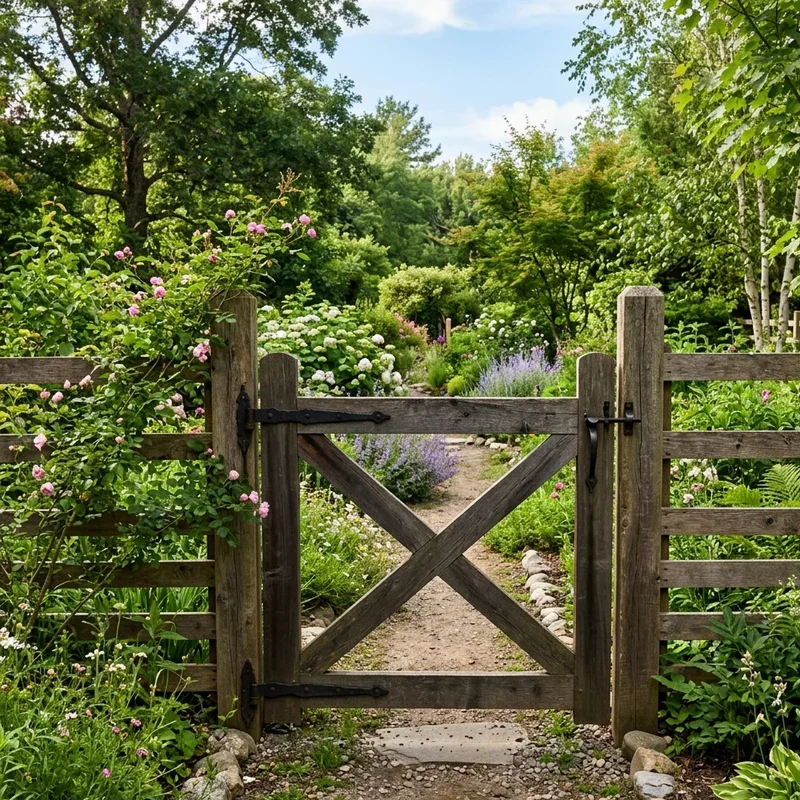
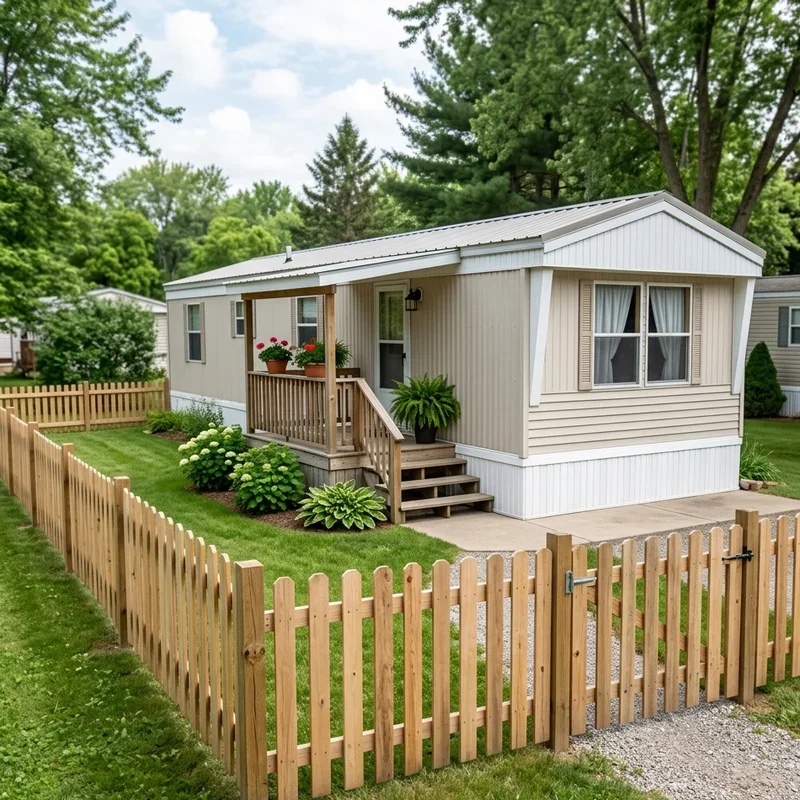
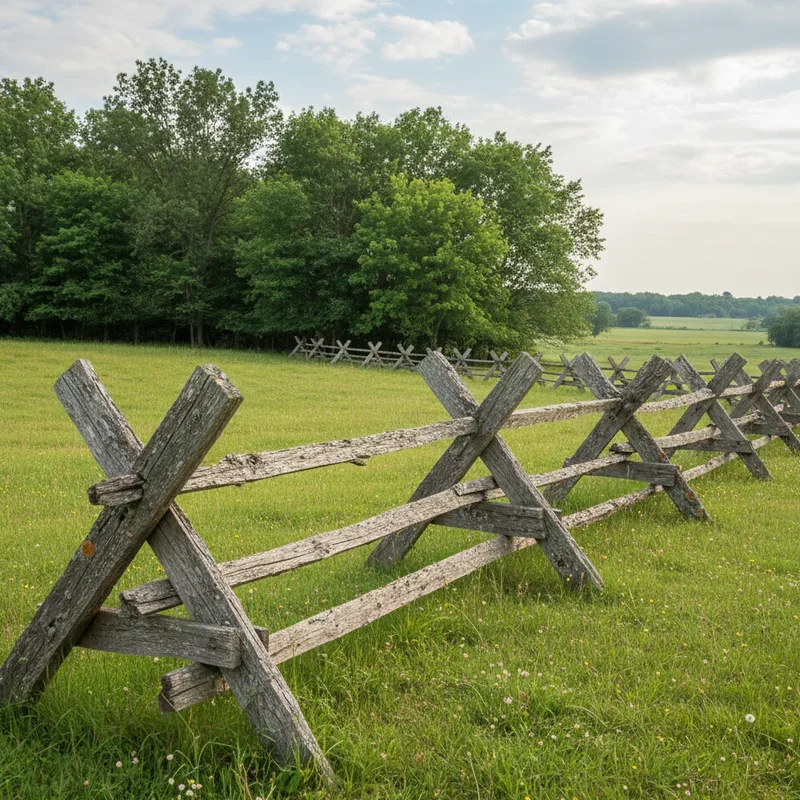
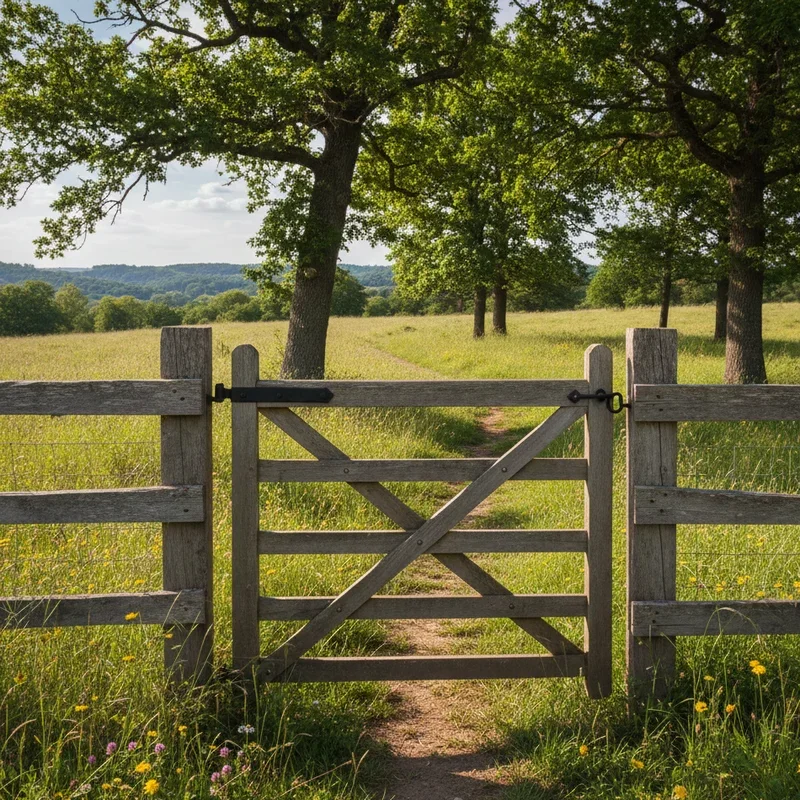
So, you have been staring at that weathered, tired-looking fence in your backyard, haven't you? Well, guess what? You are not alone in this predicament. Thousands of homeowners find themselves in the exact same boat every single year, wondering how on earth they can breathe new life into their wooden barriers without breaking the bank or hiring expensive professionals.
Here is the thing about painting a fence. It looks intimidating at first glance, but once you get the hang of it, you will wonder why you ever hesitated. Trust me on this one. The satisfaction of stepping back and admiring your freshly painted fence is absolutely priceless. It is like giving your entire property a facelift without the hefty price tag.
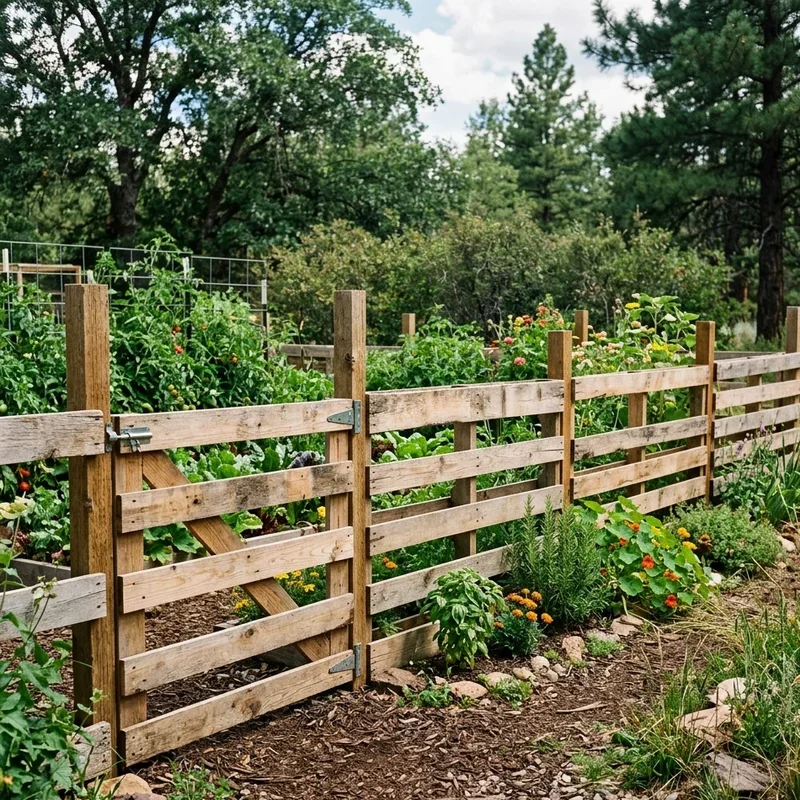
This comprehensive guide on how to paint a fence is going to walk you through every single step of the process. From gathering your supplies to applying that final coat, we have got you covered. Whether you are dealing with a picket fence, a privacy fence, or something in between, the principles remain pretty much the same. So grab yourself a cup of coffee, roll up those sleeves, and let us dive right into this exciting home improvement adventure together.
Why Should You Even Bother Painting Your Fence?
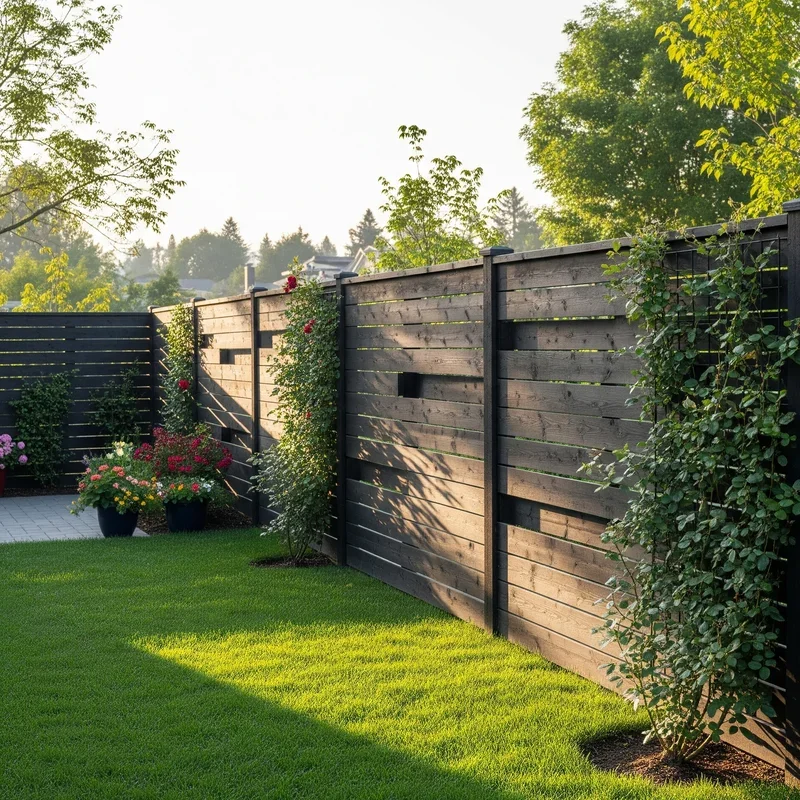
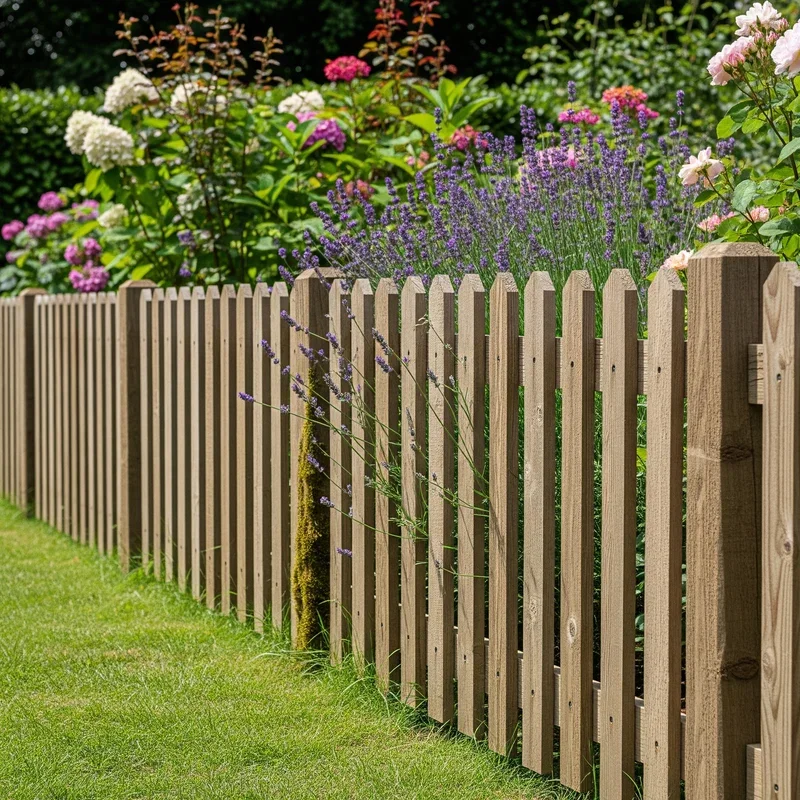
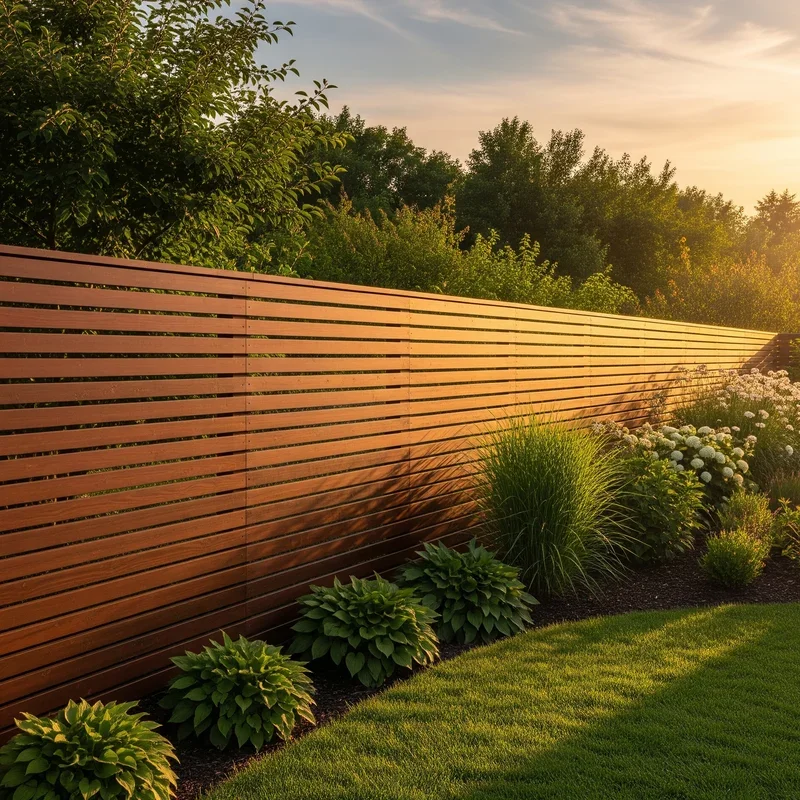
Before we jump into the nitty-gritty details, let us talk about why painting your fence matters in the first place. I mean, it is just a fence, right? Wrong! Your fence does way more than just mark your property boundaries. It protects your privacy, keeps your pets and kids safe, and honestly, it makes a massive first impression on anyone who passes by your home.
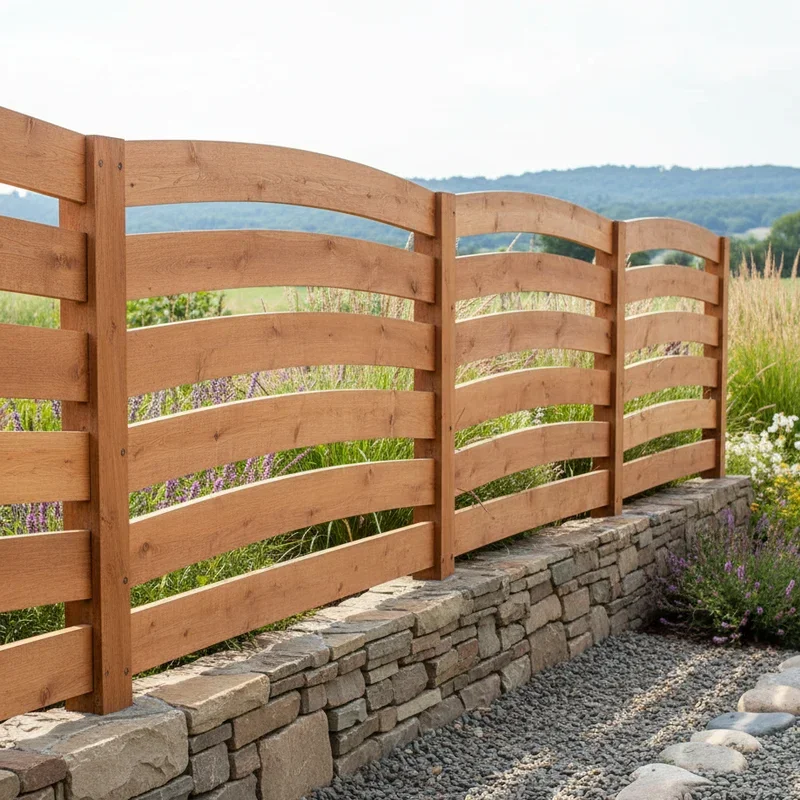
A well-maintained fence can boost your property value significantly. Real estate experts suggest that curb appeal plays a huge role in home valuations, and your fence is a big part of that equation. Plus, paint acts as a protective barrier against moisture, insects, and the harsh UV rays that can turn beautiful wood into a splintery mess.
Think of it this way. Would you rather spend a weekend painting your fence now, or shell out thousands of dollars replacing the entire thing in a few years? The choice seems pretty obvious when you put it like that, doesn't it?
How to Paint a Fence: Step-by-Step Guide for Beginners Starts with Proper Planning
Alright, let us get down to business. The key to any successful painting project lies in the preparation phase. Rushing through this part is like trying to bake a cake without preheating the oven. Sure, you might end up with something edible, but it will not be pretty.
Checking the Weather Forecast
First things first, you need to pick the right day for your project. Painting in direct sunlight or extreme humidity is a recipe for disaster. The ideal temperature sits somewhere between 50 and 85 degrees Fahrenheit. Also, make sure there is no rain in the forecast for at least 24 hours after you plan to finish. Nobody wants their hard work washed away by an unexpected shower.
Inspecting Your Fence Thoroughly
Walk along your entire fence line and look for any damage that needs addressing. Are there loose boards? Rusty nails poking out? Spots where the wood has started to rot? Jot down everything you find because you will need to fix these issues before you even think about cracking open that paint can.
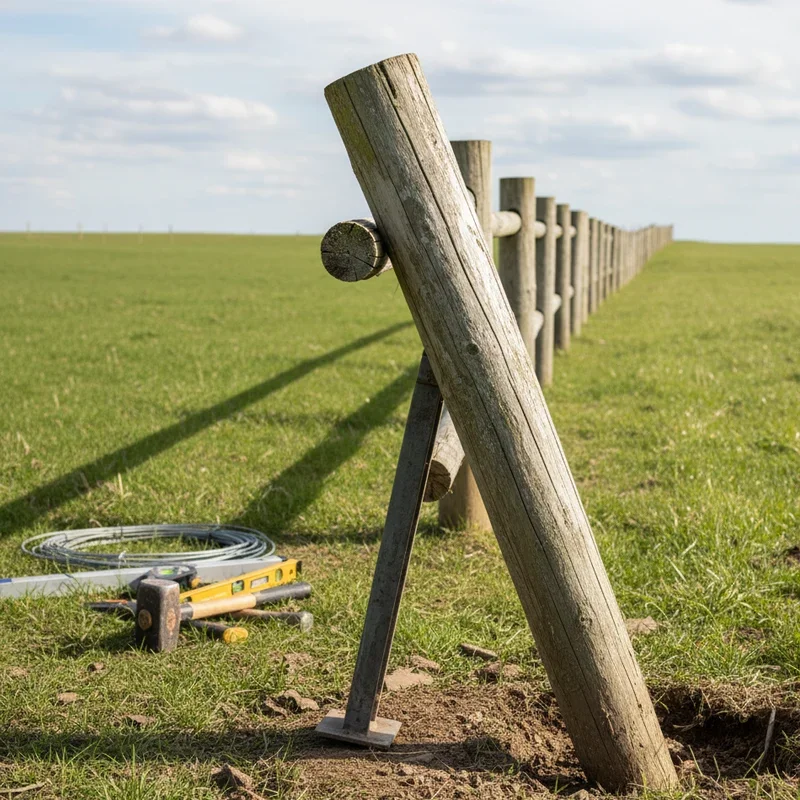
Gathering Your Materials and Tools
Here is a handy list of everything you will need for this project:
Exterior wood paint or stain in your chosen color
Primer suitable for outdoor wood surfaces
Paint brushes in various sizes
A paint roller with an extension pole
A paint sprayer if you want to speed things up
Drop cloths or plastic sheeting
Painter's tape
Sandpaper in medium and fine grits
A wire brush for stubborn spots
A power washer or garden hose with a spray attachment
Safety goggles and work gloves
A sturdy ladder if your fence is tall
Preparing Your Fence Surface Like a Professional
Now comes the part that separates the amateurs from the pros. Proper surface preparation makes all the difference in how your finished fence will look and how long that beautiful paint job will last.
Clearing the Area Around Your Fence
Move any plants, garden decorations, or furniture away from the fence. You want at least three feet of clearance on both sides if possible. This gives you room to work and prevents accidental paint splatters on your prized rose bushes.
Cleaning Your Fence Thoroughly
Dirt, mildew, and old flaking paint need to go before you can apply anything new. If you have access to a power washer, this step becomes a breeze. Set it to a medium pressure setting and work your way along the fence, holding the nozzle about 12 inches from the surface.
No power washer? No problem! A stiff brush and a bucket of soapy water will do the trick. It just takes a bit more elbow grease. Make sure you rinse everything thoroughly and allow the wood to dry completely. This usually takes about two full days depending on the weather conditions in your area.
Sanding and Scraping Away the Old Stuff
Once your fence is dry, grab that sandpaper and get to work. Focus on areas with peeling paint or rough patches. The goal is to create a smooth surface that the new paint can grip onto. For stubborn spots, a wire brush works wonders. Just be careful not to gouge the wood.
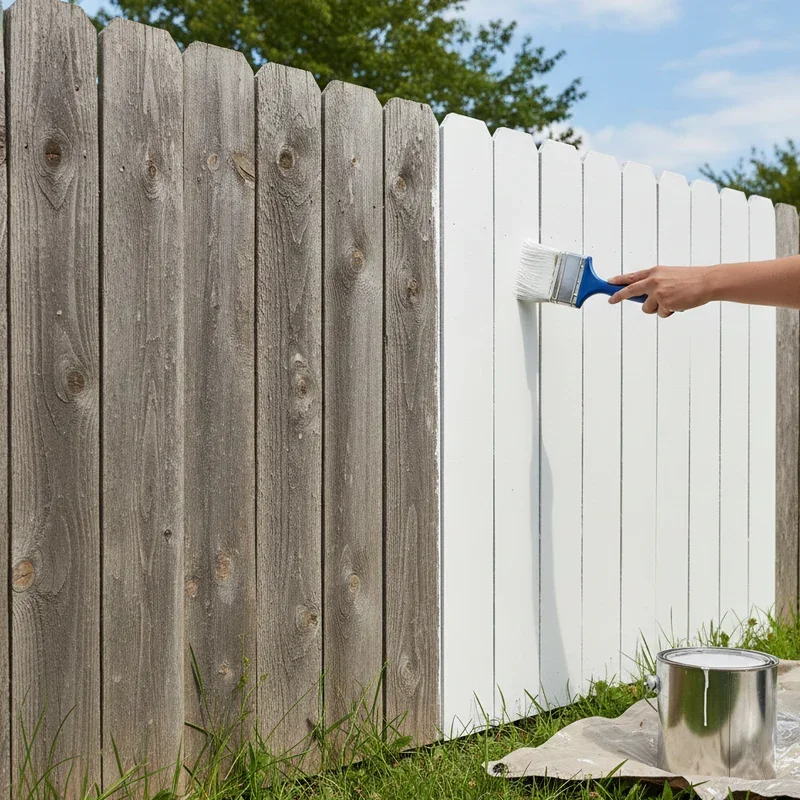
Applying Primer for Better Results
Many beginners skip this step, and honestly, it is one of the biggest mistakes you can make. Primer helps the paint adhere better and provides an extra layer of protection against moisture. Apply it evenly using a brush or roller, and let it dry according to the manufacturer's instructions.
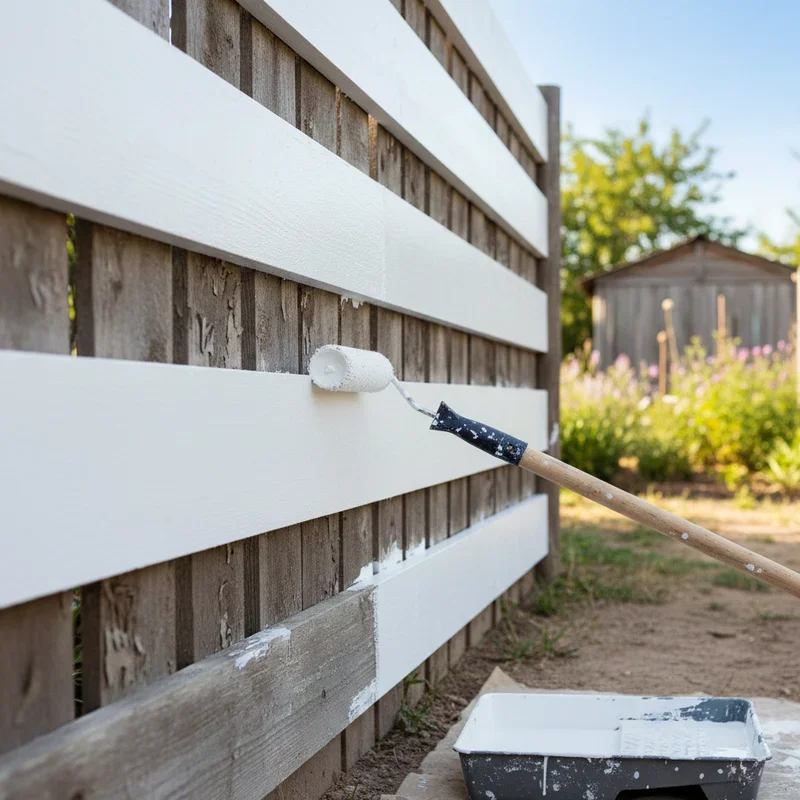
The Main Event: How to Paint a Fence Step by Step
Alright, the moment you have been waiting for has finally arrived. It is time to transform that dull fence into something spectacular. Take a deep breath because you have totally got this.
Choosing Between Brush, Roller, and Sprayer
Each method has its pros and cons. Brushes give you the most control and work best for detailed areas and tight spots between pickets. Rollers cover large flat surfaces quickly but might miss some nooks and crannies. Sprayers are the fastest option but require more setup and cleanup, plus you need to be careful about overspray.
For most beginners, a combination approach works best. Use a sprayer or roller for the broad surfaces and follow up with a brush for the details and edges.
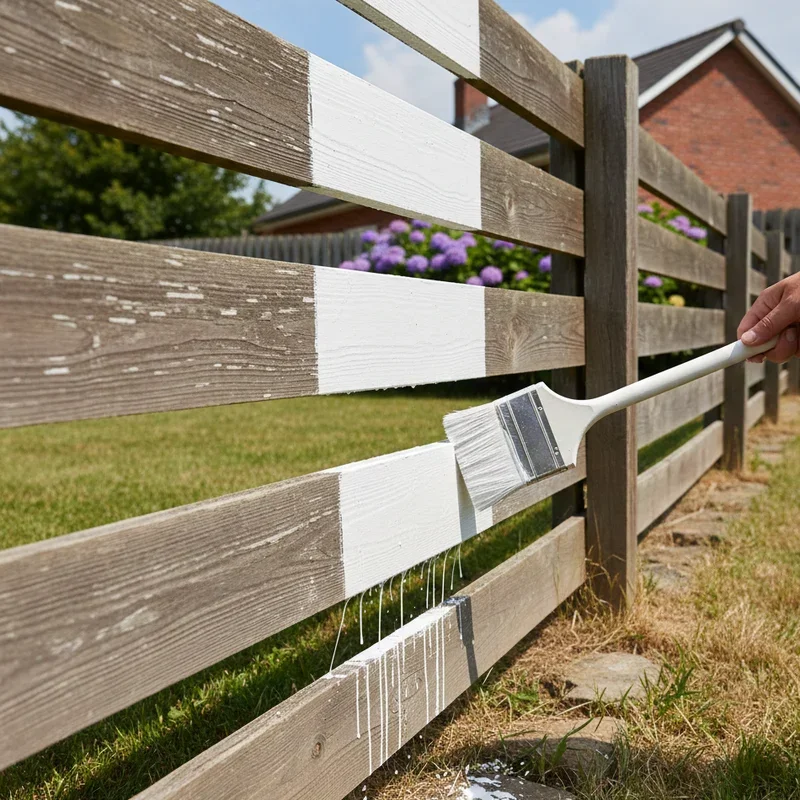
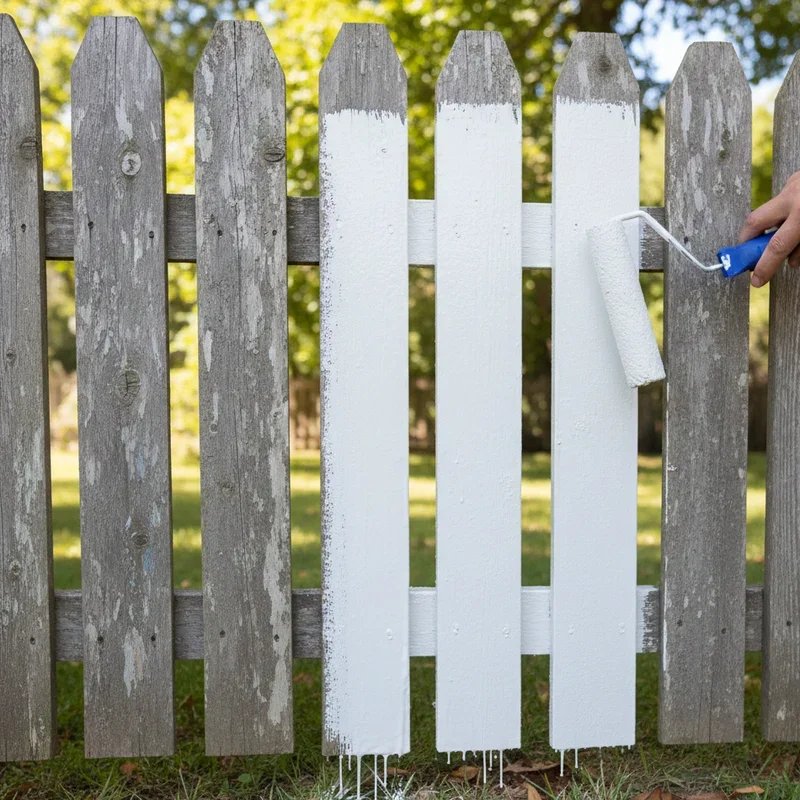
Starting Your First Coat
Begin at one end of your fence and work your way to the other systematically. If you are using a brush, load it with paint but do not overdo it. You want enough to cover the surface without creating drips. Work in the direction of the wood grain for the smoothest finish.
When using a roller, apply paint in a W pattern and then fill it in. This technique ensures even coverage without leaving those telltale roller marks. Keep a wet edge as you move along. This means you should always paint into the previously painted section while it is still wet.
Letting the First Coat Dry Properly
Patience is a virtue here, folks. I know it is tempting to slap on the second coat right away, but resist that urge. Most exterior paints need at least four to six hours of drying time, and some require a full 24 hours. Check the label on your specific product and follow those guidelines to the letter.
Applying the Second Coat for Perfection
Once the first coat is completely dry, it is time for round two. This coat is what really brings out the color and provides that professional-looking finish. Follow the same technique you used for the first coat, paying extra attention to any spots you might have missed earlier.
Tips and Tricks for Stunning Results
Want your fence to look like a professional crew handled it? Here are some insider secrets that will take your project to the next level.
Working in sections helps you maintain that wet edge we talked about earlier. If you try to tackle the whole fence at once, you might find yourself painting over dried paint, which creates visible overlap marks.
Always check the back side of your fence too. Even if your neighbors are the only ones who see it, a half-painted fence looks sloppy and can lead to uneven weathering over time.
If you spot any drips while the paint is still wet, smooth them out immediately with your brush. Dried drips are a pain to fix and really detract from the overall appearance.
Consider adding a clear sealant after your final coat dries. This extra step adds years to your paint job and makes future cleaning a whole lot easier.
Common Mistakes to Avoid When Painting Your Fence
Even with the best intentions, things can go sideways if you are not careful. Here are some pitfalls that trip up many first-timers.
Painting over wet or damp wood is a disaster waiting to happen. The moisture gets trapped under the paint and causes bubbling, peeling, and premature failure of your finish.
Skipping the primer might save you an hour or two, but it will cost you in the long run. Unprimed surfaces absorb paint unevenly and do not hold up nearly as well.
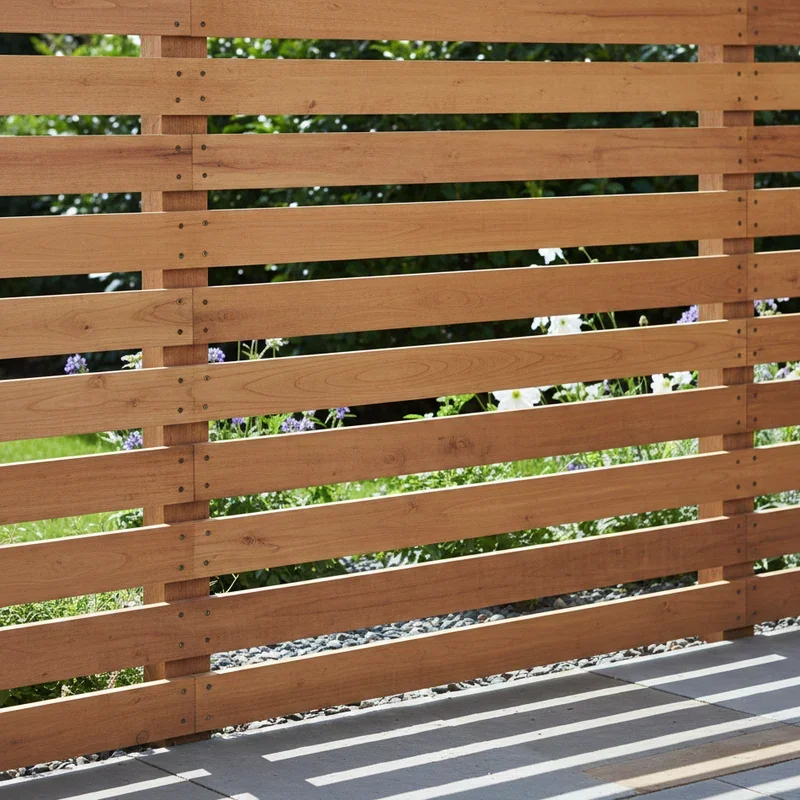
Choosing the wrong type of paint can also cause problems. Make absolutely sure you are using exterior-grade paint specifically designed for wood surfaces. Interior paint will not withstand the elements.
How to Paint a Fence: Step-by-Step Guide for Beginners Wraps Up
Maintaining your newly painted fence is just as important as the initial project. Inspect it regularly for any signs of wear, and touch up small areas before they become big problems. A little maintenance goes a long way toward keeping your fence looking fresh for years to come.
Clean your fence annually with a gentle spray from the garden hose to remove dirt and debris. This simple habit prevents buildup that can damage the paint over time.
Conclusion
Painting a fence might seem like a daunting task at first, but with the right preparation and techniques, anyone can achieve professional-looking results. This guide on how to paint a fence has given you all the tools and knowledge you need to tackle this rewarding project with confidence. Remember to take your time with surface preparation, choose quality materials, and work systematically from one end to the other. Your backyard transformation awaits, and trust me, the results will make every bit of effort worthwhile.
Read next: 15 Fence Lighting Ideas to Elevate Your Outdoor Space
Frequently Asked Questions
1. How long does it take to paint an average-sized fence?
Most beginners can complete a standard fence in one to two full weekends.
2. Should I use paint or stain on my wooden fence?
Paint offers better protection while stain highlights the natural wood grain beautifully.
3. How often should I repaint my fence to maintain it?
Plan to repaint your fence every five to seven years depending on weather conditions.
4. Can I paint a fence in cold weather conditions?
Avoid painting when temperatures drop below 50 degrees Fahrenheit for best results.
5. What is the best type of paint for outdoor fences?
Acrylic latex exterior paint provides excellent durability and weather resistance for fences.
Stay up to date with our latest ideas!