How to Remove Thatch From Lawn for Healthier Grass
Learn how to remove thatch from lawn for healthier grass with our complete guide. Discover tools, timing, and techniques that work.
You've been watering faithfully, fertilizing on schedule, and mowing at just the right height. Yet somehow, your lawn still looks lackluster, patchy, and just plain tired. What gives? Well, the culprit might be hiding right under your nose, or more accurately, right beneath your grass blades.
Thatch is one of those sneaky lawn problems that builds up gradually until suddenly you've got a real mess on your hands. This layer of dead grass, roots, and organic debris accumulates between the green grass you see and the soil beneath it. A little thatch is perfectly normal and even beneficial. Too much thatch? That's when trouble starts brewing.
Here's the thing about thatch that many homeowners don't realize. It's not simply dead grass clippings from mowing. Those actually decompose pretty quickly. Thatch consists primarily of stems, roots, and stolons that break down much more slowly than other organic materials. When production outpaces decomposition, that layer just keeps getting thicker and thicker.
Think of excessive thatch like a spongy barrier between your grass and everything it needs to thrive. Water can't penetrate properly. Fertilizer sits on top instead of reaching roots. Air circulation suffers. Disease organisms find a cozy home. And your lawn? It struggles along, never quite reaching its potential despite your best efforts.
Learning how to remove thatch from lawn for healthier grass isn't complicated, but it does require understanding the right approach for your specific situation. Whether you're dealing with a minor buildup or a serious thatch problem that's been years in the making, we've got you covered with everything you need to know.
Understanding Thatch and Why It Matters
Before attacking thatch removal, understanding exactly what you're dealing with helps you make smarter decisions about treatment.
What Thatch Actually Is
Thatch forms from living and dead grass stems, crowns, roots, and stolons that accumulate faster than soil microorganisms can break them down. Unlike grass clippings that decompose within weeks, these tougher plant materials resist breakdown and gradually create a dense, intertwined layer.
Healthy lawns actually benefit from a thin thatch layer, roughly half an inch or less. This light covering helps insulate soil from temperature extremes, reduces water evaporation, and cushions foot traffic. The problems start when thatch exceeds three-quarters of an inch and begins interfering with normal lawn functions.
Several factors contribute to excessive thatch buildup. Over-fertilizing, particularly with high-nitrogen products, pushes aggressive growth that outpaces natural decomposition. Acidic soil conditions slow microbial activity responsible for breaking down organic matter. Certain grass types like Kentucky bluegrass and creeping bentgrass naturally produce more thatch than others.
How to Check Your Thatch Level
Diagnosing thatch problems requires getting down and dirty, literally. Grab a sharp knife or garden trowel and cut a small wedge of turf about three inches deep. Pull it out and examine the cross-section.
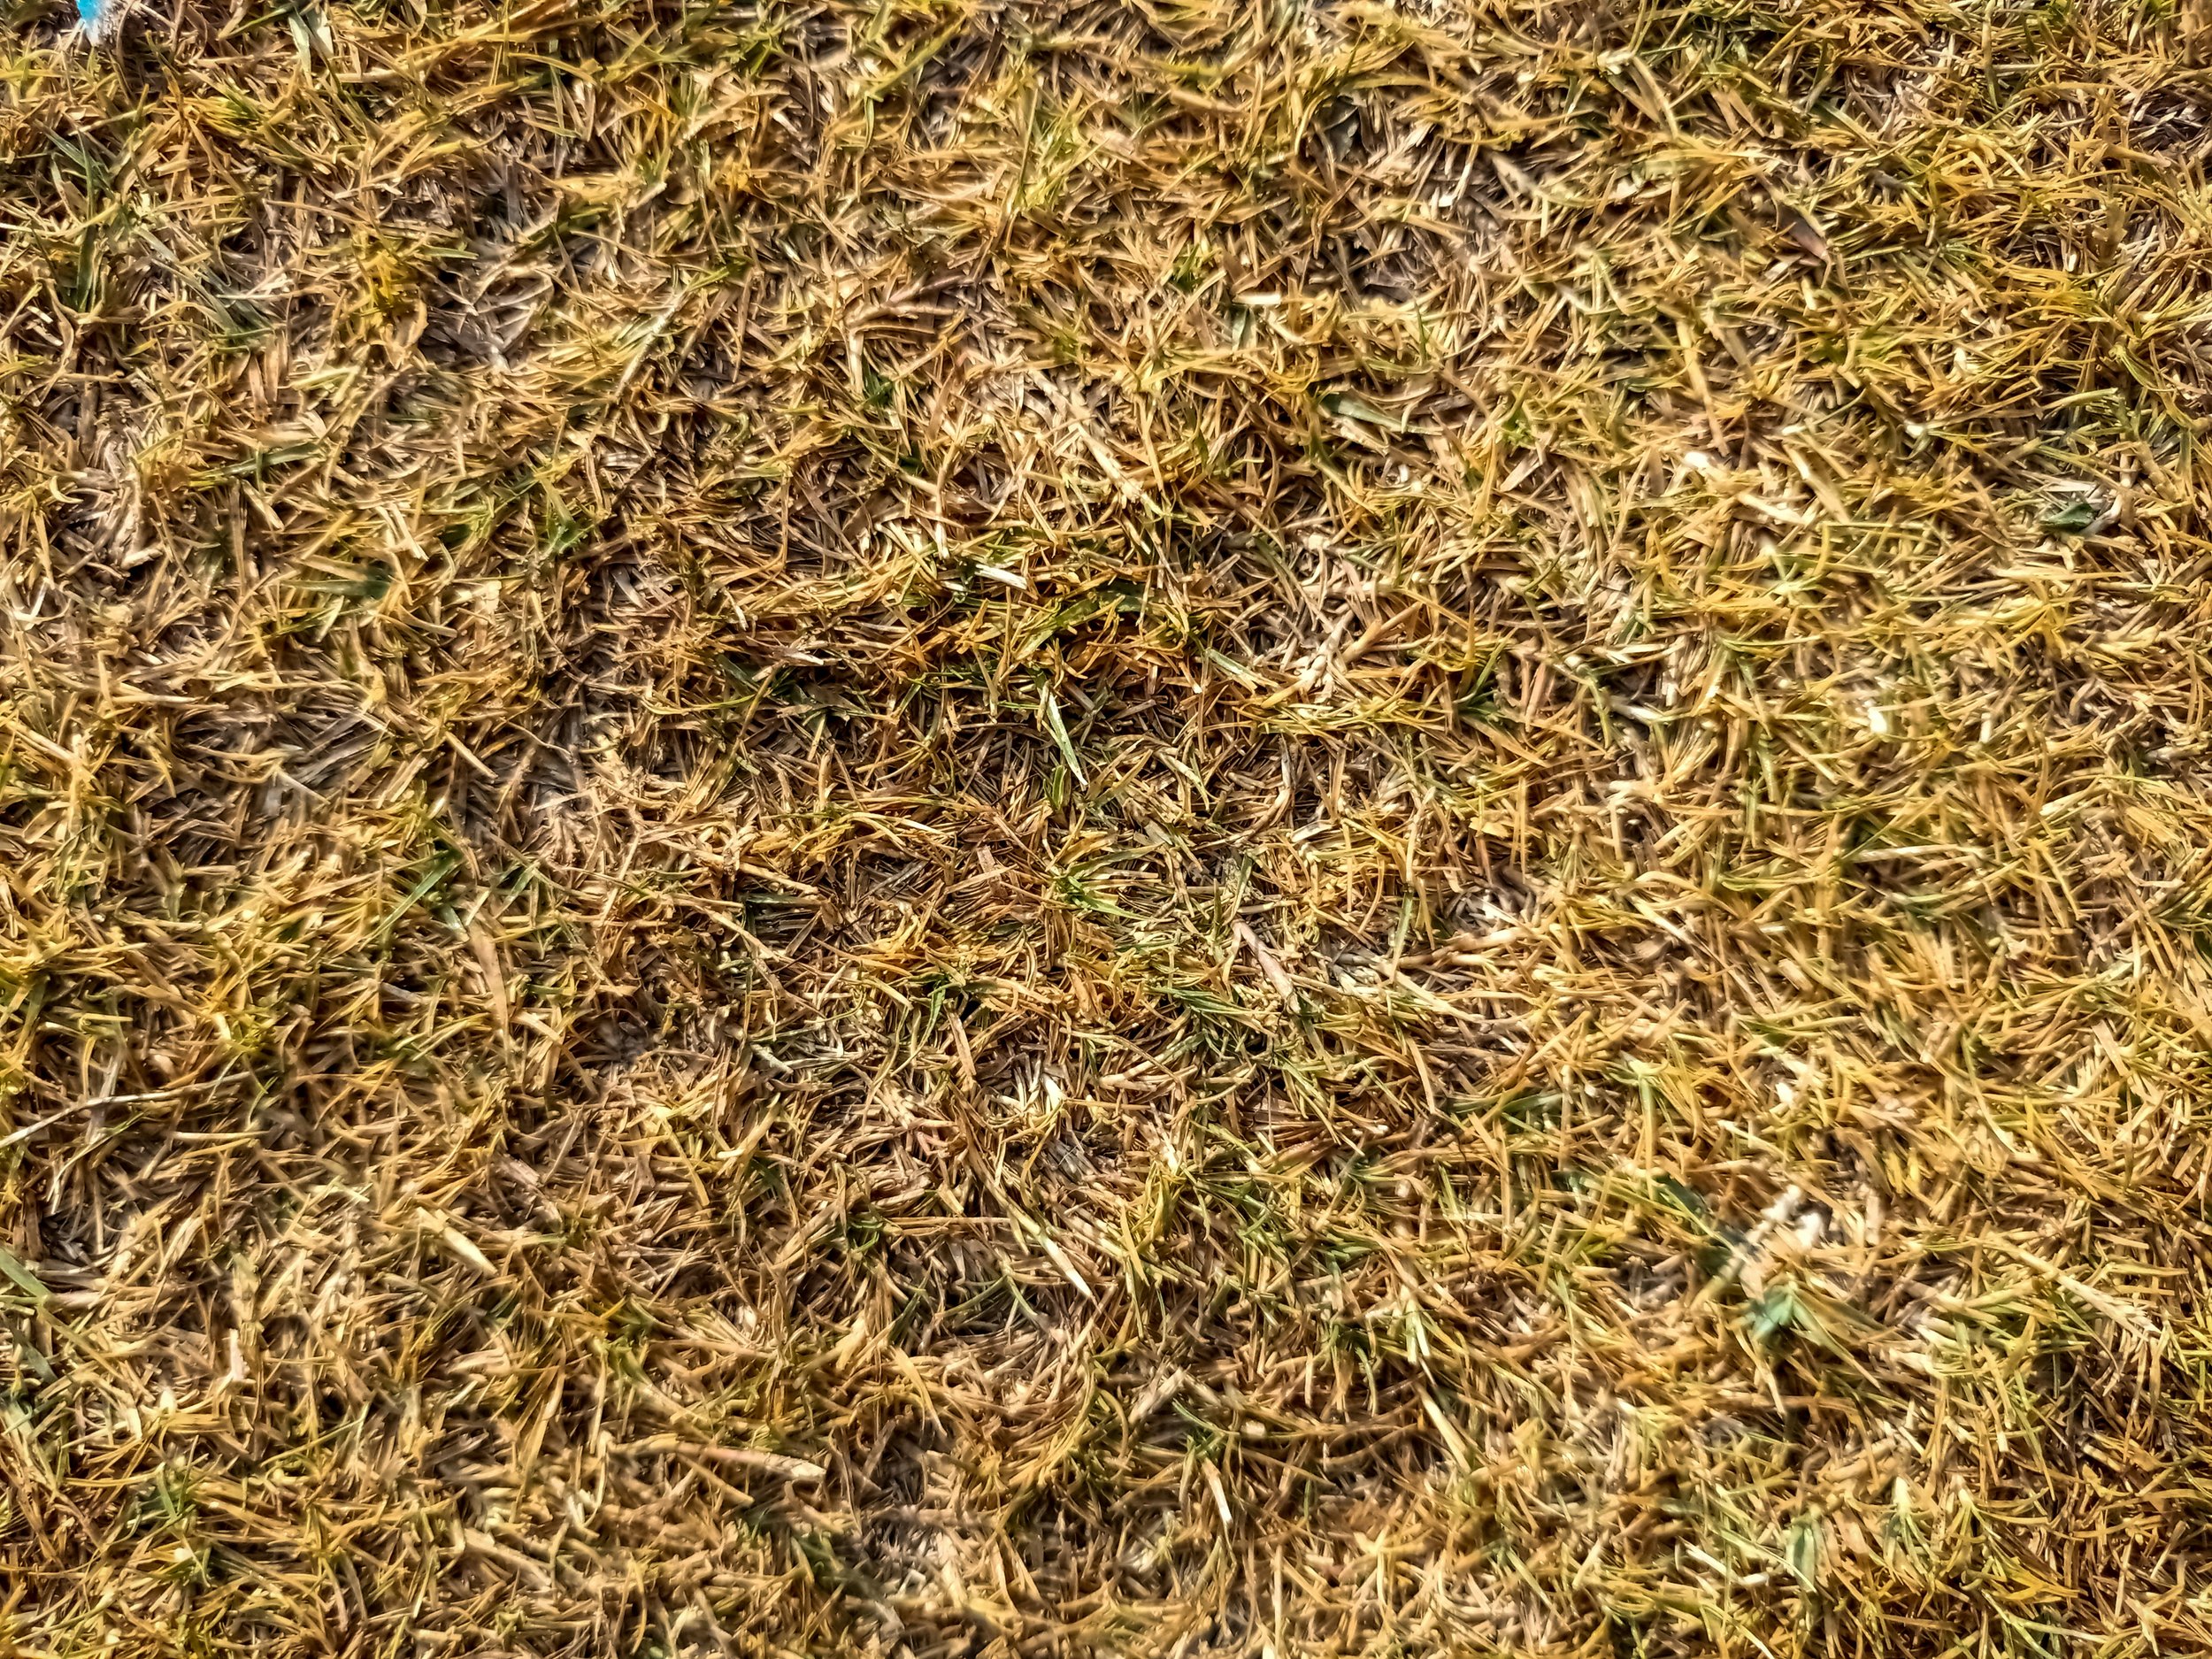
That brownish, spongy layer between the green grass blades and the darker soil is your thatch. Measure it with a ruler. Anything under half an inch is healthy and beneficial. Between half an inch and one inch suggests it's time to address the situation. Anything over one inch indicates a serious problem requiring immediate attention.
Feel the thatch layer with your fingers. Healthy thatch feels somewhat loose and crumbly. Problematic thatch feels dense, matted, and almost rubbery. The more compacted the layer, the more aggressively you'll need to approach removal.
Signs Your Lawn Has a Thatch Problem
Sometimes you can spot thatch issues without digging at all. Your lawn sends clear signals when this layer becomes problematic.
Visual and Physical Indicators
Spongy, bouncy turf that feels like walking on a mattress often indicates thick thatch beneath. This cushiony sensation happens because you're literally walking on a layer of dead organic material rather than solid ground.
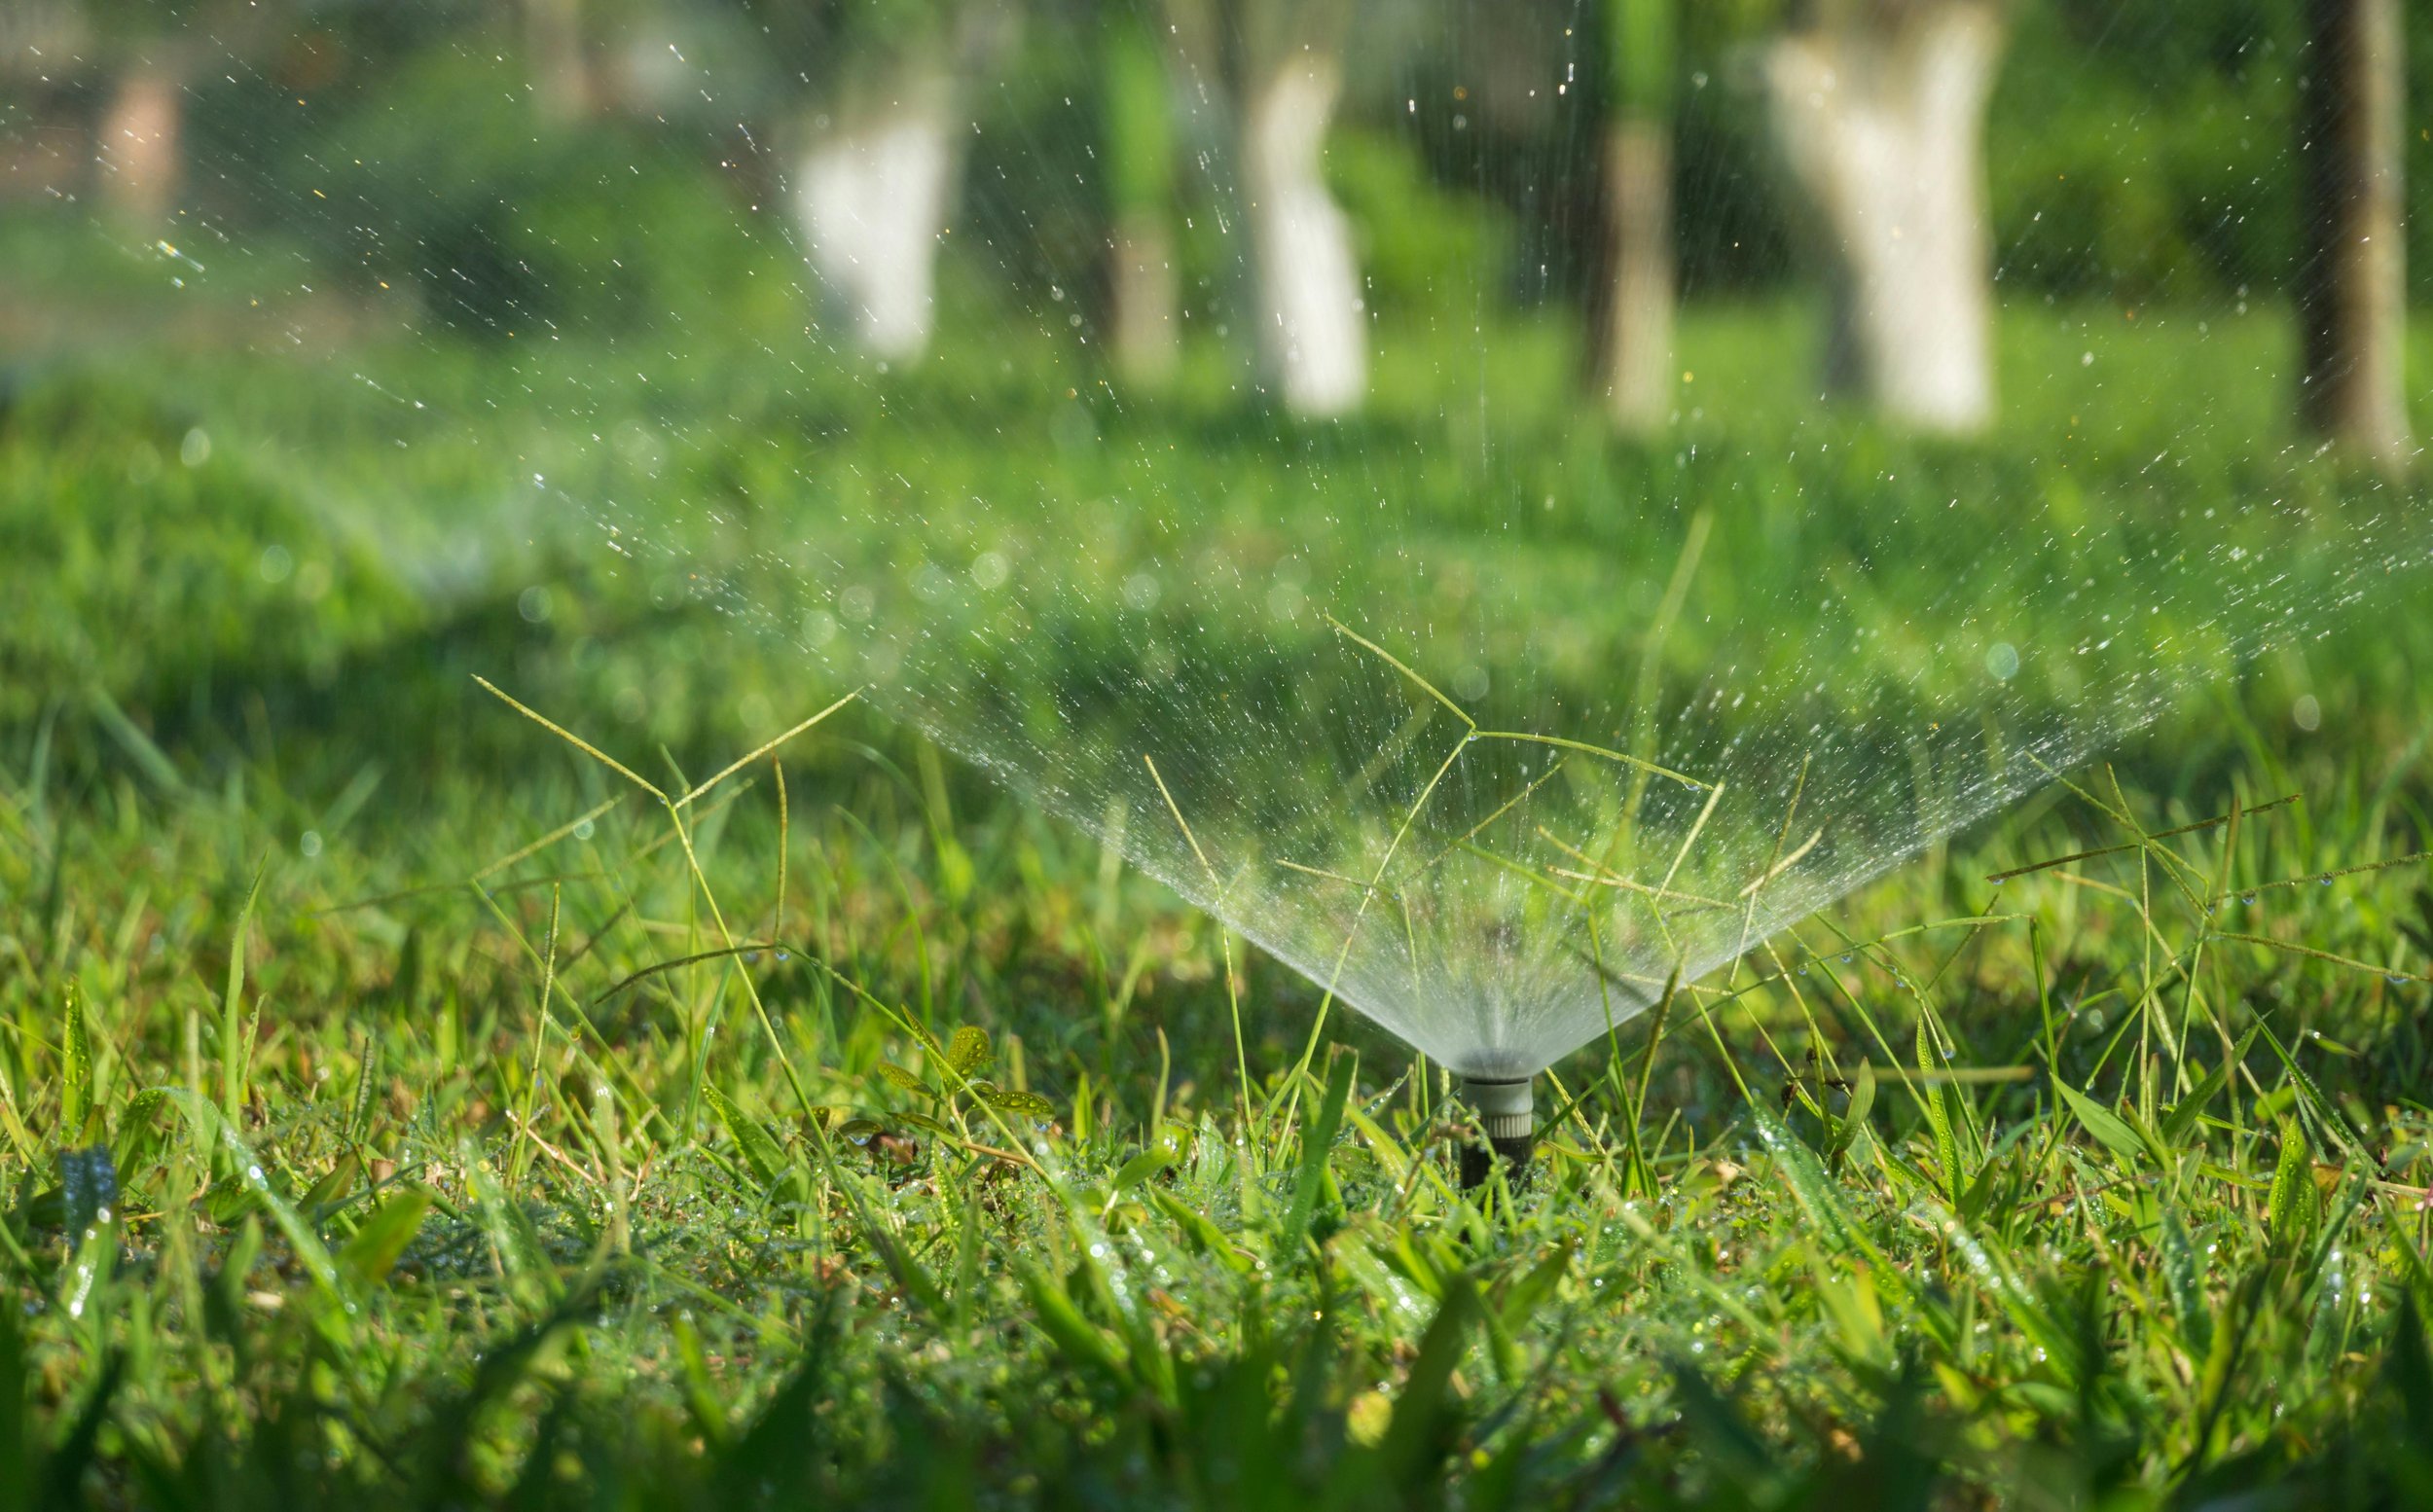
Grass that looks stressed despite adequate watering may be suffering from thatch-blocked moisture. Water runs off or gets absorbed by thatch before reaching soil and roots. You might notice irrigation water pooling on the surface rather than soaking in.
Patchy brown areas surrounded by green grass can signal thatch problems, particularly if the brown spots don't respond to watering or fertilizing. These patches often indicate where thatch has become so thick that roots have actually grown into the thatch layer rather than the soil, making them extremely vulnerable to drought and heat.
Performance Issues
Fertilizer applications that don't seem to help might be getting trapped in thatch rather than reaching the soil where roots can access nutrients. This inefficiency wastes money while leaving your lawn undernourished.
Increased pest and disease activity often accompanies thick thatch. That dense, moist layer provides perfect habitat for fungi, insects, and other organisms that damage grass. If you're constantly battling lawn diseases or pest problems, thatch could be the underlying issue.
Shallow root systems develop when grass finds moisture and nutrients in the thatch layer instead of pushing deeper into soil. These weakened root systems leave lawns vulnerable to drought stress, heat damage, and winter injury.
How to Remove Thatch From Lawn for Healthier Grass Methods
Several approaches exist for thatch removal, ranging from simple manual methods to powerful machine options.
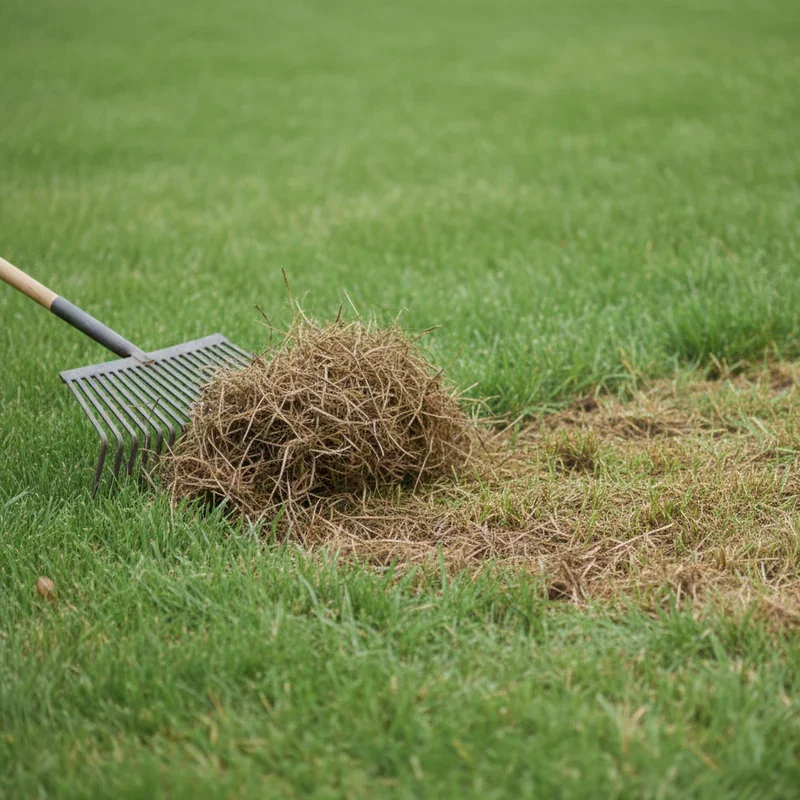
Manual Dethatching with Rakes
For small lawns or minor thatch problems, a dethatching rake offers an affordable, effective solution. These specialized rakes feature sharp, curved tines designed to slice through thatch and pull it to the surface.
Working in overlapping rows, drag the rake firmly across your lawn with short, aggressive strokes. The tines penetrate the thatch layer and rip through the matted material. It's hard work, no question about it. A couple hundred square feet will give your arms a serious workout.
Manual dethatching works best for thatch layers under one inch and lawns small enough to complete without exhausting yourself. The technique offers excellent control and prevents accidental damage to healthy grass. However, for larger areas or severe thatch problems, you'll want mechanical assistance.
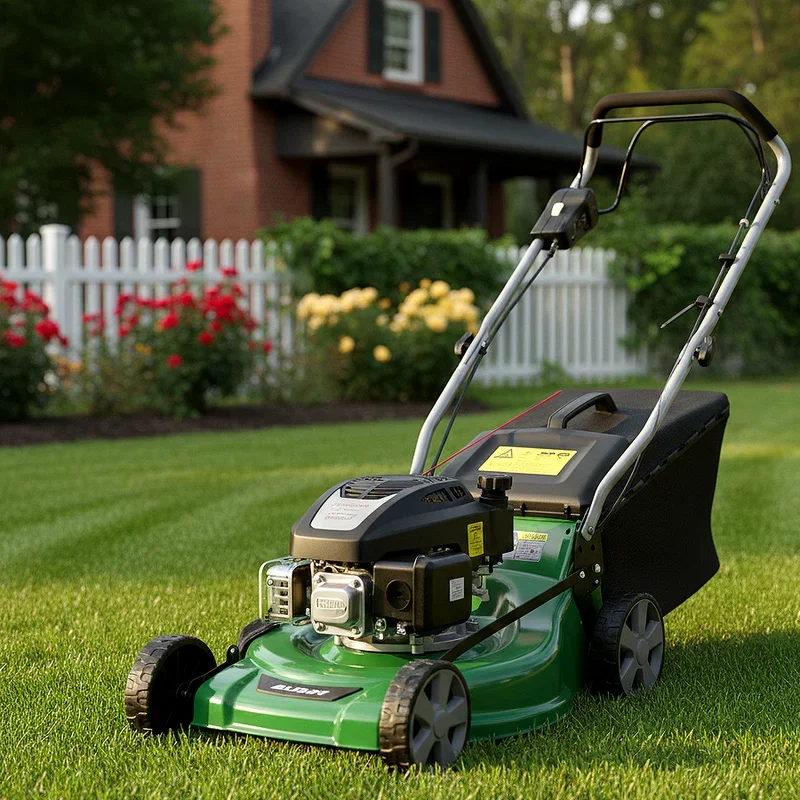
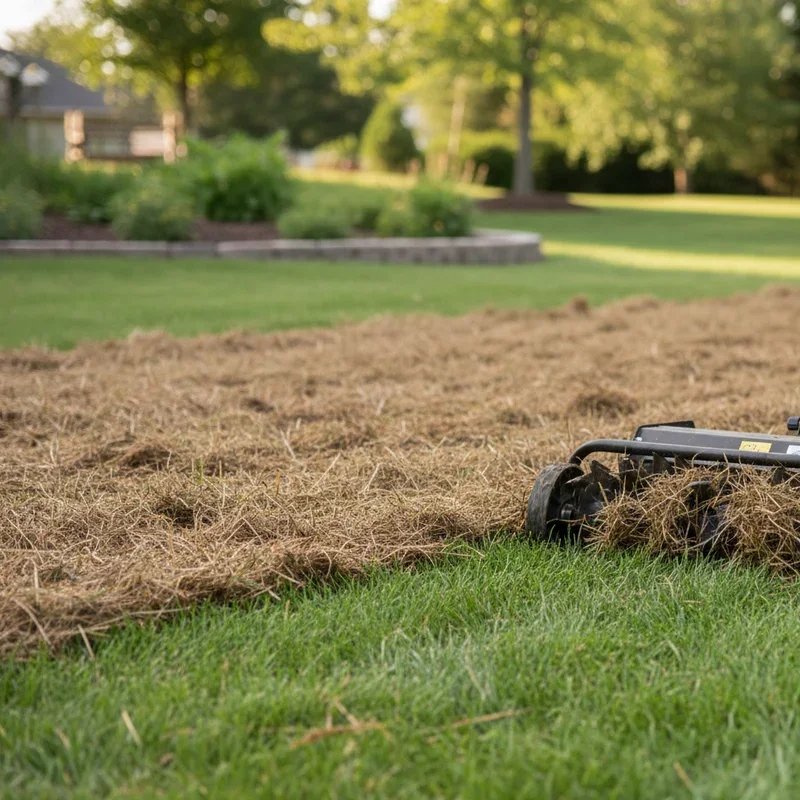
Power Rake or Dethatcher Machines
Power rakes, also called dethatchers or vertical mowers, use spinning vertical blades to cut through thatch and pull debris to the surface. These machines handle larger areas efficiently and remove thatch more thoroughly than manual methods.
Rental units from home improvement stores or equipment rental companies typically run $50 to $75 for a half-day, making them economical for homeowners tackling thatch removal themselves. Most machines offer adjustable blade depth to accommodate different thatch thicknesses and grass types.
Set blade depth to penetrate the thatch layer without going too deep into soil. Make multiple passes in different directions for thorough coverage. The machine will leave behind substantial debris that needs raking and removal.
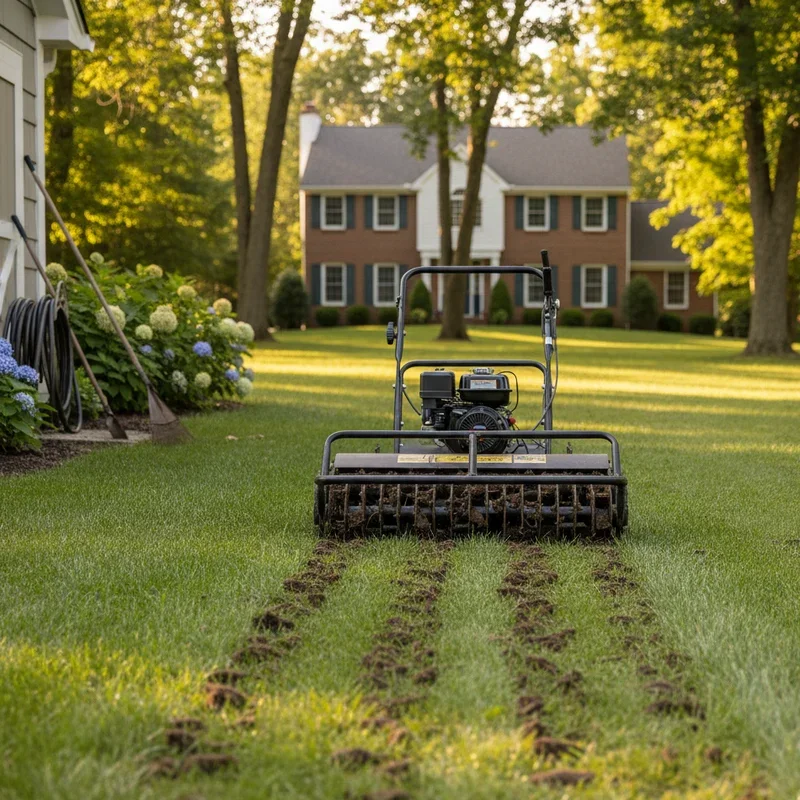
Core Aeration as a Complement
Core aeration doesn't remove thatch directly, but it accelerates natural decomposition by improving soil conditions. Aerators pull small plugs of soil to the surface, creating channels for air, water, and beneficial microorganisms to penetrate the thatch layer.
Those soil cores deposited on your lawn contain microbes that help break down thatch naturally. Rather than raking them up, let them decompose in place. They'll filter back down through the grass, distributing decomposition organisms throughout the thatch layer.
For moderate thatch problems, combining light dethatching with core aeration produces excellent results while causing less stress to your lawn than aggressive dethatching alone.
Timing Your Thatch Removal Right
When you dethatch matters almost as much as how you dethatch. Poor timing can damage grass or undermine recovery.
Best Seasons for Dethatching
Cool-season grasses like Kentucky bluegrass, fescue, and ryegrass respond best to dethatching in early fall or early spring. These periods coincide with natural growth spurts that help grass recover quickly from the stress of thatch removal.
Early fall, specifically late August through mid-September in most regions, offers ideal conditions. Grass is actively growing, temperatures are moderating, and there's plenty of time for recovery before winter dormancy.
Warm-season grasses including Bermuda, zoysia, and St. Augustine prefer late spring to early summer dethatching. Wait until these grasses have fully greened up and begun vigorous growth, typically May or June depending on your location.
When to Avoid Dethatching
Never dethatch during drought conditions or extreme heat. The process stresses grass significantly, and adding environmental stress on top creates conditions for serious lawn damage or even death.
Avoid dethatching newly established lawns less than one year old. Young grass hasn't developed the root systems needed to survive the disruption. Wait until your lawn has matured before tackling thatch problems.
Skip dethatching when your lawn is already struggling from disease, pest damage, or other stressors. Address those issues first, allow recovery, then tackle thatch once the lawn has regained strength.
The Dethatching Process Step by Step
Ready to tackle your thatch problem? Here's how to do it right.
Preparation Steps
Mow your lawn slightly shorter than normal, reducing blade height by about one-third. This allows dethatching equipment to work more effectively without getting clogged by excessive grass length.
Water the lawn lightly one to two days before dethatching. Slightly moist soil and thatch are easier to work with than completely dry material. However, avoid dethatching wet lawns where equipment might tear up turf or compact soil.
Mark sprinkler heads, shallow utility lines, and other obstacles. Dethatching equipment blades can damage irrigation components and create expensive repairs if you're not careful.
During Dethatching
Make your first pass in one direction, then make a second pass perpendicular to the first. This cross-hatching pattern ensures thorough coverage and prevents missed strips.
Watch the material coming to the surface. If you're seeing mostly brown, dead organic matter, you're doing great. If you're seeing lots of green grass and roots, your blades are set too deep. Adjust accordingly.
Take breaks if you're using manual methods. Dethatching is physically demanding work. Better to spread the job over two sessions than to rush and do a poor job.
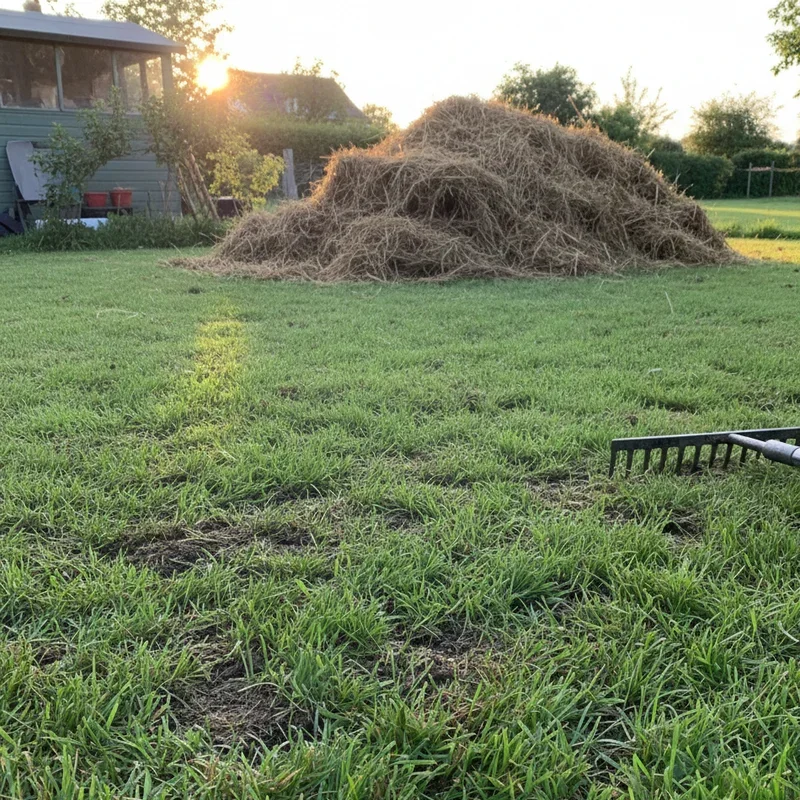
Cleanup and Aftercare
Rake up all the debris that dethatching brings to the surface. This material can be composted if your compost pile runs hot enough to break down the tough stems and roots. Otherwise, bag it for disposal.
Your lawn will look rough immediately after dethatching. That's completely normal and expected. The exposed soil and thinned grass appearance can be alarming, but don't panic.
Water thoroughly after dethatching to help grass recover from stress. Apply starter fertilizer to encourage new growth that fills in thin spots. If your lawn is severely thinned, overseed to introduce new grass plants into bare areas.
Preventing Future Thatch Buildup
Once you've removed existing thatch, preventing recurrence saves future hassle.
Cultural Practices That Help
Mow regularly at appropriate heights for your grass type. Frequent mowing prevents excessive clipping accumulation and keeps grass healthy enough to support decomposition organisms.
Avoid over-fertilizing, particularly with high-nitrogen products. Moderate, balanced fertilization encourages healthy growth without pushing the aggressive production that leads to thatch accumulation.
Water deeply but infrequently to encourage deep root growth and healthy soil biology. Proper watering supports the microorganisms responsible for breaking down organic matter before it accumulates into problematic thatch.
Annual Maintenance Recommendations
Core aerate annually, especially for lawns prone to thatch buildup. Regular aeration improves conditions for natural decomposition and prevents severe thatch problems from developing.
Apply compost topdressing annually to introduce beneficial microorganisms. A thin layer of quality compost after aeration feeds existing microbes and introduces new decomposition organisms.
Test soil pH periodically and correct if necessary. Acidic soils slow microbial activity, contributing to thatch accumulation. Lime applications raise pH and create better conditions for organic matter breakdown.
Tools and Equipment for Thatch Removal
Having the right tools makes the job easier and more effective.
Manual Options
Dethatching rakes with sharp, curved tines work well for small areas. Look for sturdy construction and comfortable handles since you'll be exerting significant force during use.
Standard leaf rakes help gather debris after dethatching but don't actually remove thatch themselves. Keep one handy for cleanup.
Power Equipment
Rental dethatchers handle most residential lawns efficiently. Reserve equipment in advance during peak fall and spring seasons when demand is high.
Tow-behind dethatchers work with riding mowers for larger properties. These attachments make quick work of extensive lawns but require a compatible tractor or mower.
Professional-grade equipment used by lawn care companies offers the most thorough results. For severe thatch problems or if you'd rather leave the work to someone else, professional dethatching services are widely available.
Conclusion
Understanding how to remove thatch from lawn for healthier grass empowers you to tackle this common but often overlooked problem effectively. Whether using manual rakes for small areas or power equipment for larger lawns, proper timing and technique make all the difference in results. Combining active thatch removal with preventive cultural practices keeps future buildup under control. Your reward for this effort is a lawn that finally absorbs water, nutrients, and air the way nature intended.
Read next: How to Start a Lawn Mower: Simple Steps for Beginners
Frequently Asked Questions
1.How thick should the thatch layer be on a healthy lawn?
Healthy lawns maintain thatch layers under half an inch, providing insulation without blocking resources.
2.Can I dethatch my lawn in summer during hot weather?
Summer dethatching stresses grass severely and should be avoided except in extreme circumstances with irrigation.
3.How often should I dethatch my lawn?
Most lawns benefit from dethatching every one to three years depending on grass type and conditions.
4.Will grass clippings cause thatch buildup if left on the lawn?
No, grass clippings decompose quickly and actually feed soil microbes that help prevent thatch buildup.
5.Should I water my lawn after dethatching?
Yes, thorough watering immediately after dethatching helps grass recover from stress and encourages new growth.
Stay up to date with our latest ideas!