How to Replace an LED Pool Light: Step-by-Step Guide
Learn how to replace an LED pool light with our step-by-step guide. Discover safe techniques, tools needed, and expert tips today.
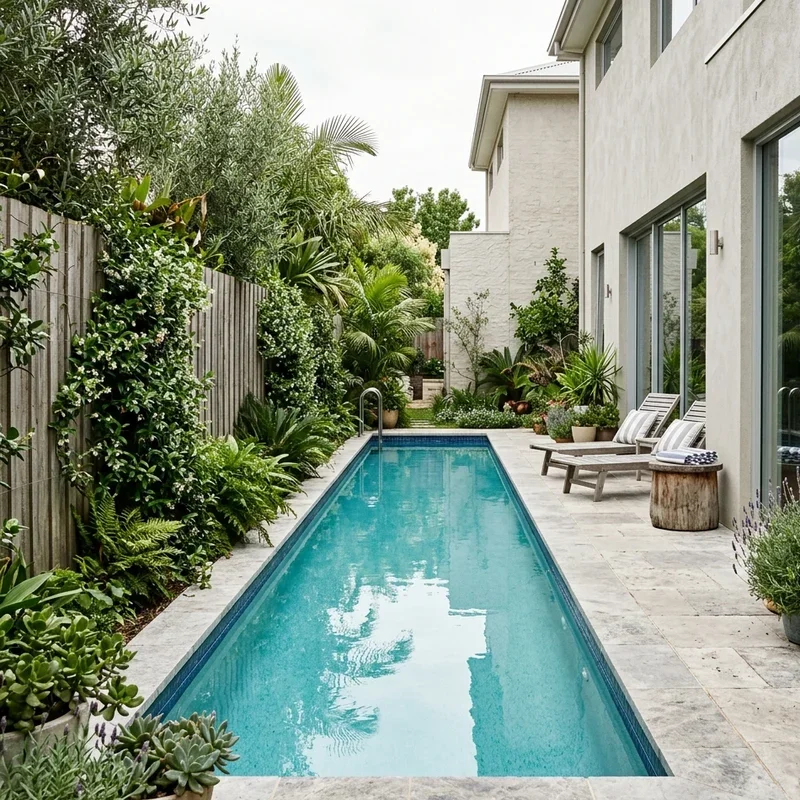
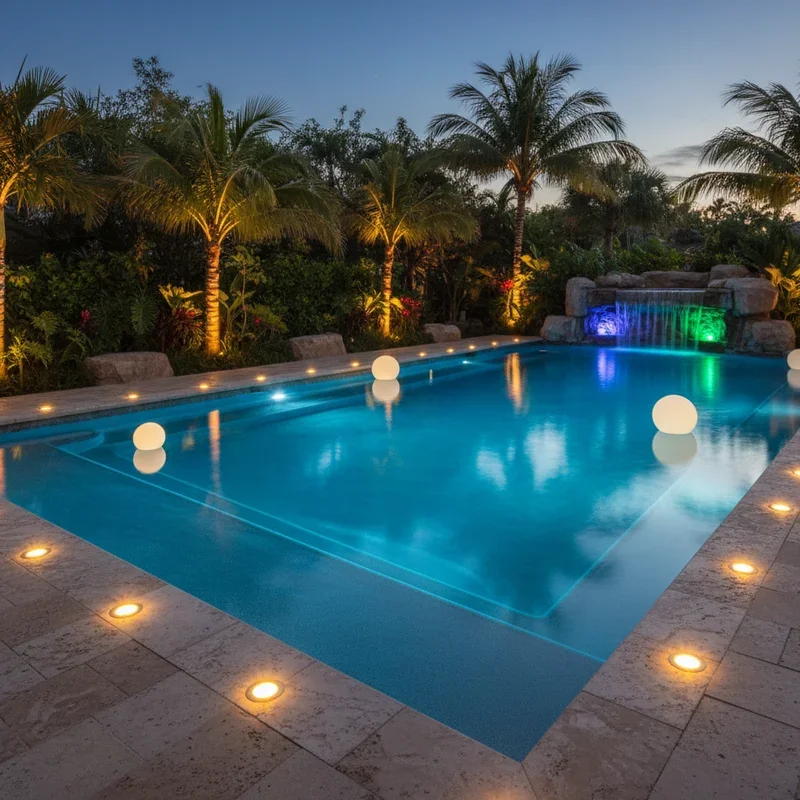
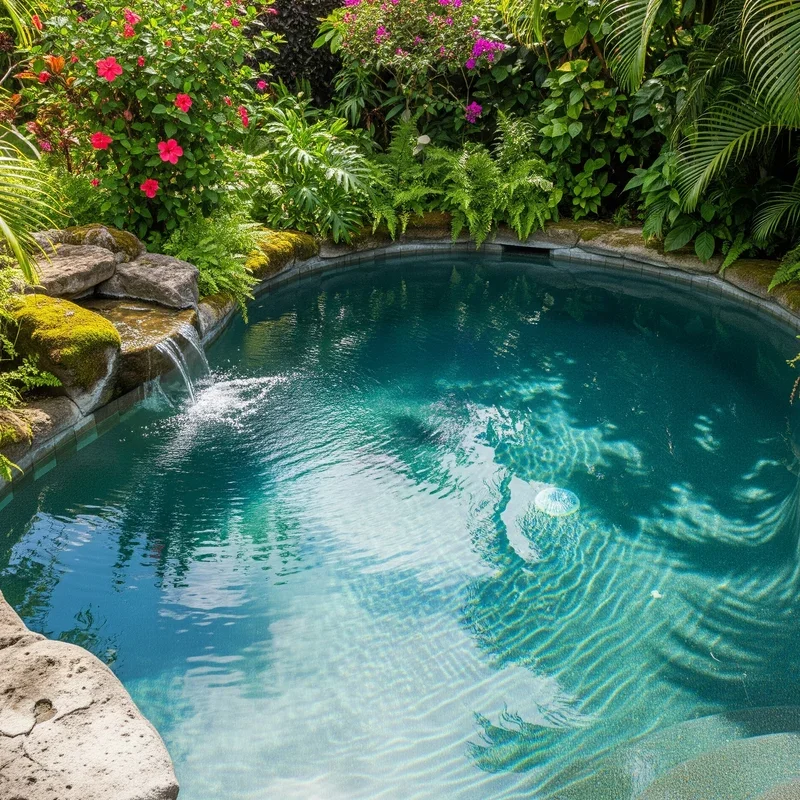
There's something magical about swimming at night in a beautifully lit pool. Those shimmering colors dancing across the water create an atmosphere that transforms ordinary backyard pools into resort-worthy retreats. But when that LED light starts flickering, dimming, or goes completely dark, that magic fades pretty quickly.
Here's the good news though. Replacing an LED pool light isn't nearly as intimidating as it might seem. Many homeowners assume this job requires draining the pool, hiring expensive professionals, or dealing with complicated electrical work that's way beyond their skill level. None of that is necessarily true.
The reality is that most pool light fixtures are designed with replacement in mind. Manufacturers understood that bulbs and fixtures would eventually need servicing, so they built systems that allow relatively easy access without requiring you to empty your entire pool. Pretty thoughtful engineering, right?
Now, I won't pretend this is a completely foolproof DIY project. We're talking about electricity near water, which demands respect and proper safety precautions. But for handy homeowners who follow the right steps and take necessary safety measures, replacing an LED pool light is absolutely achievable.
Understanding how to replace an LED pool light through our step-by-step guide will save you potentially hundreds of dollars in service calls while giving you the satisfaction of tackling a home improvement project yourself. Plus, you'll get that gorgeous nighttime pool ambiance back, which honestly might be the best reward of all.
So let's dive in, pun fully intended, and walk through everything you need to know about getting your pool lighting back in action.
Understanding Your Pool Light System
Before grabbing any tools, understanding what you're working with helps the entire process go smoother.
Types of LED Pool Lights
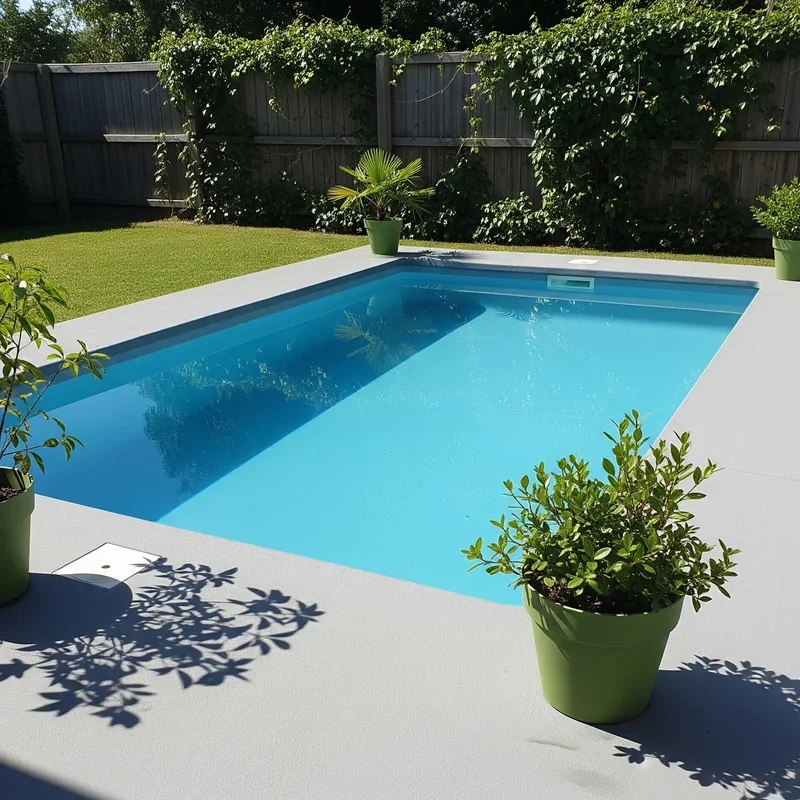
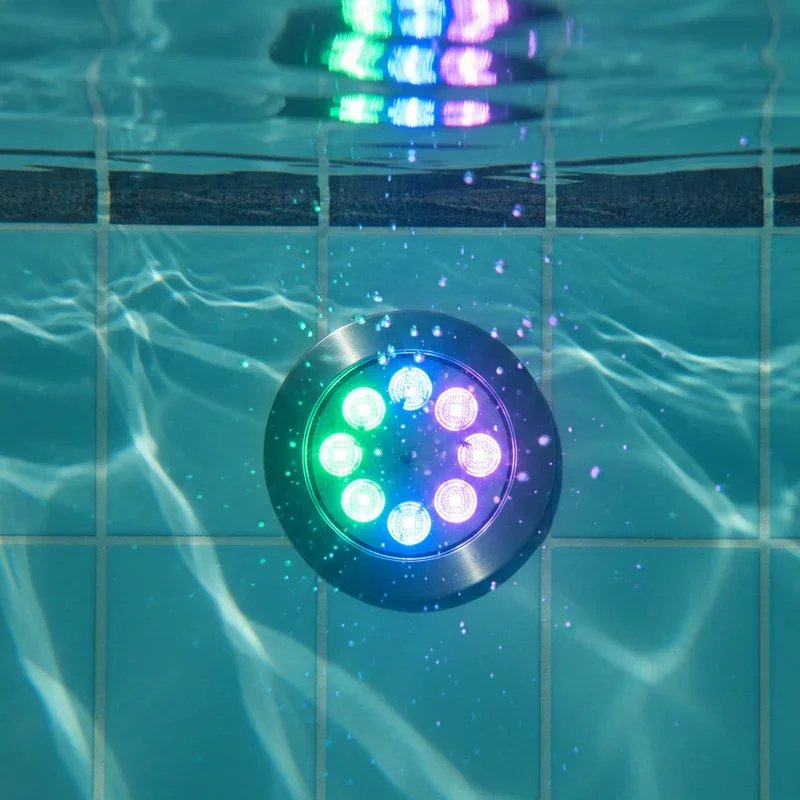
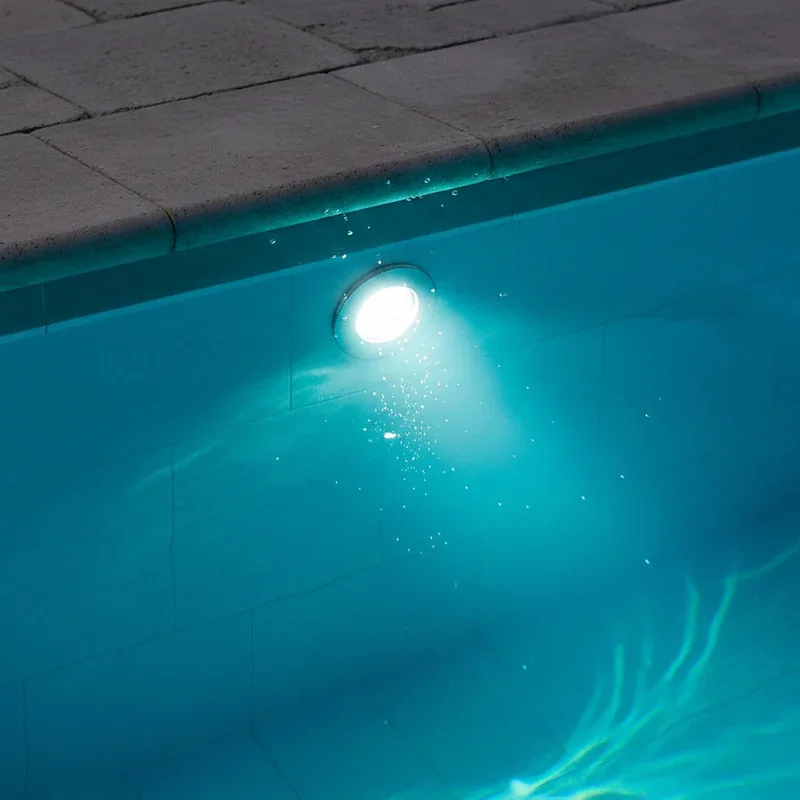
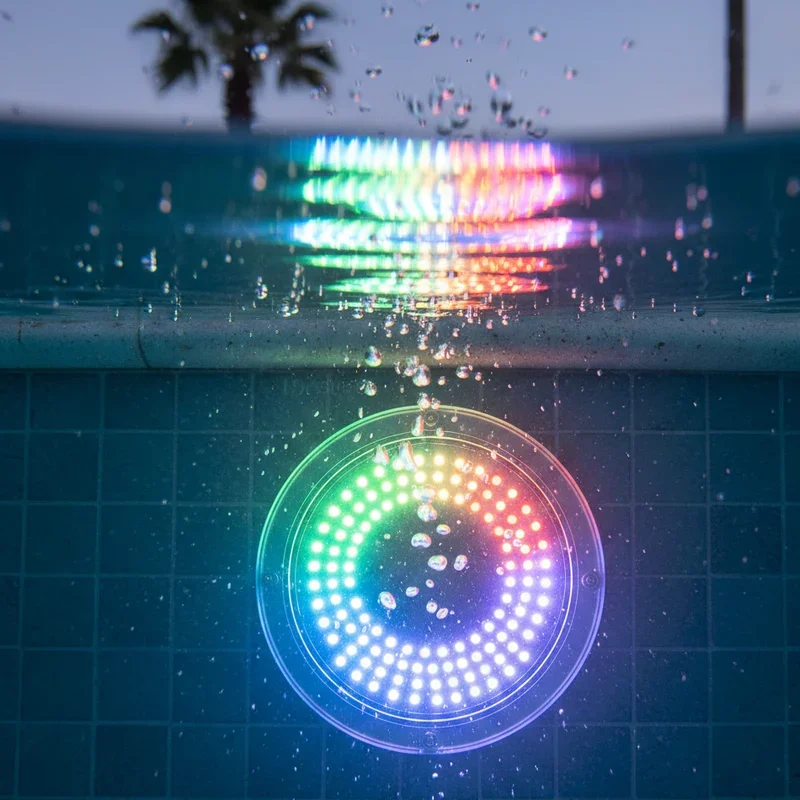
Not all pool lights are created equal, and knowing your specific type matters for replacement purposes. Niche-mounted lights sit recessed into the pool wall, housed in a metal or plastic fixture called a niche. These are the most common type in residential pools and typically feature fixtures connected to junction boxes by submersible cords.
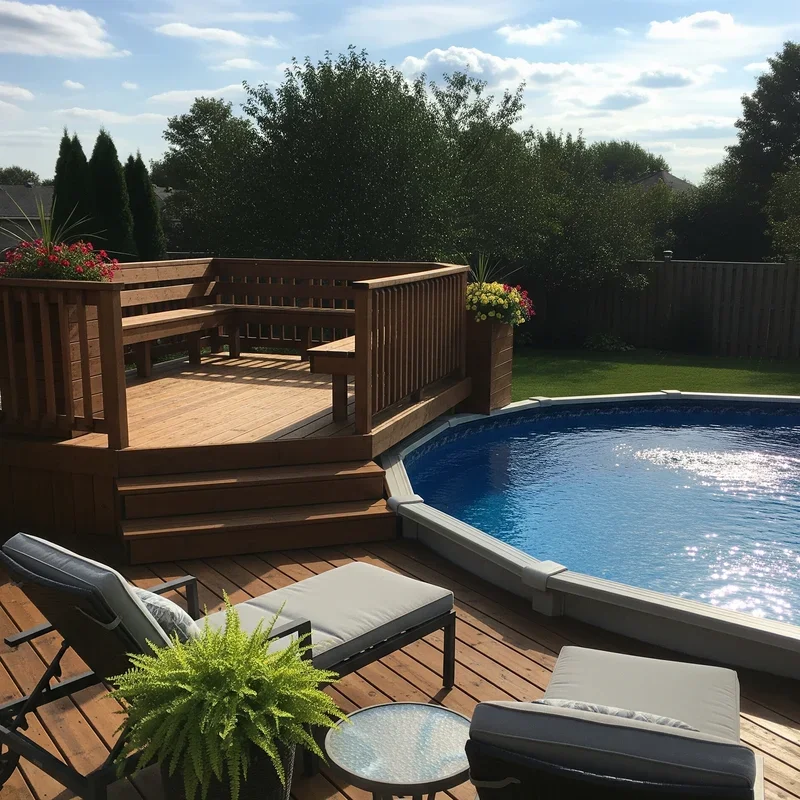
Surface-mounted lights attach directly to the pool wall without a recessed housing. These are often found in above-ground pools or as retrofit additions to in-ground pools. Replacement procedures differ slightly between types.
Some pools feature proprietary lighting systems from specific manufacturers. Hayward, Pentair, and Jandy all make popular LED pool lights with their own quirks and replacement parts. Identifying your brand before ordering replacement components prevents frustrating returns and delays.
How Pool Light Fixtures Work
The typical in-ground pool light assembly consists of several components working together. The niche, permanently installed in the pool wall during construction, houses the fixture and provides the mounting point. A waterproof junction box, usually located above water level near the pool equipment, connects the fixture to household electrical circuits.
Between the niche and junction box runs a length of cord, typically much longer than the distance actually requires. This extra cord allows the fixture to be lifted out of the niche and brought to the pool deck for servicing without disconnecting anything at the junction box.
The fixture itself contains the LED array, lens, gasket, and mounting hardware. When LEDs fail, you can sometimes replace just the bulb or LED board. Other times, the entire fixture needs replacement. Diagnostic testing helps determine which approach makes sense.
Safety Precautions Before Starting
Working with electricity near water isn't something to take lightly. These safety steps are absolutely non-negotiable.
Electrical Safety Requirements
Turn off power at the circuit breaker before doing anything else. Find the breaker controlling your pool light and switch it to the off position. Better yet, turn off the main breaker for the entire pool equipment panel.
Don't trust just the switch. Verify power is actually off using a non-contact voltage tester at the junction box. These inexpensive tools detect electrical current without requiring physical contact with wires.
Consider using a lockout device on the breaker panel. This prevents anyone from accidentally restoring power while you're working. Your family might not realize you're elbow-deep in pool electrical work when they flip that breaker wondering why the pool pump stopped.
Water Safety Considerations
Never enter a pool with any possibility of electrical current present. Electrocution in swimming pools, while rare, can be fatal. Taking shortcuts with electrical safety isn't worth any amount of time or money saved.
Work during daylight hours when possible. Good visibility helps you see what you're doing and reduces the chance of mistakes. If you must work at night, set up adequate lighting before beginning.
Keep others away from the pool during replacement. Children and pets don't understand the dangers involved, and even adults might accidentally interfere with your work.
Tools and Materials You'll Need
Gathering everything beforehand prevents frustrating mid-project trips to the hardware store.
Essential Tools
A Phillips head screwdriver handles most fixture mounting screws. Bring a flathead as well since some older fixtures use different screw types.
Needle-nose pliers help with stubborn screws and wire manipulation. A clean, soft cloth keeps water spots off the new lens during installation.
A non-contact voltage tester confirms power is off before you touch any wiring. Consider this tool mandatory rather than optional.
Replacement Parts
Your new LED light fixture or bulb should match your existing system specifications. Note the voltage (12V or 120V), wattage, and physical dimensions before ordering.
Fresh gaskets ensure a watertight seal. Even if your old gasket looks okay, replacing it during light service is cheap insurance against leaks.
Silicone lubricant helps gaskets seat properly and makes future removal easier. Pool supply stores carry food-grade silicone specifically designed for this purpose.
How to Replace an LED Pool Light: Step-by-Step Guide Process
With safety measures in place and tools ready, here's the actual replacement procedure.
Step One: Power Down and Verify
Head to your electrical panel and turn off the breaker controlling pool lights. Some panels have dedicated pool equipment breakers while others integrate pool lighting with other circuits.
At the junction box near your pool equipment, use your voltage tester to confirm no electrical current is present. Test multiple points to be absolutely certain. This step is worth repeating: verify power is completely off before proceeding.
Step Two: Remove the Fixture from the Niche
Locate the single screw at the top of your pool light fixture. This pilot screw holds the fixture in place within the niche. Remove it and set it somewhere safe where it won't roll into the pool.
Gently pry the fixture forward out of the niche. Some fixtures pop out easily while others stick from years of sitting in place. A flathead screwdriver carefully inserted at the edge can help persuade stubborn fixtures.
Step Three: Pull the Fixture to the Deck
Here's where that extra cord length becomes invaluable. Pull the fixture up and out of the water, bringing it to the pool deck where you can work comfortably.
The cord should have plenty of slack to allow this. If the cord seems tight or won't reach the deck, stop and assess the situation. Forcing tight cords can damage connections at the junction box.
Place a towel on the deck to protect both the fixture and your work surface. Having the fixture at deck level makes the rest of the work much easier.
Step Four: Open the Fixture Housing
Most LED pool fixtures feature a lens held in place by a clamp ring, screws, or tabs around the perimeter. Remove these fasteners and carefully lift the lens away from the fixture body.
Inside, you'll find the LED assembly along with any wiring connections. Take a photo of how everything connects before disconnecting anything. This reference proves invaluable during reassembly.
Remove the old LED bulb or fixture components according to your specific replacement plan. Some LEDs simply unplug from socket connections while others require removing mounting screws.
Step Five: Install the New LED
Position your new LED component exactly as the old one was installed. Match the orientation shown in your reference photo, ensuring any polarized connections align correctly.
Secure mounting screws if applicable, but don't overtighten. LED components and their housings can crack under excessive pressure. Snug is sufficient.
Test connections by gently tugging on wire leads. Everything should feel secure without being forced.
Step Six: Replace the Gasket and Seal
Remove the old gasket from its groove in the fixture housing. Clean the groove thoroughly, removing any debris, old lubricant, or degraded gasket material.
Apply a thin layer of silicone lubricant to your new gasket and press it firmly into the groove. The lubricant helps the gasket compress properly and maintains flexibility.
Position the lens over the fixture, aligning any orientation marks or tabs. Reinstall the clamp ring or screws, working in a star pattern to apply pressure evenly around the seal.
Step Seven: Test Before Final Installation
Here's a step many people skip, but you really shouldn't. Before putting the fixture back in the water, restore power briefly and verify your new LED actually works.
Have someone at the breaker panel ready to kill power immediately if anything seems wrong. A quick visual confirmation that the light illuminates saves you from having to remove and reinstall if something's amiss.
Once confirmed working, turn power off again before proceeding with installation.
Step Eight: Return Fixture to Niche
Lower the fixture back into the pool, guiding it toward the niche opening. The fixture should slide into the niche with the cord coiled loosely behind it.
That extra cord needs to fit within the space behind the fixture. Don't force or kink the cord. Coil it gently so it doesn't press against the fixture or create stress on connections.
Align the fixture and reinstall the pilot screw at the top. Tighten it until snug but not so tight that you crack the fixture housing.
Step Nine: Final Power Restoration
Return to the electrical panel and restore power to the pool light circuit. Walk back to the pool and verify the light operates correctly at the switch.
Test any color-changing functions, dimming features, or programmed modes your LED system offers. Confirm everything works as expected before declaring the job complete.
Troubleshooting Common Problems
Sometimes things don't go perfectly. Here's how to handle common issues.
Light Won't Turn On
Double-check breaker position and verify power at the junction box. Sometimes breakers trip without appearing fully off at the panel.
Inspect wire connections at both the fixture and junction box. Corrosion, loose terminals, or damaged insulation can prevent proper electrical contact.
Test the switch controlling your pool light. Wall switches and timers can fail independently of the fixture itself.
Fixture Leaks After Installation
Water inside the lens housing indicates gasket failure. Remove the fixture, dry everything thoroughly, and inspect the gasket for damage or improper seating.
Ensure the gasket groove is completely clean before reinstalling. Even small debris particles can prevent proper sealing.
Check that the lens seats evenly all the way around. Uneven pressure from misaligned clamp rings creates gaps where water enters.
LED Flickers or Changes Color Unexpectedly
Loose connections often cause flickering. Verify all wire connections are secure at the fixture, junction box, and any intermediate connection points.
Voltage fluctuations from other pool equipment starting and stopping can affect LED performance. Dedicated circuits for pool lighting eliminate this interference.
Some LED systems experience communication issues with remote controls or automation systems. Resetting the system according to manufacturer instructions often resolves these glitches.

Maintenance Tips for Long LED Life
Once your new light is installed, proper care extends its lifespan significantly.
Regular Inspection
Check fixture operation weekly during swimming season. Catching problems early, like flickering or color inconsistencies, allows repairs before complete failure.
Inspect the fixture housing annually for cracks, corrosion, or gasket deterioration. Proactive maintenance prevents water intrusion that destroys LED components.
Optimal Operating Conditions
Maintain proper pool chemistry to prevent corrosive conditions that damage fixtures. Balanced pH and appropriate chlorine levels protect metal components and gasket materials.
Avoid leaving lights on continuously. While LEDs tolerate extended operation better than incandescent bulbs, periodic rest extends overall lifespan.
Conclusion
Mastering how to replace an LED pool light empowers you to maintain that beautiful nighttime swimming atmosphere without expensive service calls. With proper safety precautions, the right tools, and methodical attention to each step, most homeowners can handle this project successfully. Remember that electrical safety near water is absolutely paramount and never worth compromising. Your reward for careful work is a brilliantly lit pool ready for countless evenings of enjoyment under the stars.
Read next: 15 White Pool Tile Ideas for a Clean and Luxurious Look
Frequently Asked Questions
1.Can I replace my pool light without draining the pool water?
Yes, most pool lights feature extra cord length allowing deck-level service without draining water.
2.How long do LED pool lights typically last before needing replacement?
Quality LED pool lights typically last between seven and fifteen years with proper maintenance and care.
3.Is it safe to replace a pool light myself without hiring an electrician?
Yes, with proper safety precautions and power completely disconnected, most homeowners can safely replace lights.
4.Can I upgrade from incandescent to LED pool lights?
Yes, LED retrofit kits are available for most existing incandescent pool light fixtures and niches.
5.Why does my new LED pool light keep tripping the breaker?
Breaker trips usually indicate water intrusion, improper wiring connections, or incompatible voltage between components.
Stay up to date with our latest ideas!