How to Paint a Deck: Simple Step-by-Step Guide
Transform your weathered deck with our easy painting guide. Learn prep work, paint selection, and application techniques for lasting results.

So, you've been staring at that tired-looking deck for months now, haven't you? Maybe the wood's gone all gray and weathered, or perhaps last year's paint job is peeling faster than a bad sunburn. Well, here's the good news: giving your deck a fresh coat of paint isn't rocket science. Sure, it takes some elbow grease and patience, but the transformation? Absolutely worth it. This comprehensive guide on How to Paint a Deck: Simple Step-by-Step Guide will walk you through everything from choosing the right paint to applying that final, satisfying stroke. Whether you're a first-timer or just need a refresher, we've got your back. Let's dive into turning that eyesore into the backyard oasis you've been dreaming about.
Why Painting Your Deck Matters More Than You Think
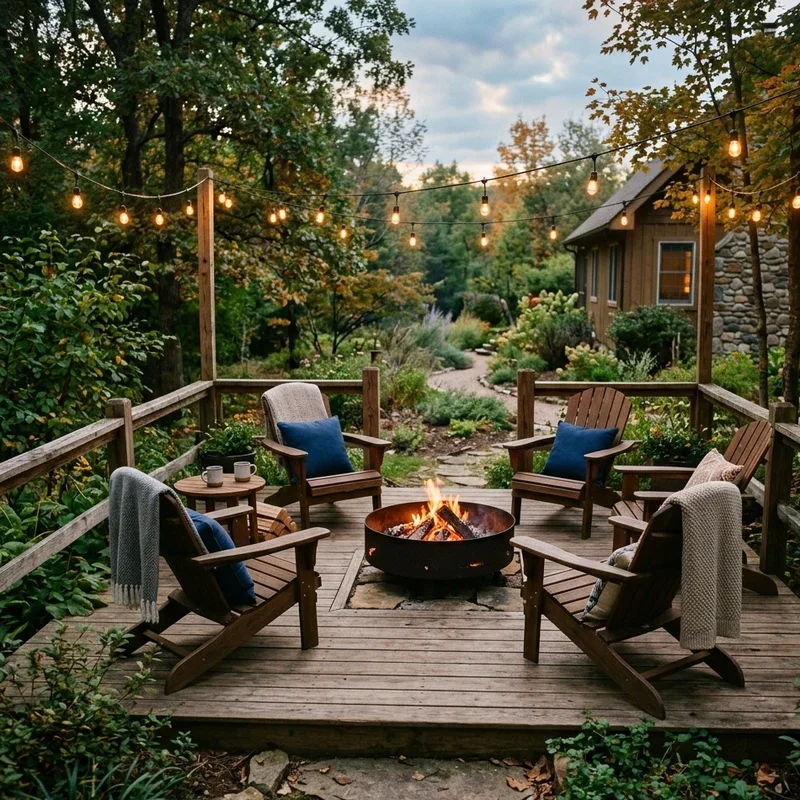
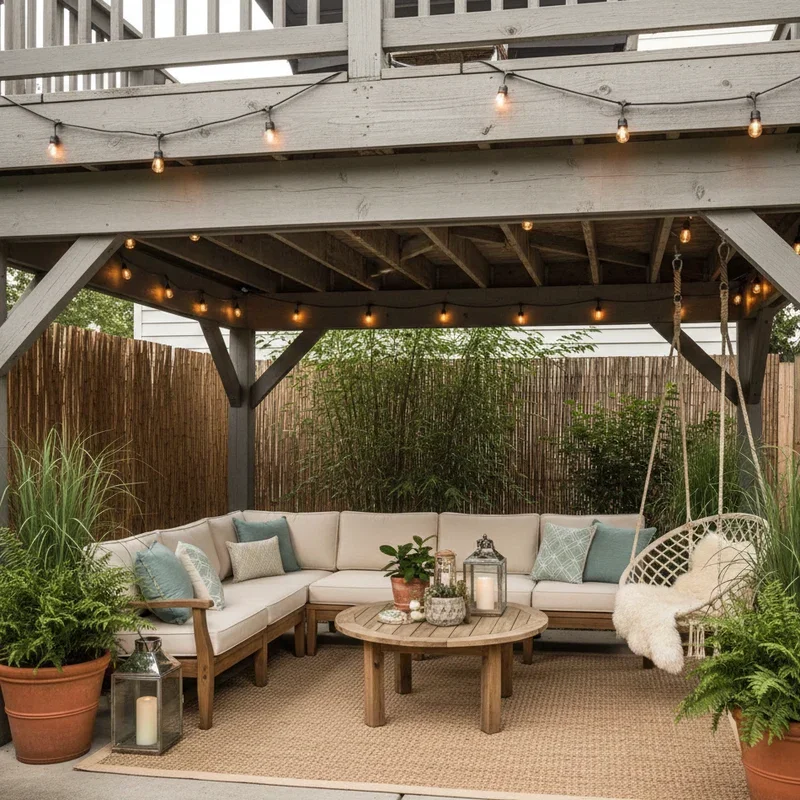
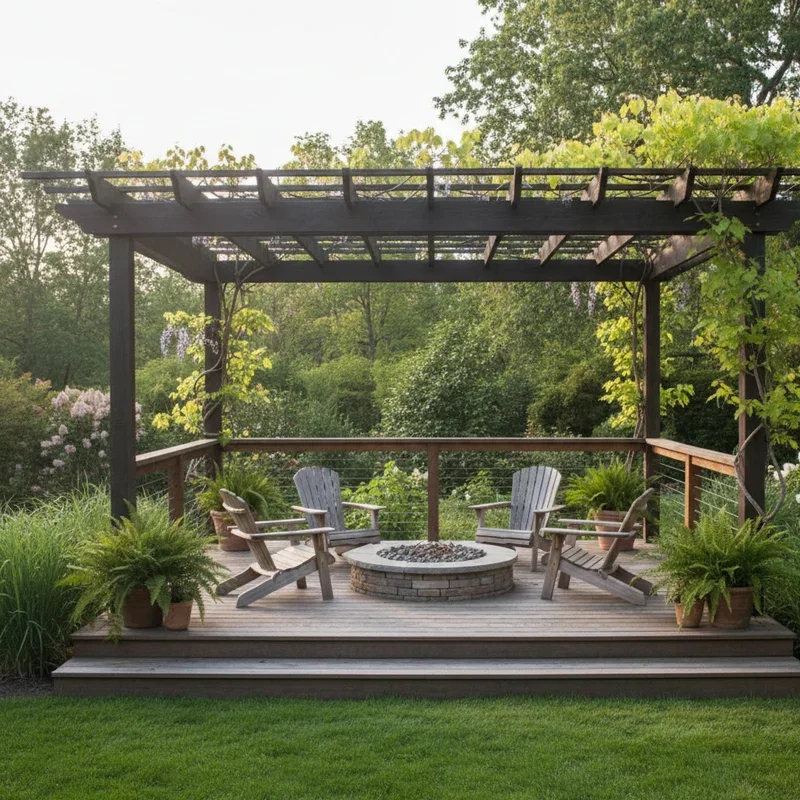
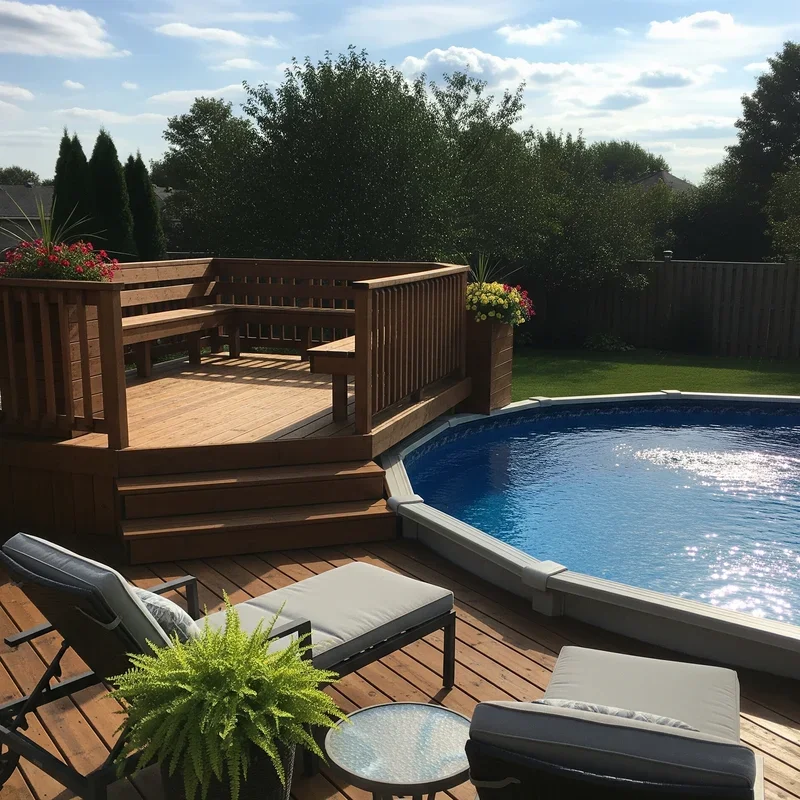
Look, a deck isn't just outdoor flooring. It's where summer barbecues happen, where kids play on lazy afternoons, and where you sip your morning coffee while pretending to have it all together. A well-maintained deck doesn't just look fantastic, it actually protects the wood underneath from moisture, UV rays, and general wear and tear. Neglect it too long, and you're looking at expensive repairs or even complete replacement down the line. Paint acts like sunscreen for your deck, keeping those harmful elements at bay while making your outdoor space Instagram-worthy. Plus, there's something deeply satisfying about standing back after a job well done, cold drink in hand, admiring your handiwork.
Gathering Your Supplies Before You Start
Before you even think about cracking open a paint can, you'll need to round up your materials. Nothing's worse than getting halfway through a project only to realize you're missing something crucial. Here's what you'll need for this painting adventure:
You'll want a quality deck paint or stain, depending on your preference. Grab yourself some paint rollers with extension poles because your back will thank you later. Don't forget brushes for those tricky corners and railings. A power washer makes life infinitely easier, though a good scrub brush and hose will work in a pinch. Deck cleaner or a mixture of water and mild detergent is essential. You'll also need sandpaper or a power sander, painter's tape for protecting areas you don't want painted, drop cloths or plastic sheeting, and a paint tray. Oh, and comfortable clothes you don't mind ruining because trust me, you will get paint on yourself.
Choosing Between Paint and Stain
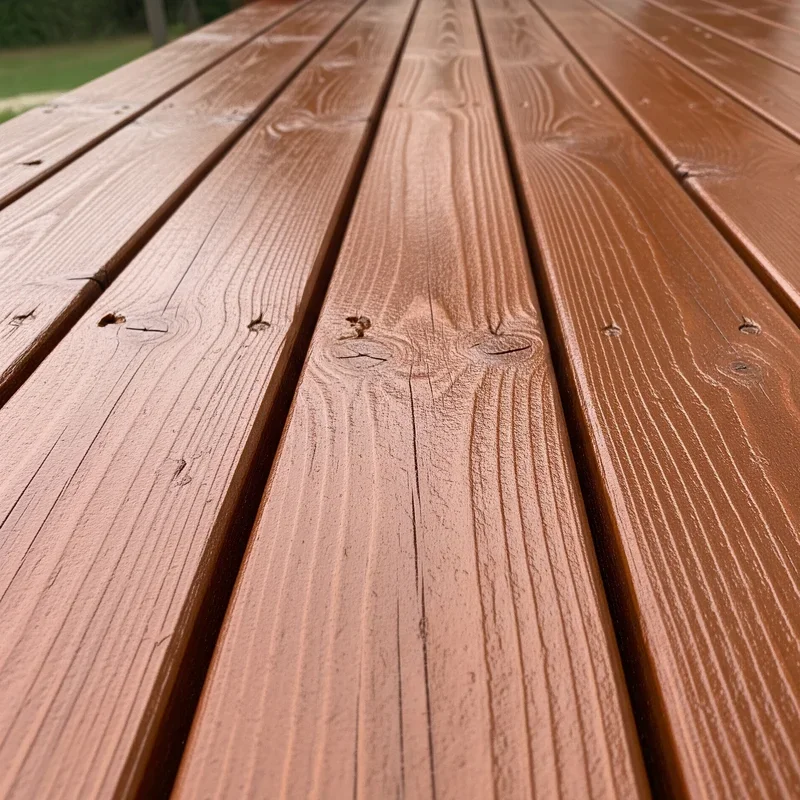
Here's where things get interesting. Paint or stain? It's like choosing between coffee and tea, both have their devotees. Paint gives you a solid, opaque finish that completely covers the wood grain. It comes in practically any color you can imagine and offers excellent protection. However, it can peel over time and requires more maintenance. Stain, on the other hand, lets the wood's natural beauty shine through while still providing protection. It tends to last longer without peeling, though it might need reapplication every few years. Semi-transparent stains show more grain, while solid stains look almost like paint. For this How to Paint a Deck: Simple Step-by-Step Guide, we're focusing on paint, but the prep work applies to both.
Checking the Weather Forecast
Mother Nature can make or break your painting project. You'll want at least two or three consecutive dry days with temperatures between 50 and 85 degrees Fahrenheit. Too cold, and the paint won't cure properly. Too hot, and it'll dry too fast, leaving you with lap marks and an uneven finish. Avoid painting in direct, harsh sunlight if possible. Early morning or late afternoon works best. And for heaven's sake, check that rain isn't forecasted for at least 24 hours after you finish. Nothing's more heartbreaking than watching your hard work wash away in an unexpected shower.
Clearing and Cleaning Your Deck Surface
First things first, get everything off that deck. Furniture, planters, that grill you've been meaning to clean, everything. Sweep away all the leaves, dirt, and debris. Now comes the fun part: cleaning. A power washer is your best friend here. Hold it at about a 45-degree angle and keep it moving to avoid damaging the wood. Work in the direction of the grain, and don't get too close or you'll gouge the surface. If you're going old-school with a scrub brush, apply deck cleaner according to the manufacturer's instructions, scrub like you mean it, and rinse thoroughly. Pay special attention to mildew or mold, common culprits on shaded decks. Let everything dry completely, and we're talking bone-dry here, which usually takes at least 48 hours.
Inspecting and Repairing Damaged Areas
While your deck's drying, walk around with a critical eye. Look for loose boards, protruding nails, splinters, or any rot. Hammer down those nails or replace them with deck screws for better holding power. If you find soft, rotting wood, you'll need to replace those boards before painting. Small cracks and gaps? Fill them with exterior wood filler and let it cure according to package directions. This step might seem tedious, but painting over damaged wood is like putting makeup on before washing your face. It just doesn't work.
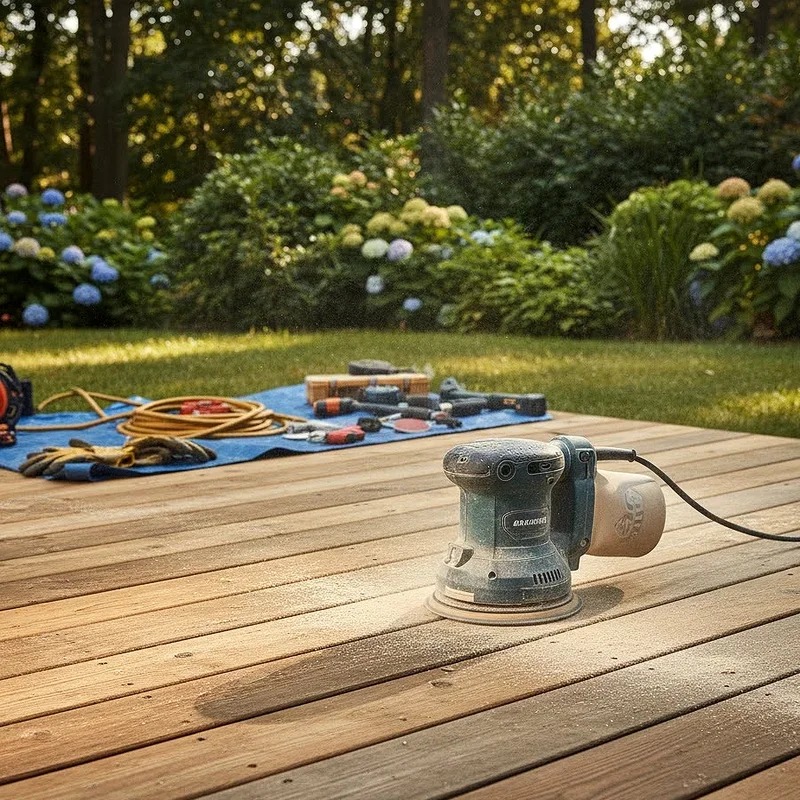
Sanding Creates a Smooth Canvas
Now we're getting somewhere. Sanding might not be glamorous, but it's crucial for paint adhesion. You're not trying to sand down to bare wood unless you're dealing with seriously peeling old paint. Instead, you want to rough up the surface just enough so the new paint has something to grip. A power sander with 60 to 80-grit sandpaper makes quick work of flat surfaces. For railings and detailed areas, hand-sanding works fine. Always sand in the direction of the grain. When you're done, sweep or vacuum up all that dust. Then wipe down the entire deck with a damp cloth to remove any remaining particles. Let it dry again before moving forward.
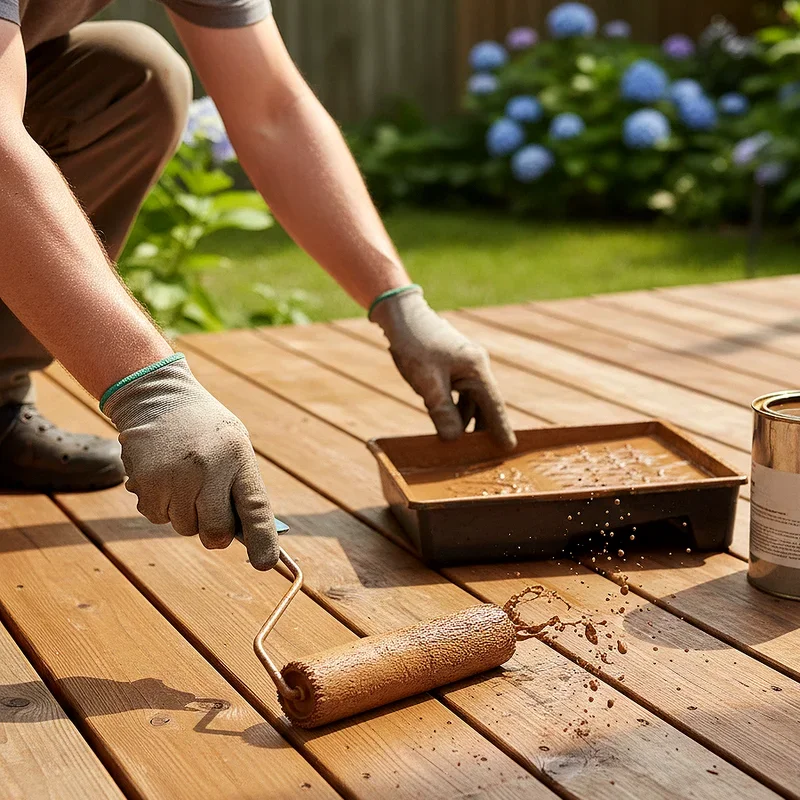
Applying Primer for Better Results
Here's a step many folks skip, and honestly, they're missing out. Primer isn't always necessary, especially if you're painting over previously painted wood in good condition. However, if you're painting bare wood or making a dramatic color change, primer is your secret weapon. It seals the wood, prevents tannin bleed-through, and helps your topcoat adhere better and last longer. Use a primer specifically designed for exterior wood. Apply it just like you'll apply the paint, following the same techniques we'll cover in a minute. Let it dry completely, usually overnight, before proceeding.
Protecting Surrounding Areas with Tape and Covers
Before you open that paint can, take time to protect things you don't want painted. Use painter's tape along the house siding where it meets the deck. Cover any landscaping near the deck with drop cloths or plastic sheeting. If you have lighting fixtures or other hardware you can't remove, tape them off carefully. This prep work might seem excessive, but peeling dried paint off your vinyl siding or favorite shrubs isn't how you want to spend next weekend.
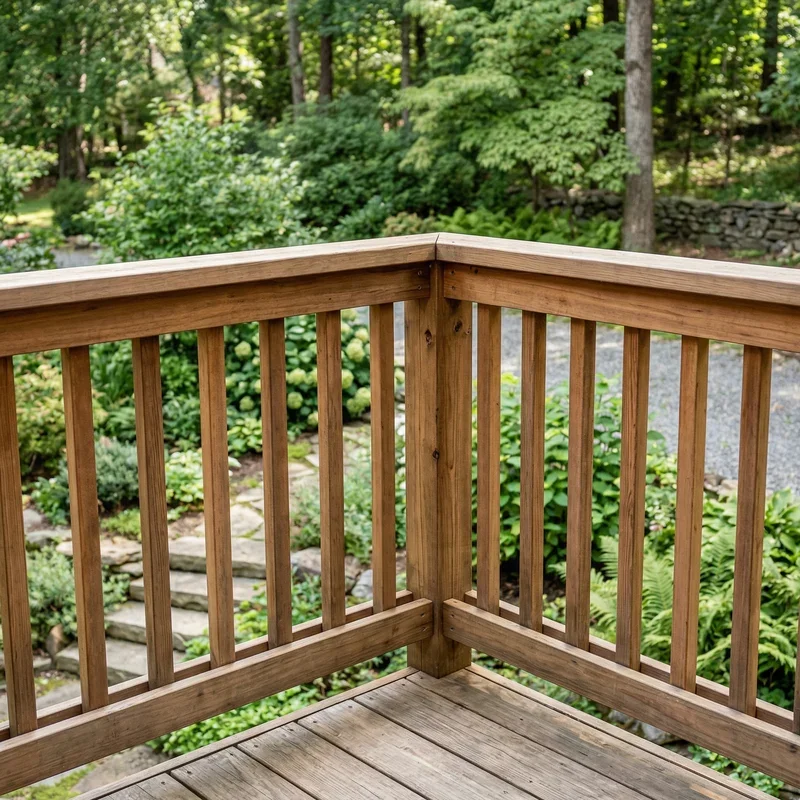
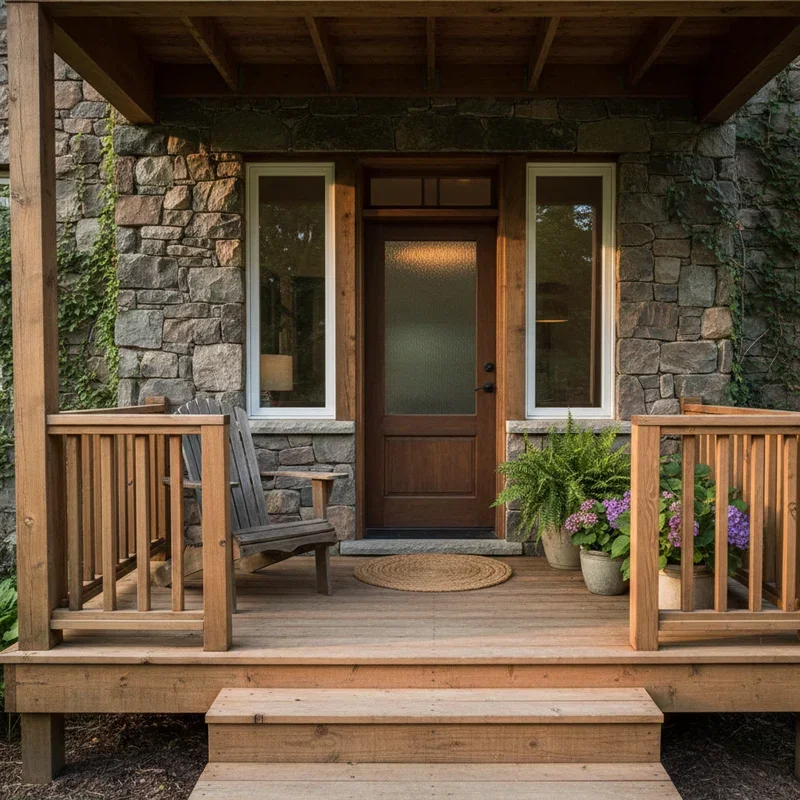
Starting with the Railings and Vertical Surfaces
When it comes to actually painting, work smart, not hard. Start with railings, balusters, and any vertical surfaces first. Why? Because drips happen, and you'll be painting over them when you do the floor. Use a good quality angled brush for detailed work on spindles and posts. For flat railing surfaces, a small roller can speed things up. Work from top to bottom, and don't overload your brush. Thin, even coats beat thick, globby ones every single time. Take your time around corners and joints where paint tends to pool.
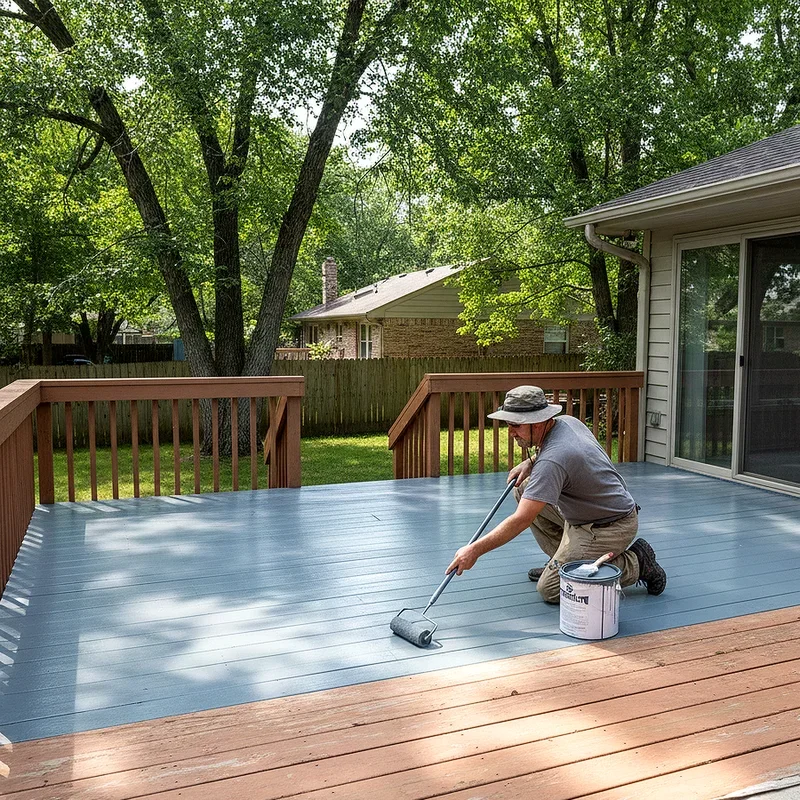
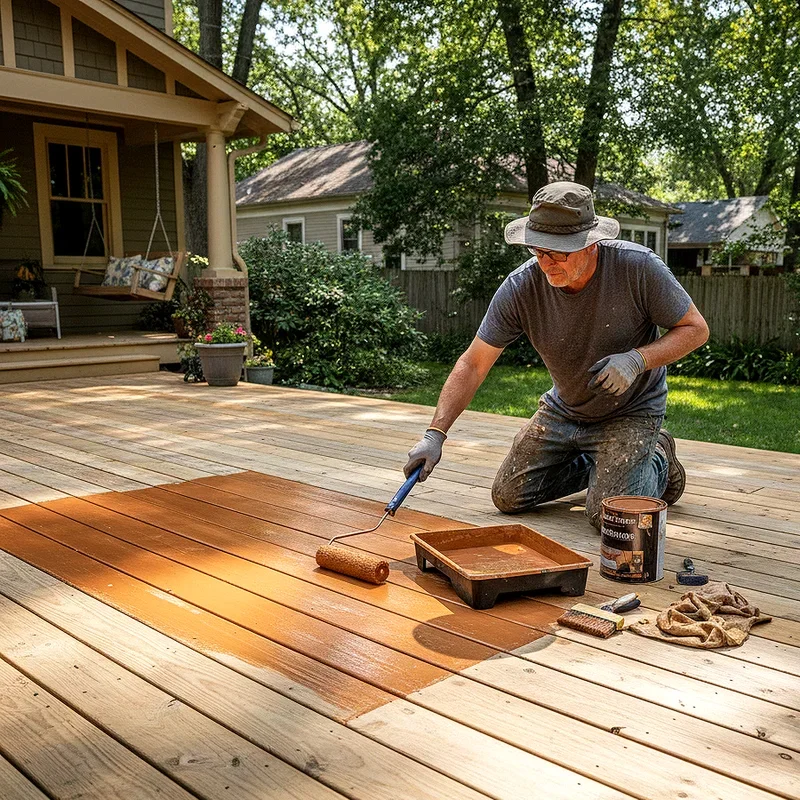
Tackling the Deck Floor Systematically
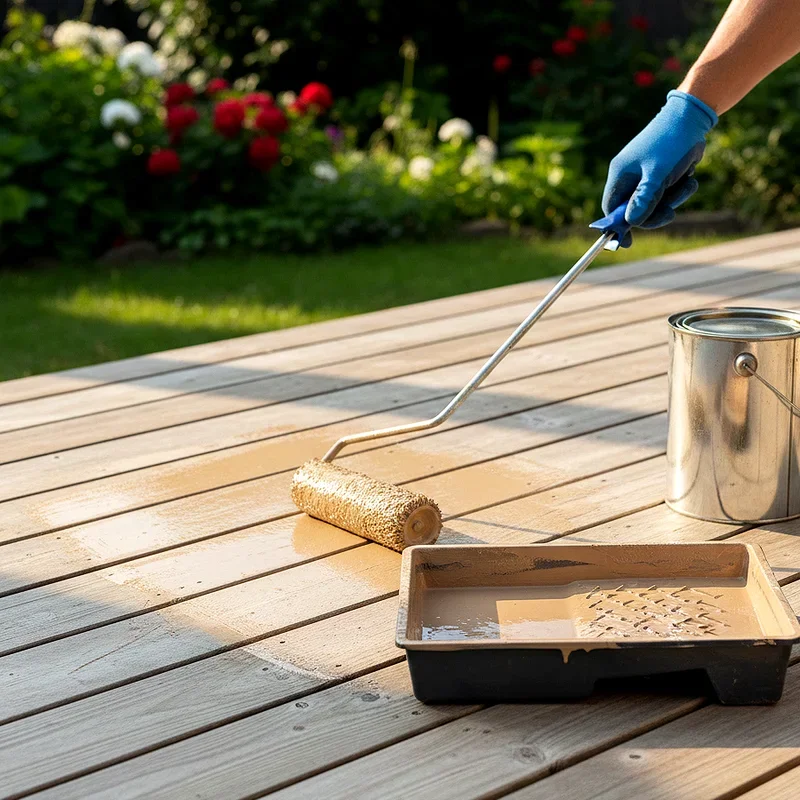
Alright, here's where How to Paint a Deck: Simple Step-by-Step Guide really comes together. Start at the far end of the deck, the end farthest from your exit, because painting yourself into a corner is a rookie mistake. Use a roller with an extension pole for the main floor area. Work in sections about three to four feet wide, painting with the grain of the wood. Keep a wet edge by slightly overlapping your previous stroke before it dries. This prevents those annoying lap marks. For edges and tight spots near the house or railings, use a brush. Work methodically, and don't rush. A rushed first coat means you'll probably need a third coat to fix it.
Applying Multiple Coats for Durability
One coat rarely cuts it, especially with deck paint. Most projects need at least two coats, sometimes three if you're covering a dark color with light paint. Here's the kicker: you've got to let each coat dry completely before applying the next one. Check the paint can for recommended drying times, usually anywhere from four to eight hours depending on temperature and humidity. Resist the temptation to touch up spots right away. If you missed a small area, it's better to wait and catch it with the second coat than to mess up the finish by going back over semi-dry paint.
Dealing with Common Painting Challenges
Let's be real, things don't always go perfectly. Sometimes you'll notice bubbles in your paint, usually caused by painting in direct sunlight or over damp wood. If the paint's still wet, you can often smooth them out. If they've dried, you'll need to sand and repaint. Drips and runs? Catch them while they're wet with your brush or roller. Dried ones need sanding. Finding you've got uneven coverage? That's normal and exactly why we do multiple coats. Just make sure you're not putting the paint on too thick in an attempt to cover everything in one go. Patience really is a virtue here.
Letting Your Deck Cure Properly
So you've finished painting, and it looks amazing. Congratulations! But hold your horses before hosting that deck party. There's a difference between dry and cured. Paint might feel dry to the touch within hours, but it takes much longer to fully cure and harden. Most deck paints need at least 24 to 48 hours before light foot traffic and up to a week before you should put furniture back or allow heavy use. Follow the manufacturer's recommendations. Rushing this step can leave footprints, marks, or even damage your beautiful new paint job. Trust the process.
Maintaining Your Newly Painted Deck
You didn't go through all this work just to let your deck fall apart again, right? Regular maintenance keeps your paint job looking fresh for years. Sweep your deck regularly to prevent dirt buildup and remove debris that might scratch the surface. Clean it with mild soap and water once or twice a year. Avoid harsh chemicals that can break down the paint. Keep an eye out for any chips or peeling, touching them up promptly before water gets underneath and causes bigger problems. Move furniture around occasionally to prevent uneven fading from sun exposure. With proper care, your paint job should last five to ten years before needing a complete redo.
Safety Considerations You Shouldn't Ignore
Let's talk about staying safe because nobody wants a trip to the emergency room ruining their weekend project. When using a power washer, wear safety goggles and closed-toe shoes. That water pressure can cause serious injuries. Paint fumes can be nasty, so work in well-ventilated areas and take breaks. Wear a dust mask when sanding to avoid breathing in particles. If you're working on a second-story deck, be extra careful and consider using a safety harness. Keep paint and chemicals away from kids and pets. And please, wear clothes you don't care about because you will get messy.
Cost Breakdown and Budget Planning
Wondering what this project's going to set you back? Obviously, costs vary depending on your deck size and paint choice, but let's break it down. A gallon of quality deck paint runs anywhere from 30 to 60 dollars and typically covers 250 to 400 square feet. So measure your deck and do the math. Add in cleaning supplies, sandpaper, brushes, rollers, painter's tape, and miscellaneous items, and you're looking at maybe another 50 to 100 dollars for a medium-sized deck. Compare that to hiring a professional, which could run several thousand dollars, and suddenly that weekend of work doesn't seem so bad. Plus, there's genuine satisfaction in doing it yourself.
When to Consider Hiring Professionals
Look, not everyone has the time, ability, or desire to tackle this project themselves, and that's perfectly okay. If your deck is large, on a second story, or has extensive damage requiring carpentry work, calling in the pros makes sense. Same goes if you're dealing with serious lead paint issues on an older deck. Professionals have the equipment, experience, and insurance to handle tricky situations safely. They'll also work much faster than most DIYers. Get multiple quotes, check references, and make sure they're licensed and insured. Sometimes peace of mind is worth the extra cost.
Conclusion
There you have it, everything you need to know about transforming your deck from drab to fab. This How to Paint a Deck: Simple Step-by-Step Guide has walked you through every stage, from initial prep work to that final protective coat. Yes, it requires time and effort, but few home improvement projects offer such dramatic results for relatively modest investment. Remember, proper preparation makes all the difference between a paint job that lasts years and one that starts peeling next season. Take your time, follow these steps, and you'll have a deck that looks professionally done because, well, you did it yourself.
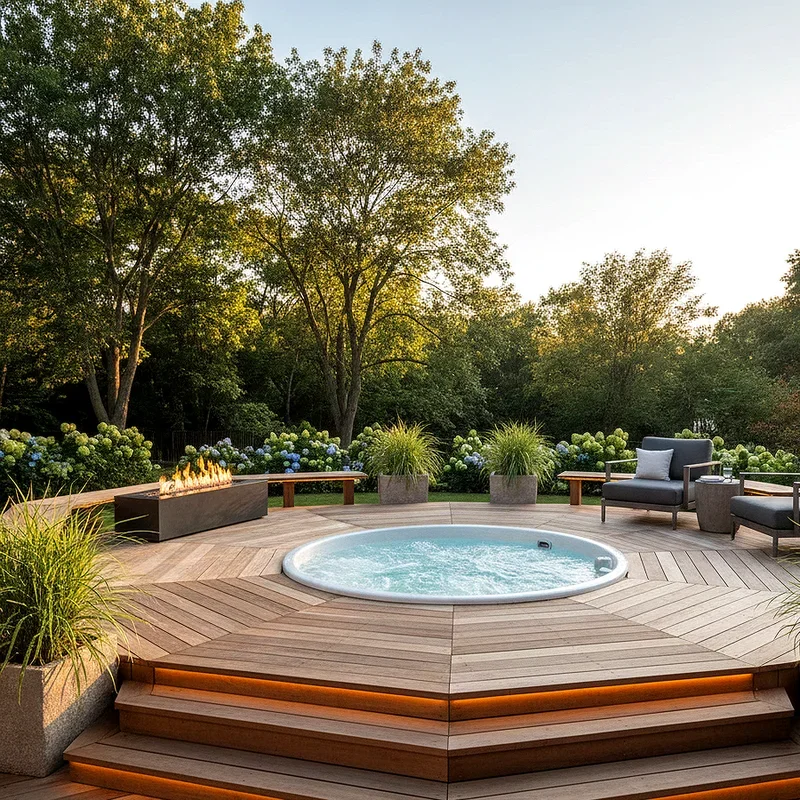
Read next: 15 Hot Tub Deck Ideas to Upgrade Your Outdoor Space
Frequently Asked Questions
Q1: How long does deck paint typically last before needing repainting?
A: Quality deck paint lasts five to ten years with proper maintenance and care.
Q2: Can I paint over stained deck without stripping it first?
A: Yes, after thorough cleaning and sanding to create proper surface adhesion for paint.
Q3: What's the best time of year to paint a deck?
A: Late spring or early fall when temperatures are moderate and humidity is low.
Q4: Do I really need to apply two coats of paint?
A: Yes, two coats ensure better coverage, durability, and longer-lasting protection for wood.
Q5: How soon can I walk on my newly painted deck?
A: Wait at least 24 hours for light traffic, 48 hours for normal use.
Stay up to date with our latest ideas!